Several months ago, I purchased the new Suunto 9 GPS watch and since then I’ve been wearing and testing it on a daily basis. I’ve been wearing the watch for activities such as hiking, running, cycling, walking and more. I decided to switch to Suunto 9 from my old Suunto Ambit 2 because I was really missing some features on the Ambit watch – such as wrist heart rate monitor and Bluetooth for wirelessly syncing my workouts. I was also never completely happy with the design of the Ambit watch as I found the big GPS antenna on the side kind of ugly. When the Suunto 9 was released, I went through technical specifications and I saw that it has most of the features of the Ambit 2 watch, as well as many new ones. The new Suunto 9 also looks much better than the Ambit and is thus more suitable for everyday wear.
I had some doubts about the touchscreen and color display (in connection to the battery life), but nevertheless I decided to buy the watch. Here is what I learned about the new Suunto 9 GPS watch over the past months. If I forgot something or you have any questions about the watch and its features, don’t hesitate to drop me a line in the comments section at the bottom of the review.
Suunto 9 Review
- The Basics
- User Interface
- Sport Modes
- Heart Rate Monitor
- Navigation
- Outdoor Features
- Battery Life
- Connectivity and Apps
- Verdict
The Basics
Suunto 9 is a multisport GPS watch which basically means that it supports many sport modes (running, swimming, cycling, hiking etc.) and provides you with tracking and analytics for the respective sports. The watch supports GPS, heart rate monitor (strap or wrist heart rate) and many useful outdoor features such as navigation, compass, altimeter, thermometer, barometer and storm alarm. However, the last two features are only supported on the Baro model which I purchased. The watch also features step counter and tracks burned calories. According to Suunto and its community, the watch’s main advantage is its battery life which is indeed good, but we’ll talk more about this in the battery life section below.
The Suunto 9 watch comes in two different versions. The Baro version is a little more expensive and, as the name suggests, has a barometer. The barometer is a useful feature because it increases the accuracy of altitude readings and allows you to predict the weather. The Baro model is also equipped with Sapphire glass which provides much better scratch resistance than mineral crystal glass. In my opinion, the Baro model is meant for mountaineers, hikers and alpine climbers and since I do a lot of mountaineering and hiking, I decided to buy the Baro model. I do use the barometer feature for monitoring weather changes on my outdoor adventures and sometimes I do bump my watch into rocks while climbing. Hence, the sapphire glass and barometer are kind of necessary for me. I certainly don’t want to scratch the screen on such an expensive watch.
The Suunto 9 watch also features a color touchscreen. I must admit that I was a bit skeptical about this at first since you obviously can’t use the touchscreen while wearing gloves or having sweaty fingers. Nevertheless, I learned that you don’t really need to use the touchscreen because you can access more or less all features with the three buttons on the side of the watch.
User Interface
When I switched from Suunto Ambit 2 to Suunto 9, I was at first a bit confused since the user interface is completely different on the two watches. However, the Suunto 9’s user interface is very intuitive and after playing with the watch for around 10 minutes, I could easily access whichever feature I wanted. The watch has three buttons on the right side for navigation through the user interface, but you can of course also use the touchscreen instead. To use the touchscreen, however, you need to first unlock the watch by pressing whichever button on the watch.
By pressing the up button, you can access exercise, navigation, timer and settings, and by pressing the down button, you can access heart rate, steps/calories, training, altitude/baro and sleep tracking. To enter one of these modes you just press the middle button. Below is a short description of each mode.
Exercise
The exercise mode is used for tracking workouts. Once you enter this mode you can select which activity you will be doing – such as running, cycling, swimming etc. The Suunto 9 watch supports a long list of activities, but you can put your most frequently used activities on the shortlist. I’ll explain the exercise mode better in the sport modes section below.
Navigation
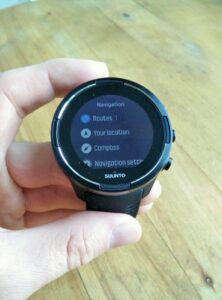
In the navigation mode you can choose between points of interest (POIs), routes, your location, compass and navigation settings. You can only add POIs and routes through the Movescount web app and after syncing, the watch will provide you with navigation by showing your location and direction in relation to a breadcrumb trail or a point of interest. Your location mode displays the coordinates of your current location and allows you to save them as a point of interest. In the navigation settings you can calibrate the compass, set the declination and compass units as well as select position format. The watch supports UTM, MGRS, WGS84 and many other position formats.
Timer
The timer mode is quite straightforward; you can select between the stopwatch and the countdown timer.
Settings
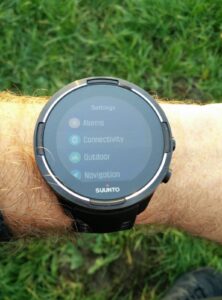
The Suunto 9 is quite a beast and thus it has many settings. In the settings menu you will find general settings, alarms, connectivity, outdoor, navigation, activity, training, sleep, notifications and watch faces.
General settings include time and date, language, tones, backlight, power saving, personal and about. Nothing special there, but it may be useful to mention that the backlight’s brightness is adjustable and that you can choose between automatic and toggle backlight. Automatic mode turns the backlight on for several seconds whenever you press a button on the watch while in toggle mode you enable or disable the backlight by touching the screen with two fingers.
Alarms include basic alarms (you can choose between once, weekdays or daily), sunrise alarm, sunset alarm and storm alarm. Under connectivity you can turn on the airplane mode and pair sensors and devices. In the outdoor settings you can insert a reference altitude or auto adjust the altitude while in the navigation settings you will reach the same settings as in the navigation mode (see navigation paragraph above).
Activity allows you to set a step target, burned calorie target and enable daily heart rate tracking. Training settings let you set the intensity zones and weekly exercise goal. Sleep allows you to set sleep targets and sleep tracking.
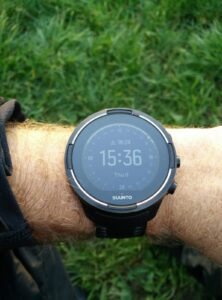
Under notifications settings you can enable or disable phone notifications. To use phone notifications, you will have to install the Suunto app (which is different from the Suunto Movescount app) on your smartphone but I’ll explain this better in the connectivity section below. Lastly, in the watch faces you can choose what will your watch show on the screen in time mode. I was a bit disappointed over the selection of watch faces but eventually I settled on a watch face that displays time, sunrise time, sunset time, date and day. Each watch face also comes in more than one color.
Heart Rate
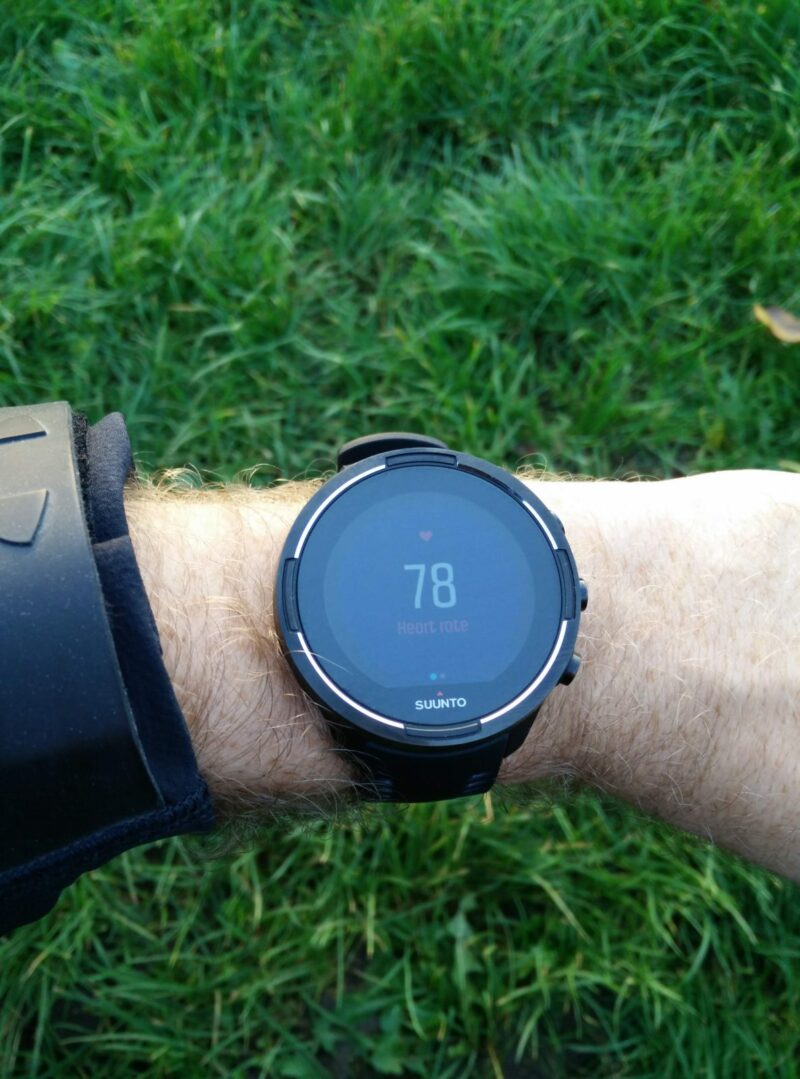
In the heart rate mode, the watch will show your current heart rate. If you don’t have the daily heart rate feature enabled, the watch will start measuring your heart rate once you enter this mode. To see the heart rate graph, you should press the middle button while you are in this mode.
Steps/Calories
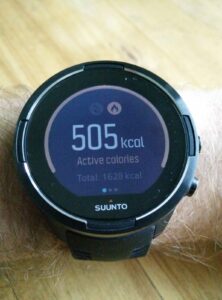
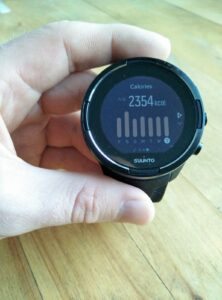
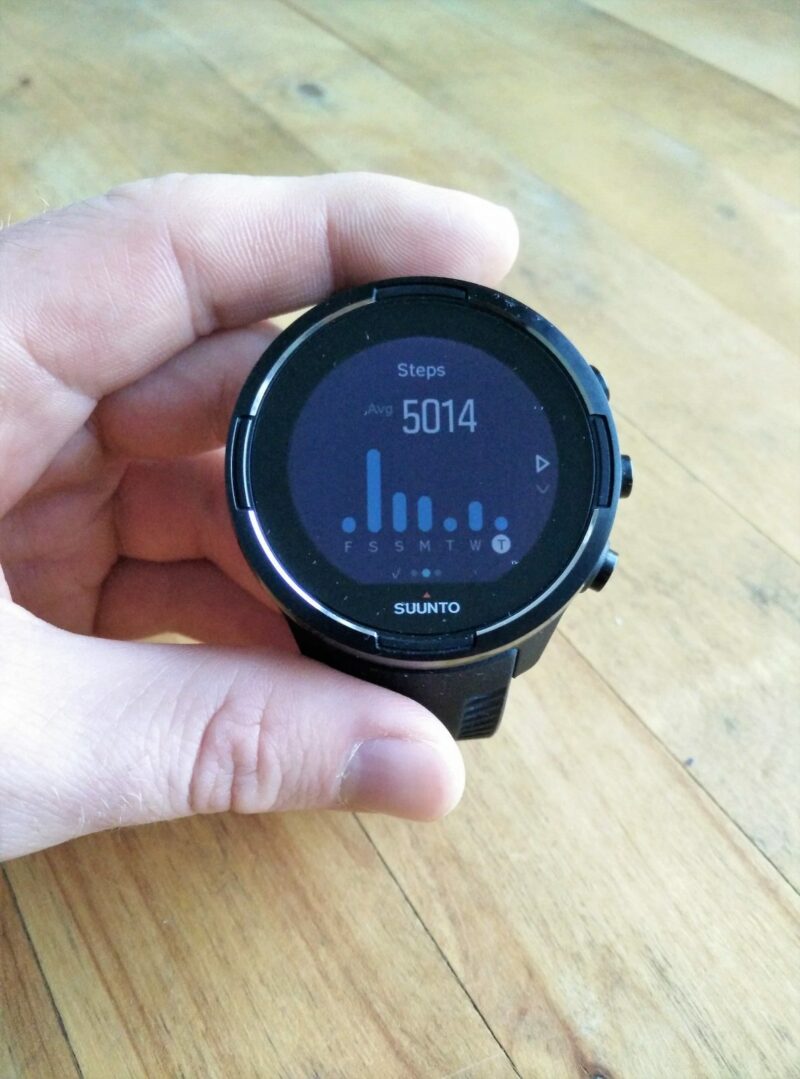
In the steps mode you can see how many steps you’ve made, how many calories you’ve burned as well as steps made in the last seven days and calorie consumption in the last seven days.
Training
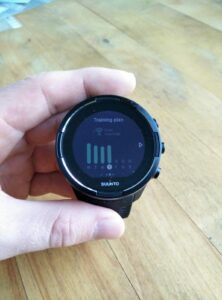
In the training mode you can see your recovery time, duration of workouts, duration of workouts for the last seven days and weekly duration of workouts for the last four weeks.
Altitude/Baro
The altitude mode shows your current altitude, temperature, altitude graph and barograph.
Sleep
I haven’t tested the sleep mode since I have no wish to wear the watch during the night. However, according to Suunto it tracks how many hours you sleep and your heart rate during the night.
Sport Modes
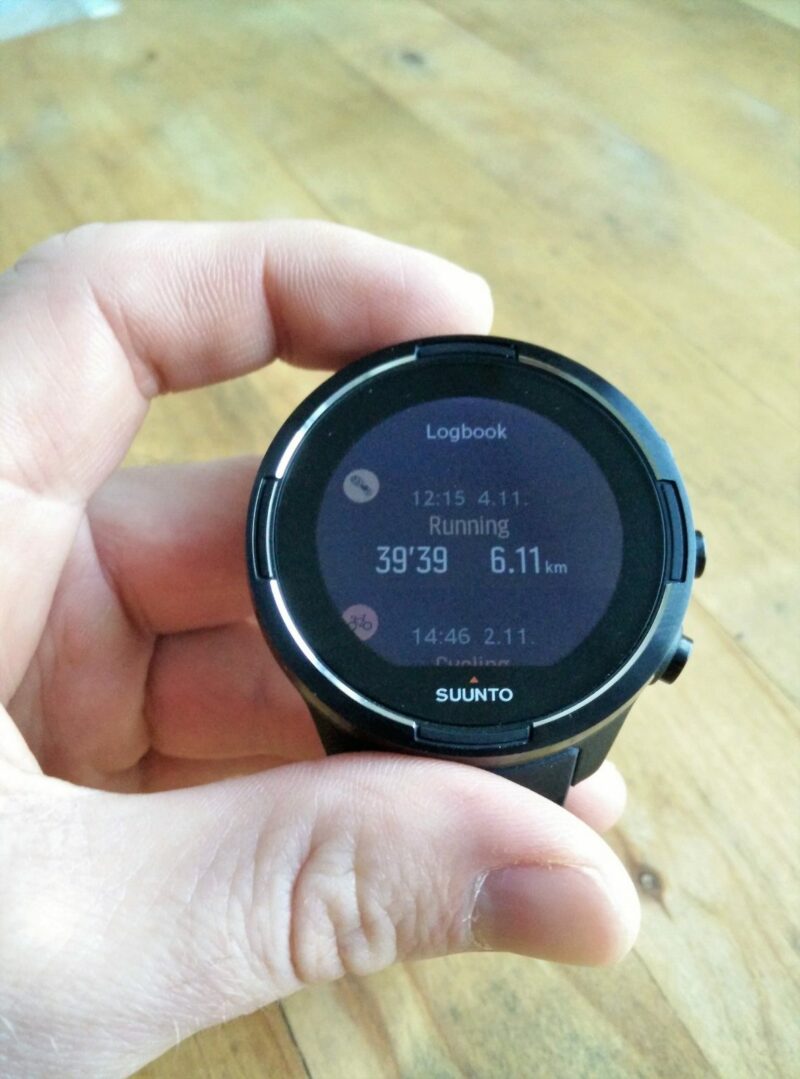
Here I’ll explain the sport modes a bit more in detail. As described above, you access sport modes by pressing the up button and selecting exercise. You will see a list of different sport modes such as running, cycling, hiking, swimming etc. Suunto 9 supports a long line of sport modes and therefore you can put sport modes on a shortlist in the Movescount web app. This allows you to quickly select the desired sport mode on the watch. In the Movescount web app you can also customize existing sport modes. So far, I only used the following sport modes; running, hiking, weight training and cycling. Note that I’m only using bicycle for simple commuting rather than biking sports and thus I didn’t test this sport mode extensively. Therefore, I’ll only focus on the running and hiking sport modes below.
Once you select a sport mode the watch will start checking for GPS signal and heart rate. If you are wearing a (paired) heart rate strap, the watch will use the heart rate from the strap. Otherwise it will use the wrist heart rate. Here the watch also shows the remaining battery life in the given sport mode, which is very useful. Thus, if you see that the remaining battery life in the sport mode is 1 hour and you are planning to do a 2-hour workout, you know that you will run out of battery before finishing your workout.
After the watch detects the heart rate and GPS signal you press the middle button to start the workout. You pause or stop the workout by pressing the up button. By pressing the middle button, you navigate between different displays. The touchscreen is by default disabled when in a sport mode, but you can enable it in the settings. On the other hand, I still haven’t figured out how to turn on the backlight while in a sport mode which is now in winter kind of a bummer. You can turn on the backlight while in a sport mode by pressing any button. However, then you also perform a certain action – for example switch between different displays.
Running
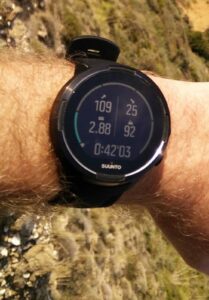
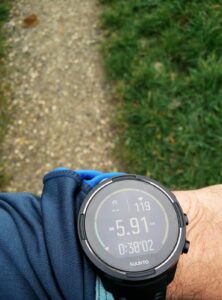
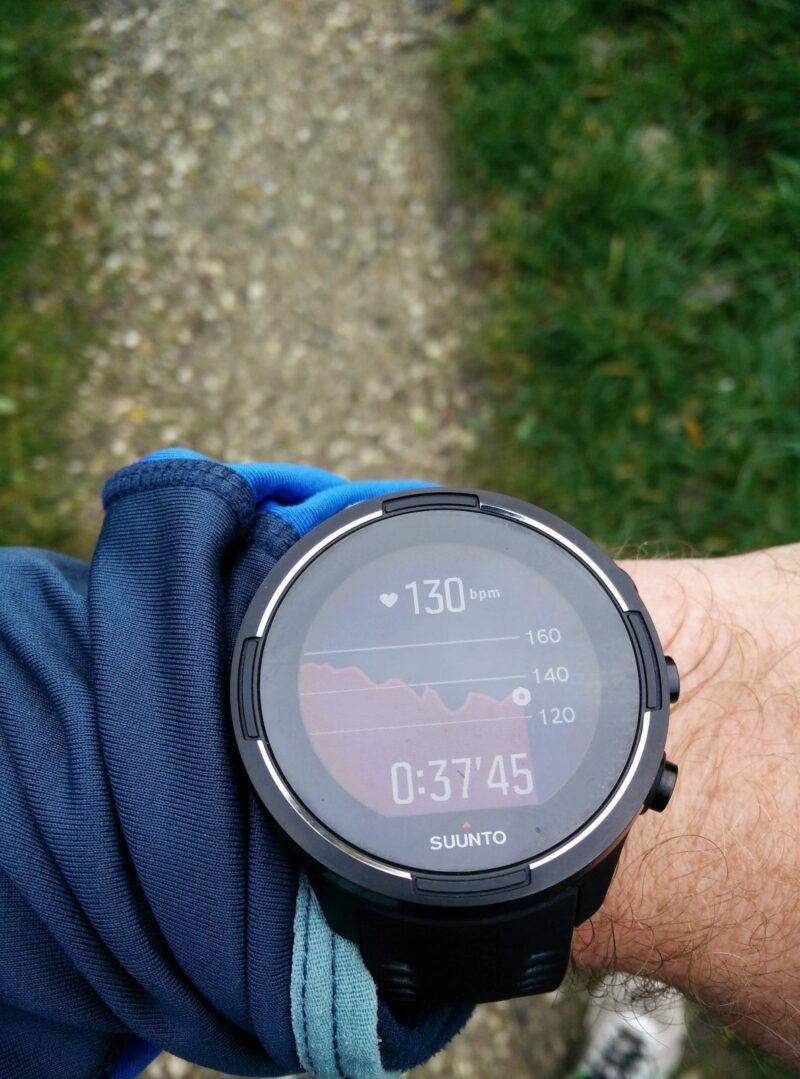
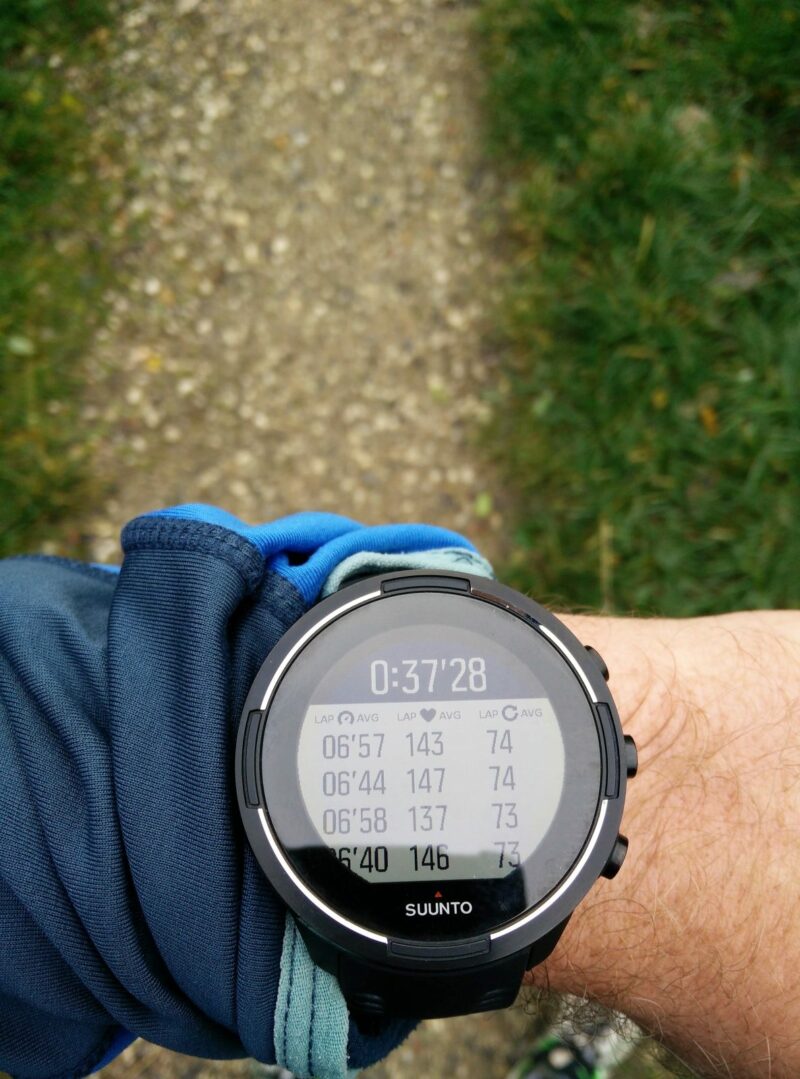
I’m using the default running mode on my Suunto 9 watch. In this sport mode the first display shows pace, current heart rate, distance and stopwatch. The second display shows duration, average heart rate and cadence of each kilometer you’ve run. The third display shows intensity zone and current heart rate while the fourth display shows the heart rate graph. In the fifth display you can see the breadcrumb trail and enable route navigation. As explained above, you can modify displays to your linking in the Movescount web app.
Hiking
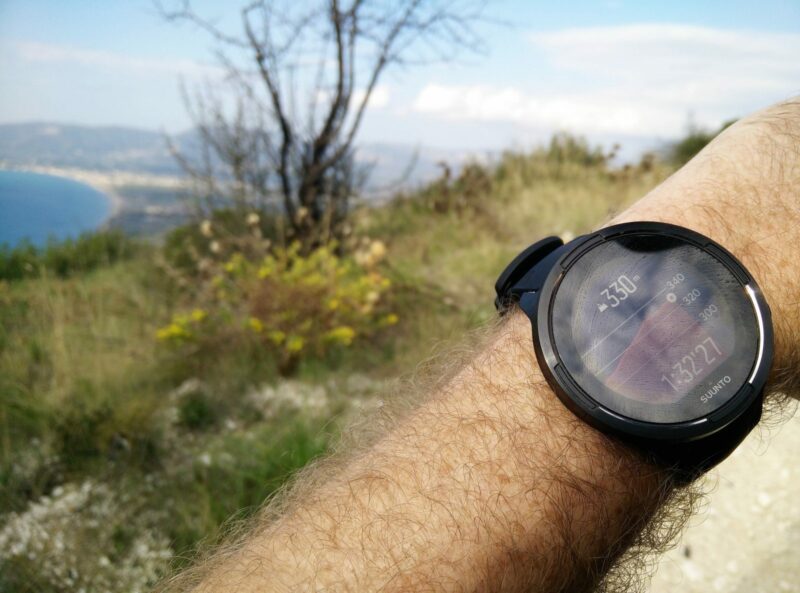
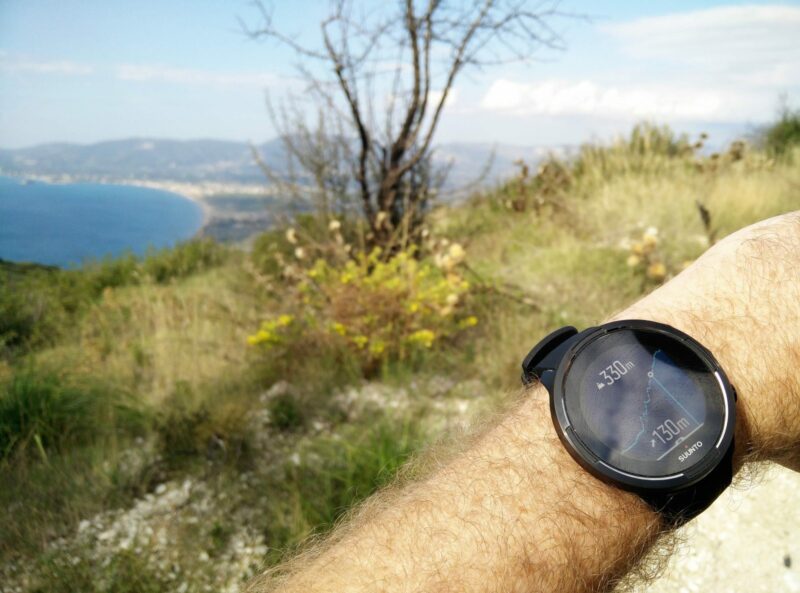
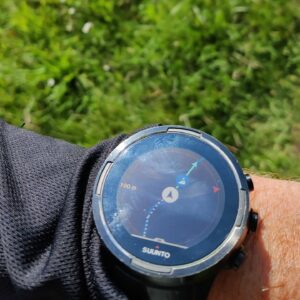
I customized the hiking mode so that it fits my needs. The first display in my hiking mode shows ascent, descent, total distance, current altitude and duration. The second display shows current heart rate, pace, distance and duration while the third display shows altitude graph. The fourth display is for navigation. On the Skopos trail in Greece I used route navigation which worked perfectly. If you use route navigation, the watch also shows an elevation profile of the route and where on that elevation profile you are – indeed a very neat feature.
Heart Rate Monitor
Suunto 9 is equipped with a wrist heart rate monitor from Valencell but also supports heart rate belts. I bought the watch with heart rate belt because I wasn’t sure how accurate the wrist HR is. Buying the watch with heart rate belt was indeed the right decision. The wrist heart rate monitor only works accurately if you wear the watch tight against the skin and have your hands free – flexing hand muscles will mess the readings. Therefore, I stopped using wrist HR for cycling and weight training. The readings were just not accurate. While running I got quite accurate readings even in cold weather. Read more about the accuracy of Suunto 9 wrist heart rate sensor in my article How accurate are wrist heart rate monitors.
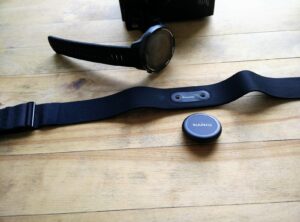
The heart rate belt (Suunto Smart Sensor), on the other hand, works well. It is very light and slim and therefore doesn’t bother you while you are working out. However, sometimes I have problems with the heart rate belt. The watch doesn’t recognize it in sport mode and instead uses wrist HR. I learned that if this happens the best thing to do is to pair the heart rate belt with the watch again. It only takes 15 seconds, but it is kind of annoying. The battery in the heart rate belt can be replaced and the heart rate belt can be machine washed (detach the sensor before washing).
Navigation
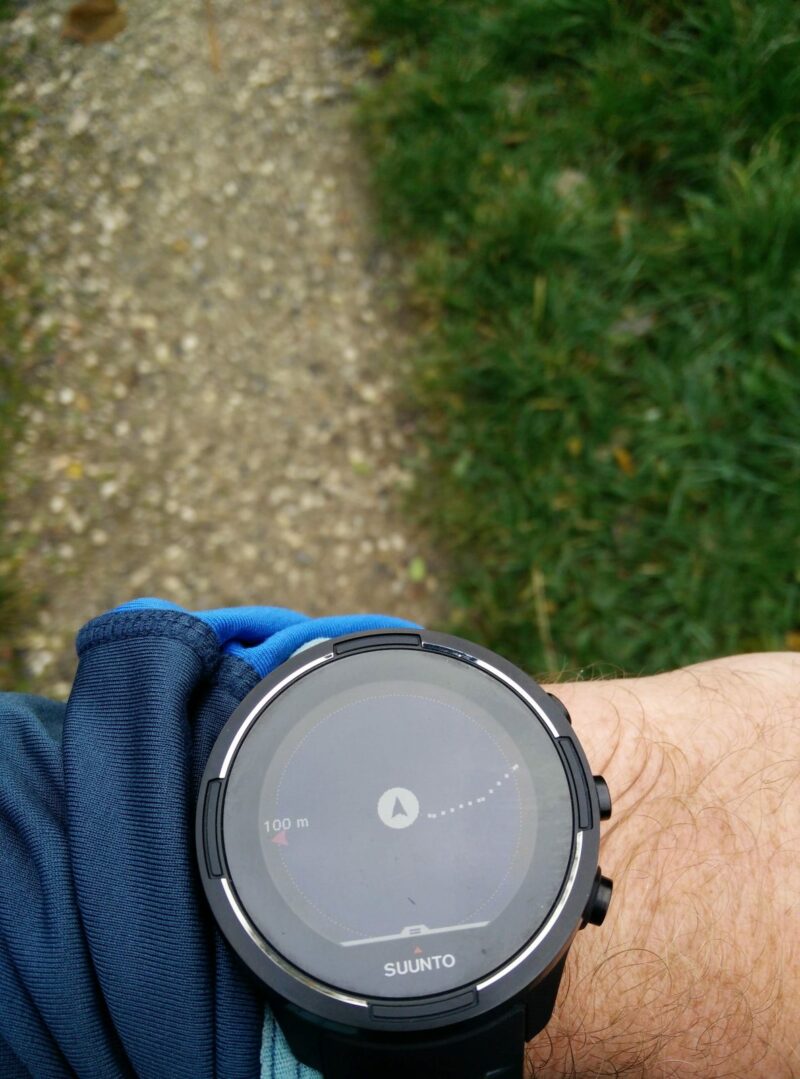
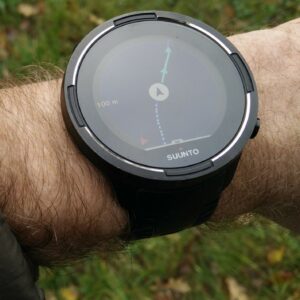
Suunto 9 supports POI (point of interest) and route navigation. You can add POIs and routes to the watch through the Movescount web app. In the navigation mode the watch will show your current location and direction in relation to a breadcrumb trail or point of interest. A ruler bar scale is shown as well so you can see the distance to the point of interest. The second display in navigation mode shows an altitude profile of the route and your placement on that altitude profile. You can switch between the two displays by pressing the middle button. In case that you go off route, the watch warns you about that with a vibration alarm. If you by any chance get lost, you can enable the “find back” feature and the watch will guide you back to the starting point.
Outdoor Features
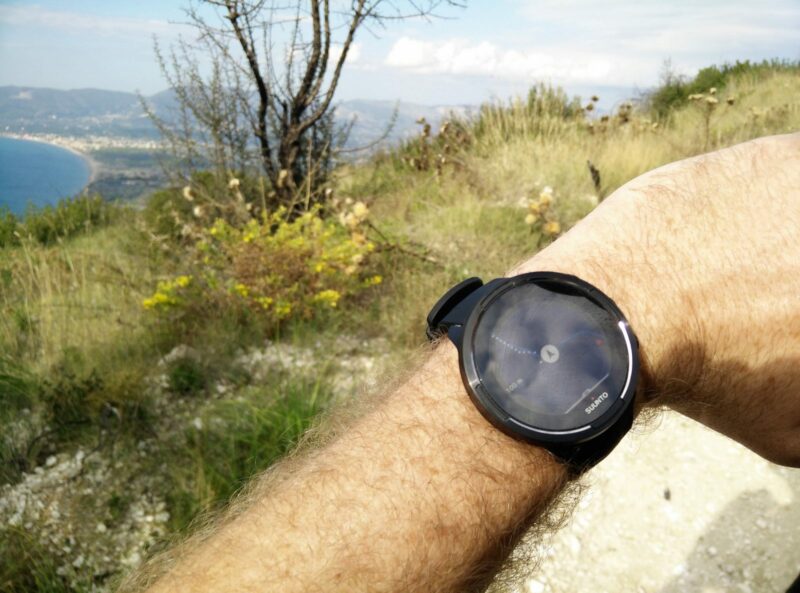
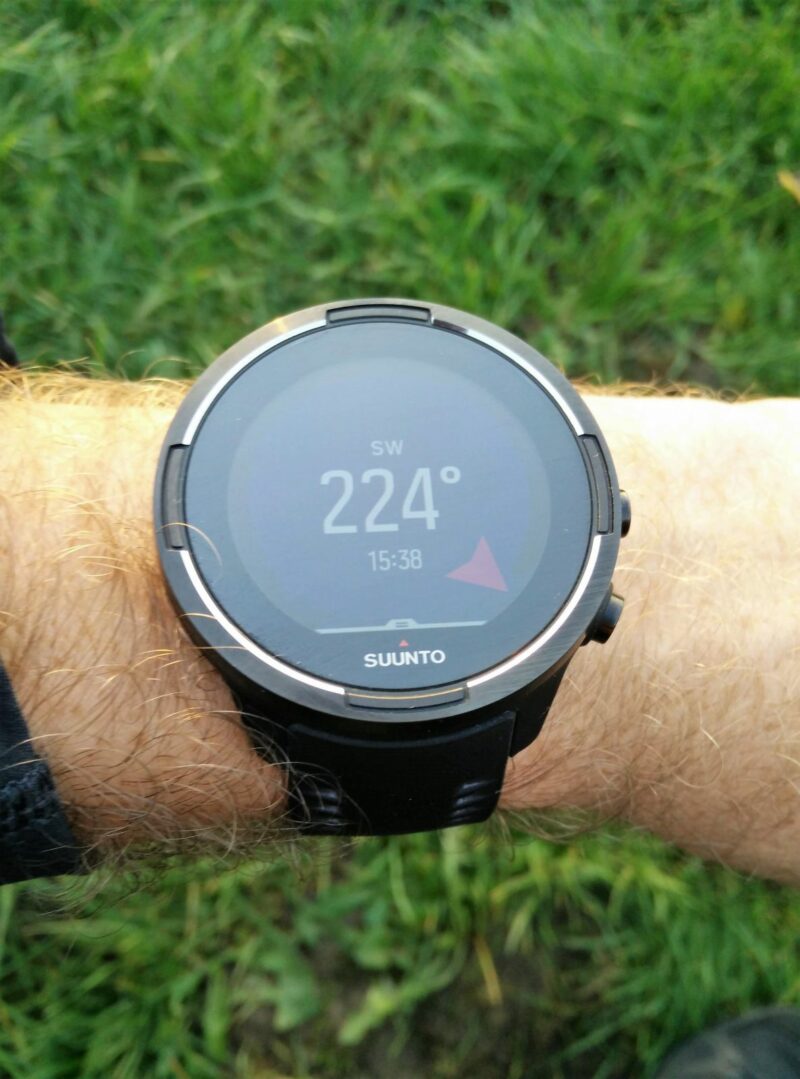
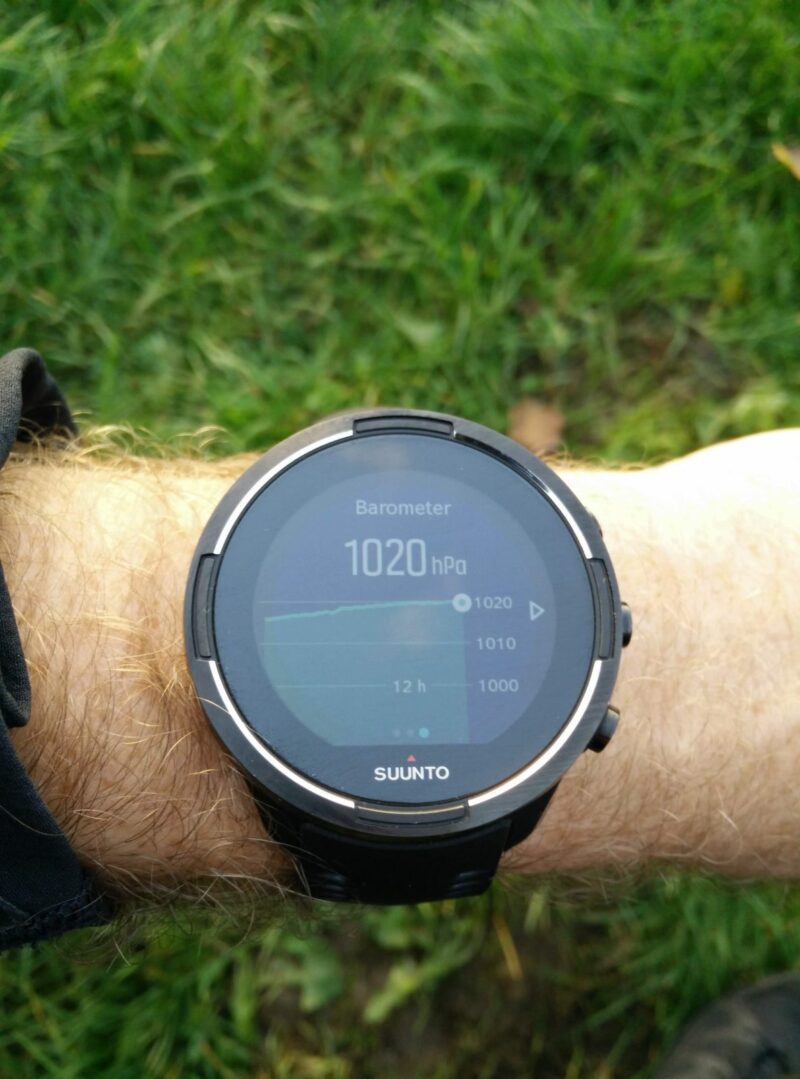
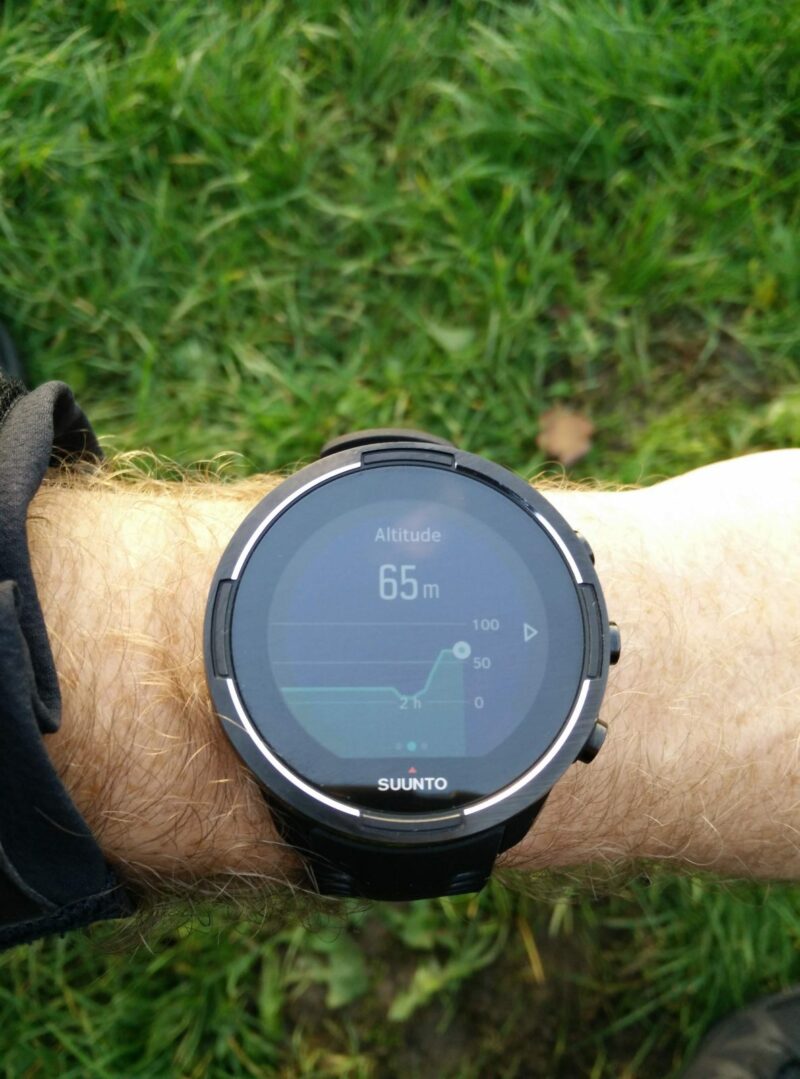
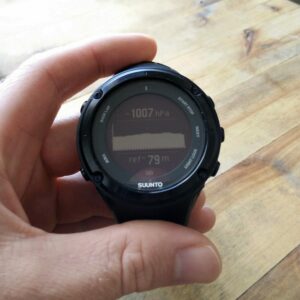
The Suunto 9 Baro watch also has a compass, barometer, altimeter and thermometer. During the testing, the compass was always precise. However, if you don’t use it for a while, you need to calibrate it first. Calibrating the compass is, nevertheless, unproblematic because the watch guides you through the calibration process. You can also set the declination for the compass in the settings. The barometer shows the atmospheric pressure and barograph for the last 12 hours. In case that the atmospheric pressure suddenly drops, the watch warns you with a vibration alert and the notification “severe weather conditions likely”. The altimeter shows your current altitude and an altitude graph. The thermometer works well, but keep in mind that for precise readings you shouldn’t wear the watch. Your body heat will distort the readings.
Battery Life
The Suunto 9 watch is equipped with a rechargeable lithium-ion battery. On my watch the battery typically lasts about a week. I exercise for around six hours a week (3.5 hours with GPS enabled and 2.5 hours with GPS disabled) and don’t wear the watch while I’m at home (evenings and nights). I have GPS accuracy set to best (other options are good and ok) and I always use the heart rate monitor when I work out. I think that Suunto 9 consumes more battery than Suunto Ambit while not in use, but less during workouts with enabled GPS. For example, during a 4-hour hike, the Suunto 9 battery level dropped for only 13% with GPS accuracy set to “good” and enabled wrist HR.
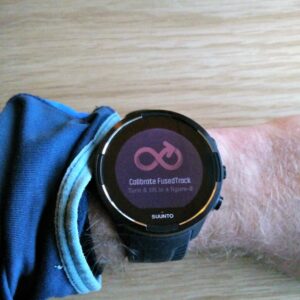
The Suunto 9 watch utilizes the FusedTrack technology to decrease battery consumption during workouts. FusedTrack combines GPS and motion sensor data (accelerometer, compass etc.) to improve track and distance accuracy. This in simple terms means that you can set the GPS accuracy to “good” or “ok” and you will still get relatively precise information about the workout. The lower the GPS accuracy, the less battery is consumed. For hiking I have GPS accuracy set to good and the information about the trail has always been accurate.
I assume that due to the FusedTrack feature, the watch doesn’t support GLONASS – the accuracy is improved with FusedTrack and thus there is no need for GLONASS. Support for GLONASS was added in November 2018 via software update. The watch had the chip from the beginning but not the software. You can enable GLONASS in the settings under navigation.
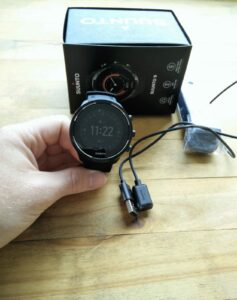
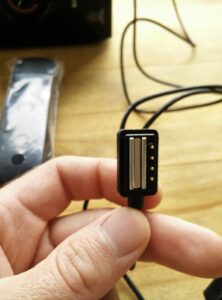
The watch comes with a magnetic charging cable which works flawlessly. Attaching the cable to Suunto 9 is much easier than attaching the cable to Suunto Ambit.
Connectivity and Apps
The watch is equipped with Bluetooth and therefore you can pair it with your smartphone and different sensors.
To pair the watch with a smartphone you first need to install the Suunto App on your smartphone. The app is available for Android and iOS. Once you have installed the app, you can pair the phone and the watch. If you enable phone notifications on the watch, you will receive phone calls and messages from your phone on the watch. This feature works flawlessly, but I have no need to receive such notifications on my watch and thus I only tried this feature for testing.
Confusion – Suunto Smartphone App, Suunto Movescount Smartphone App and Suunto Movescount Web App
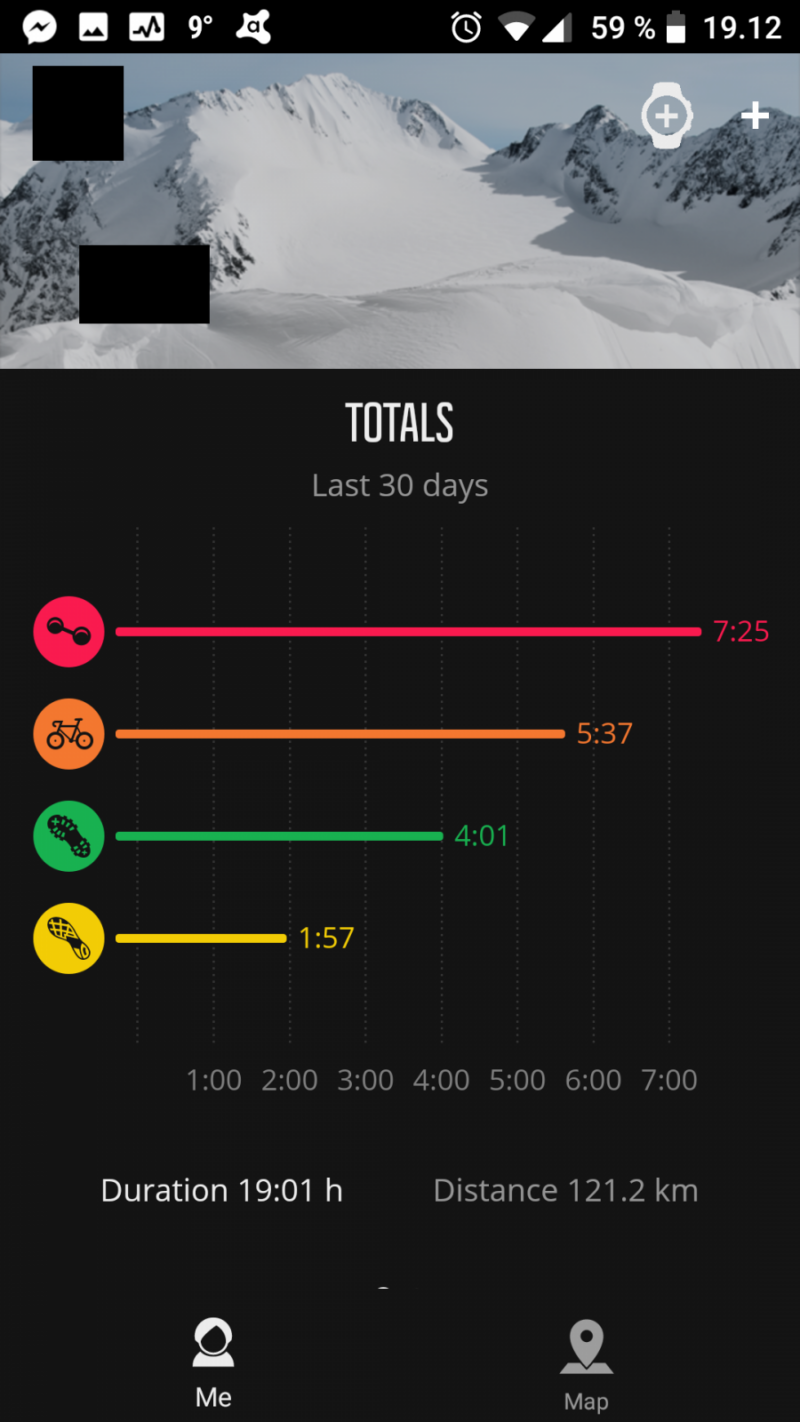
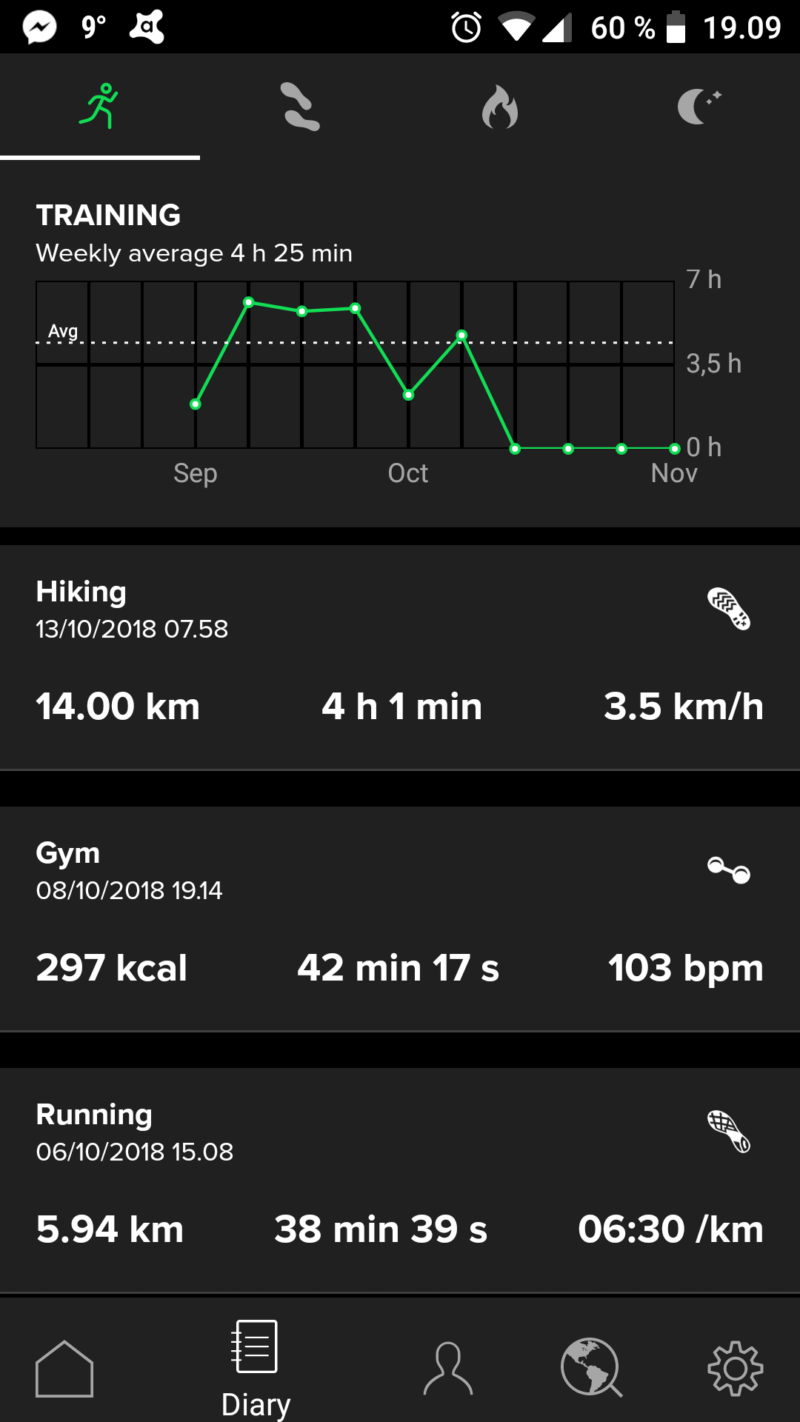
There is a lot of confusion about Suunto apps and thus I’ll explain them more in detail. The Suunto smartphone app is kind of new and handles Bluetooth communication between the phone and the watch (notifications). It also shows a diary of your workouts, details about each workout and allows you to set the basic settings for your Suunto 9 watch. However, at the time being it doesn’t have anything to do with the Movescount smartphone app or Movescount web app – it is not connected to them in any way. Therefore, if you sync your watch with the Suunto app, this doesn’t mean that you will also see your workouts in the Movescount web app or Movescount smartphone app.
Suunto Movescount smartphone app will be phased out in the future, according to reputable sources such as DC Rainmaker. No wonder – since it does have very bad ratings in Google Play store. Suunto Movescount smartphone app will not allow you to sync the Suunto 9 via Bluetooth. Therefore, if you want to see your workouts in Suunto Movescount smartphone or web app, you need to sync the watch with the Movescount by connecting it to your computer with a cable. This is really annoying, and I do hope that Suunto makes the Suunto app compatible with the Movescount app soon (this will obviously not happen – see the note below). I do think they stopped investing in the Movescount app too soon, since the Suunto app is not yet ready to replace it.
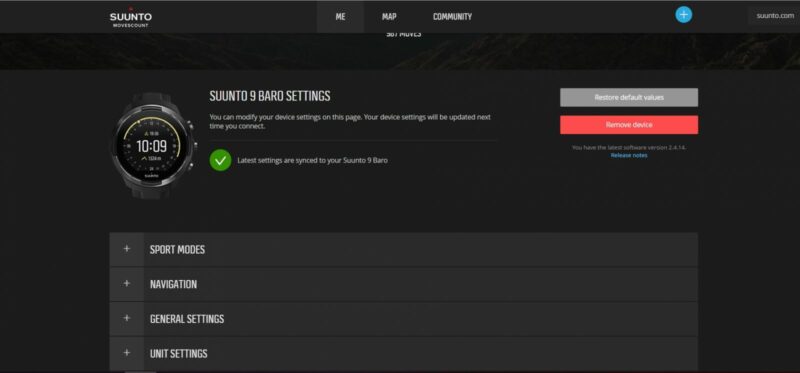
The Movescount web app is still the core of Suunto software. In the Movescount web app you can see the details of your workouts, customize your watch and plan or import routes. The web app allows you to shortlist sport modes, customize displays in sport modes and modify advanced settings such as GPS accuracy, autolap, recording intervals etc. A really annoying thing for me is that I can’t add a barograph to the sport modes on Suunto 9. This was for example possible on my old Suunto Ambit watch, but it seems that it’s not possible on Suunto 9 watch. I do need the barograph for the mountaineering sport mode in order to be able to monitor and predict the weather. Hopefully, Suunto will fix this nuisance soon.
Note:
I decided to contact Suunto and ask them what their plan with the Movescount web/smartphone app is and here is what they replied:
“Yes, there is no plan to make it possible to sync from Suunto App to Movescount web app in the future. There is indeed a plan of eventually replacing Movescount app/web with Suunto app. But the transition will be provided slowly since there are a lot of improvement needed for the Suunto app. Some users with watches compatible with Suunto app are prompted to use Suunto app as well.”
So, according to this information Suunto is discontinuing both Movescount web app and Movescount smartphone app. I guess a brand new Suunto web app is in the works and will eventually replace the Movescount web app.
Verdict
All in all, I’m very satisfied with Suunto 9 watch and its features. I think that the watch is perfect for athletes and recreational exercisers alike. The watch has a ton of useful features, great battery life and looks amazing. However, there are also downsides. For me, the biggest downside is that I can’t sync the watch with Movescount without a cable. However, Suunto should be able to fix that and I believe they will soon. I was also disappointed over the accuracy of the wrist heart rate monitor, but I learned that all watches with wrist HR have this problem. If you are buying this watch I recommend the Baro version because the Baro version comes with scratch-resistant Sapphire glass and I can imagine that you don’t want to walk around with an expensive scratched watch. If you have any questions about the watch, drop me a line the comments section below.
Rating
| Design |  |
| Features |  |
| Software |  |
| Functionality |  |
We field tested this product. The rating shows its overall performance.About Rating
Pros:
- Battery consumption during workouts
- Design
- Sapphire glass
- Outdoor features (baro, altimeter and compass)
- Navigation (route navigation with altitude profile)
- Magnetic charging cable
- Accurate tracking
- Slim heart rate belt
Cons:
- Confusing apps
- Can’t sync to Movescount wirelessly
- Bug detecting heart rate belt
Where to buy?
Also available at:






How would you rate the durability of this watch? Can this watch be worn during physical labor?
Hi Ryan,
so far, so good. While hiking/climbing in the Dolomites I bumped the watch against the rocks several times by accident and there are no visible scratches. However, note that only the Baro version has Sapphire glass lens. I think it can be worn during physical labor without a problem.
Hello,
Great review 👍👌 do you recommend it for hiking? Or you think the likes of Garmin better?
Hi Hugo,
I’ve used it on quite some hikes by now and I do recommend it. However, if you are buying a watch only for hiking and don’t need fancy features such as wrist HR, I would rather go for Suunto Ambit 3. The GPS accuracy is better on Ambit watches and they are cheaper 🙂
If I’m running in the dark with gloves on I would need to take the gloves off and double tap the screen for the light to come on? I’ve read on many different reviews that if you press a button yes the light comes on, but it changes the screen (during an activity) and that you need to scroll back to the original screen. Sounds like a lot of work just to get a brief glimpse of the time in the dark. Can you speak to that?
Well, the light functionality indeed is a bit annoying, but I kind of got used to it 🙂 So, you have two options:
1. You set the backlight to “toggle” and you turn it on/off by touching the screen with two fingers
2. You set the backlight to “automatic” (default setting) and you turn it on for a couple of seconds by pressing any button on the watch
I find the automatic mode more convenient because I have touch screen disabled in sport modes. It’s really hard to use the touch screen with sweaty hands or gloves, so I see no reason to have it enabled. I turn the backlight on by pressing the middle button. The watch then changes the view which is a bit annoying, but I just quickly press the middle button a couple of times afterwards to come back to the original screen (you change screens by pressing the middle button).
Nevertheless, for running I use the 1 km autolap feature which turns on the backlight automatically for a couple of seconds after each kilometer and displays the crucial data. It also vibrates so you know when to check the watch. With this feature enabled, I rarely need to turn on the backlight manually.
Great review. Do you still have the S9 Baro? I currently have an Ambit2, thinking of changing. Does the Compass on the S9 Baro let you use MILLS (6400) instead of Degrees (360)? Also, how do you find the new Suunto Plus update? Thanks
Hi Chris,
Yes, I’m still using the S9 Baro and I’m very satisfied with it. However, I still have the Ambit 2 at home and I use it occasionally for hiking and mountaineering. Suunto 9 doesn’t have as good GPS antenna as Ambit 2 and it struggles getting GPS fix in narrow valleys. I unfortunately haven’t had a chance to test Suunto Plus feature yet, but it’s in my plan. Yes you can switch from degrees to mills in the settings. I just tried it out and it works great 🙂
Regards,
Blaz
Excellent review. The best I have found. I have been looking at changing from my Ambit 3. This review and comments has been a big help thanks.
I want a general every day tough watch for work and casual wear. Is the Baro best?
Hi Lance,
The Suunto 9 Baro is a good option. Alternatives are Garmin Fenix 7, Garmin Tactix and Suunto Traverse Alpha.
Regards,
Blaz