The Quick Answer
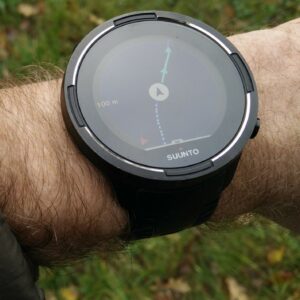
Suunto 9 Navigation
If you’re interested in Suunto 9 watch, you probably want to know what the navigation on this watch offers. Navigation is one of the core functionalities of Suunto 9. It’s especially useful for those who are into hiking, mountaineering and backpacking. Nevertheless, navigation is also great for running, cycling and other outdoor sports. Especially when you’re doing these sports in areas you don’t know.
In terms of navigation, the Suunto 9 watch supports compass, bearing navigation, routes, POIs (points of interest) “find back” and location. Note that the watch doesn’t support maps. For example, routes will only show as a breadcrumb trail for you to follow, together with your location and direction. However, you will not see the terrain, roads, trails, rivers and other geographic features. If the absence of maps is a deal breaker for you, do check out Suunto Vertical which is the first Suunto watch with maps. Garmin Fenix 7 watch also features maps.
In the following I’ll explain how the navigation on Suunto 9 watch works. We’ll investigate compass, bearing navigation, routes, POIs, find back functionality and location. However, let’s first explain how to access the navigation menu. In case some questions are left unanswered in this guide, feel free to leave a question in the comments section below.
Table of Contents:
How to access navigation
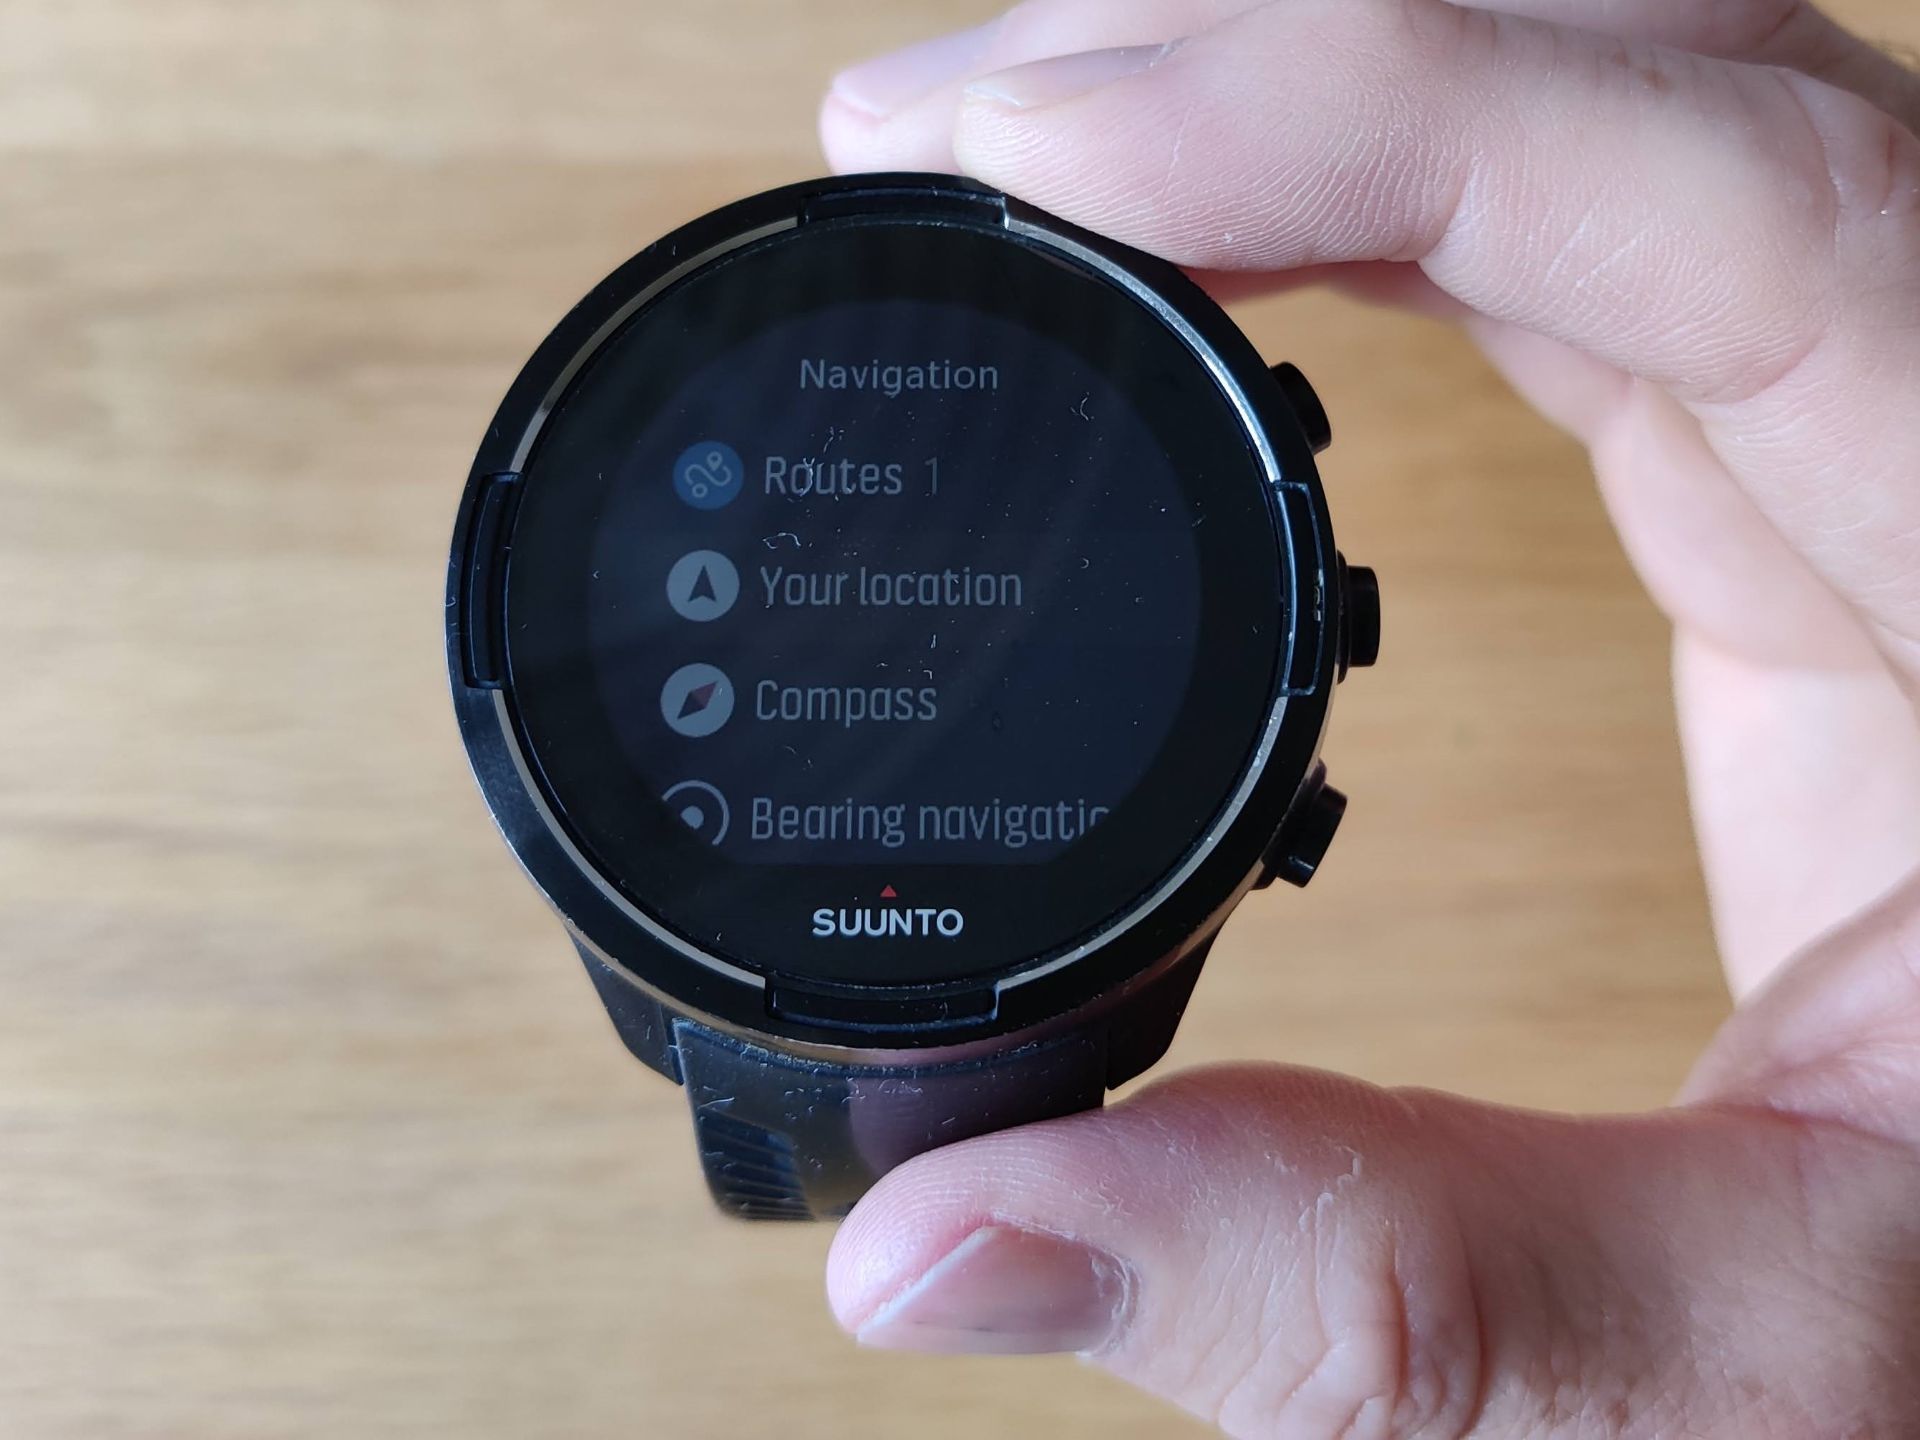
Navigation features on Suunto 9 watch are easy to access. There are two ways to access them.
- In sport mode (during exercise):
In sport mode you access navigation by holding the middle button on the side for 3 seconds and then pressing the bottom button until you reach the navigation item. Once you reach the navigation item confirm your selection by pressing the middle button. - Outside sport mode (for navigation only):
Outside sport mode, you access navigation by pressing the top button until you reach the navigation item. You confirm your selection by pressing the middle button.
Compass

Suunto 9 Compass
Compass is the simplest navigation feature built into the Suunto 9 watch. The watch features an electronic compass which is surprisingly accurate and works even when the watch is tilted. That’s indeed important because you can’t lie the watch flat on the map like an actual compass. When the watch is in compass mode it shows your current direction in degrees or MILs as well as with letters. For example, N for north, SW for southwest etc. The watch also shows the direction of north with a big red arrow and current time. The compass is the most basic navigation method that the watch supports.
Bearing Navigation
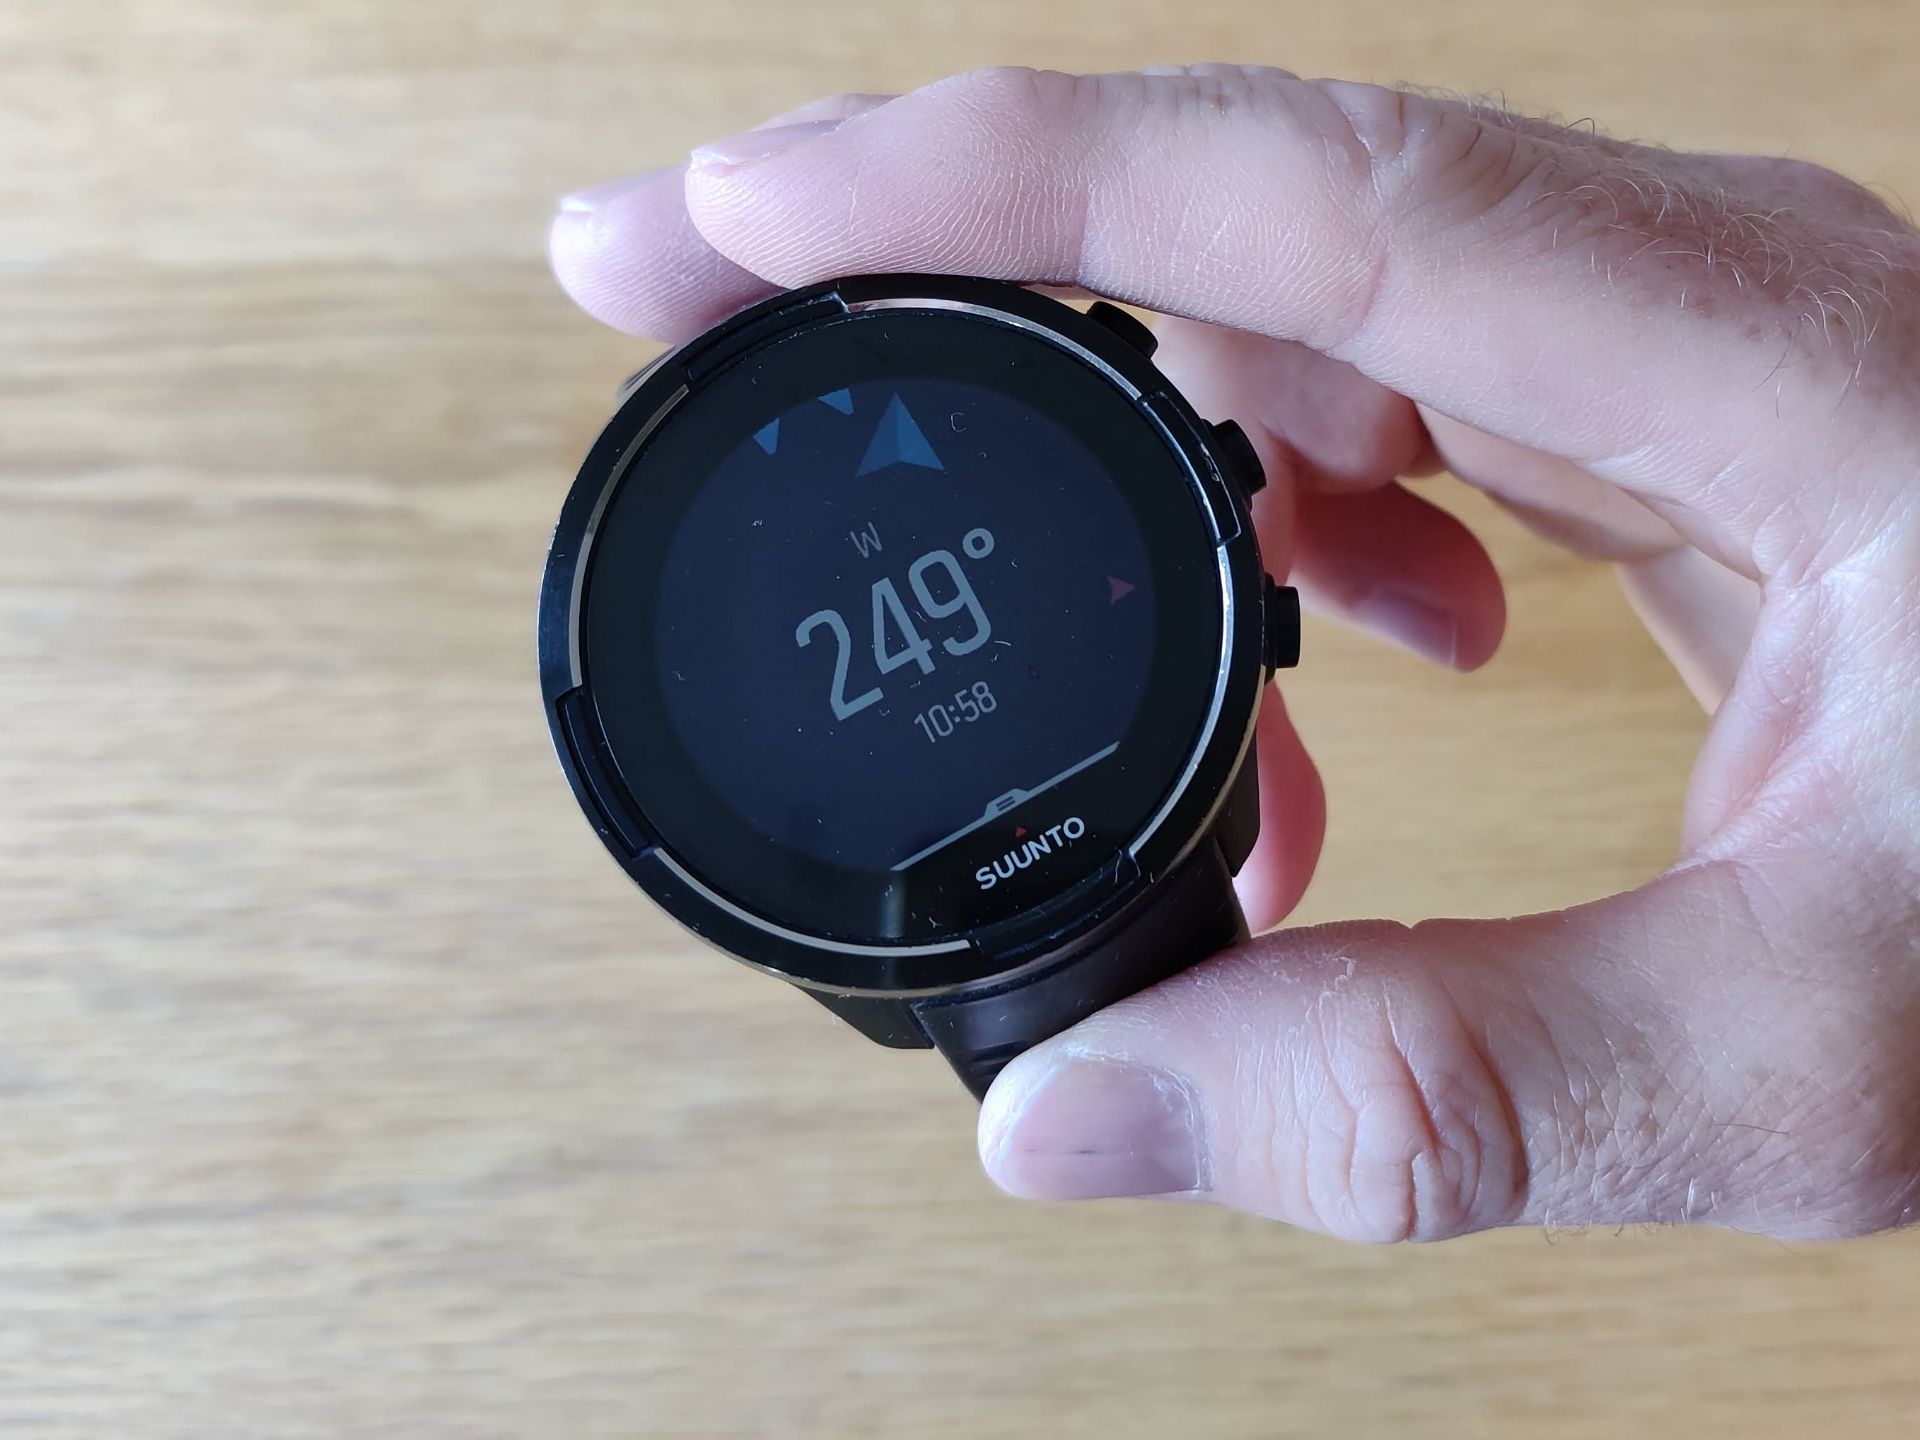
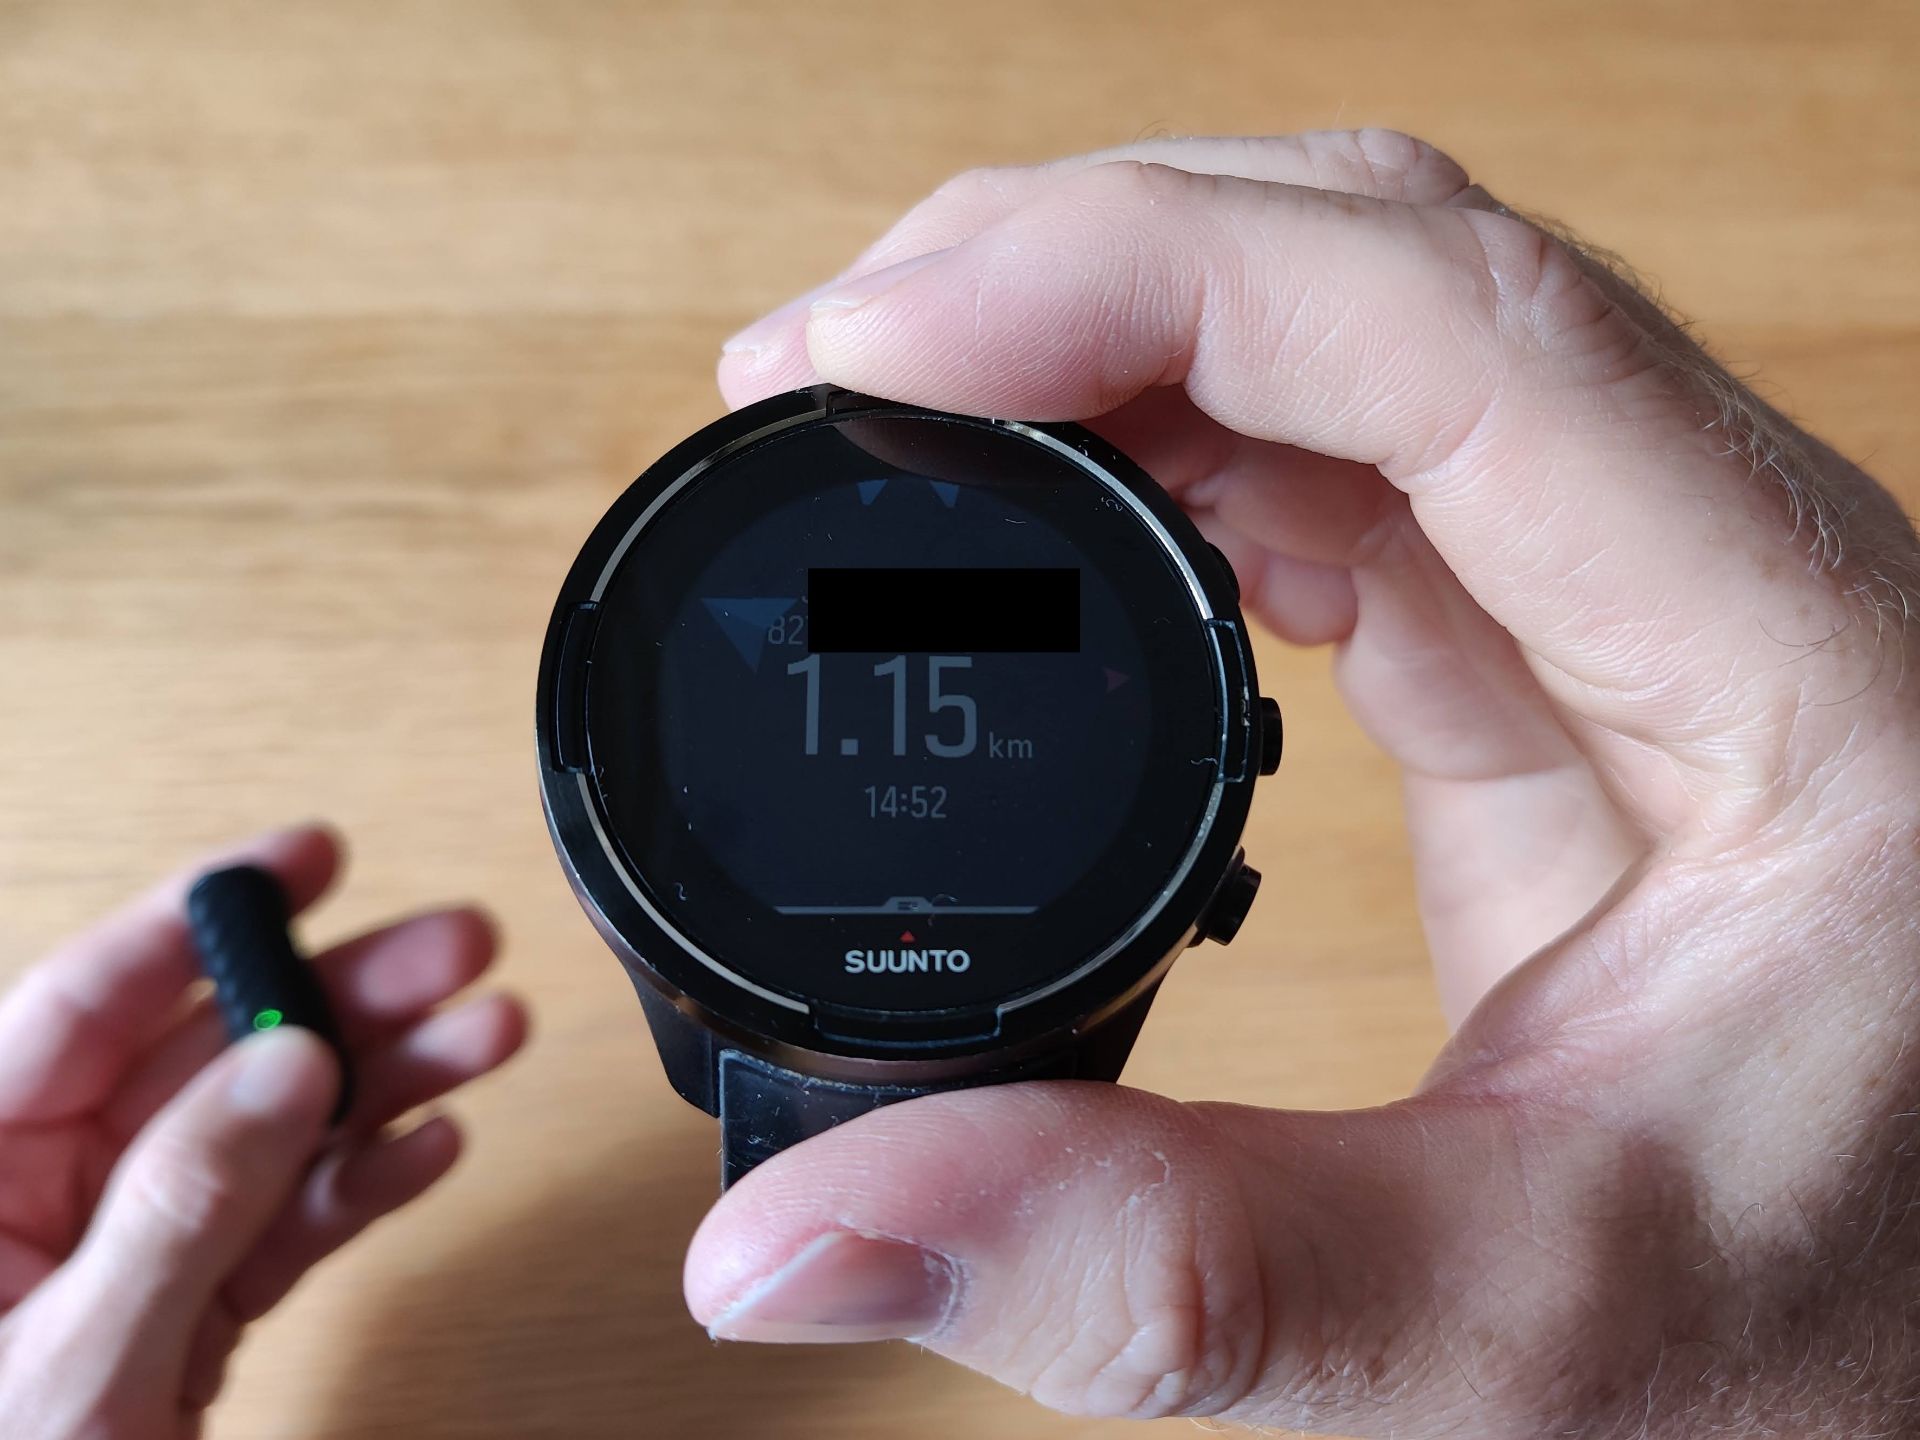
In bearing navigation mode you have to keep the big blue arrow within the two small triangles at the top
Bearing is the direction from your current position to your destination. Bearing is measured in degrees or MILs and can be calculated on the map or by pointing a compass at an object and reading the direction (for example 180 degrees). Suunto 9 watch enables you to lock the bearing. Once the bearing is locked You navigate by keeping the big blue arrow within the two triangles at the top (see images below).
When you lock the bearing, the watch will also prompt you to insert the distance to your destination as well as the altitude of your destination. Both parameters are optional. However, if you do insert the distance, the watch will show you how many meters more of walking you have left to reach your destination (requires GPS signal).
When the watch is in the bearing navigation mode it shows the big blue arrow which you should keep within the two small triangles, time, current direction and the direction of the north (small red arrow). If you inserted the distance of your destination, it shows the remaining distance instead of your current direction. If you press the middle button the watch switches the view and shows breadcrumb trail of your activity after you started the bearing navigation (requires GPS signal).
Bearing navigation is useful because you can set it directly in the watch. To set up routes and POIs you need access to the internet.
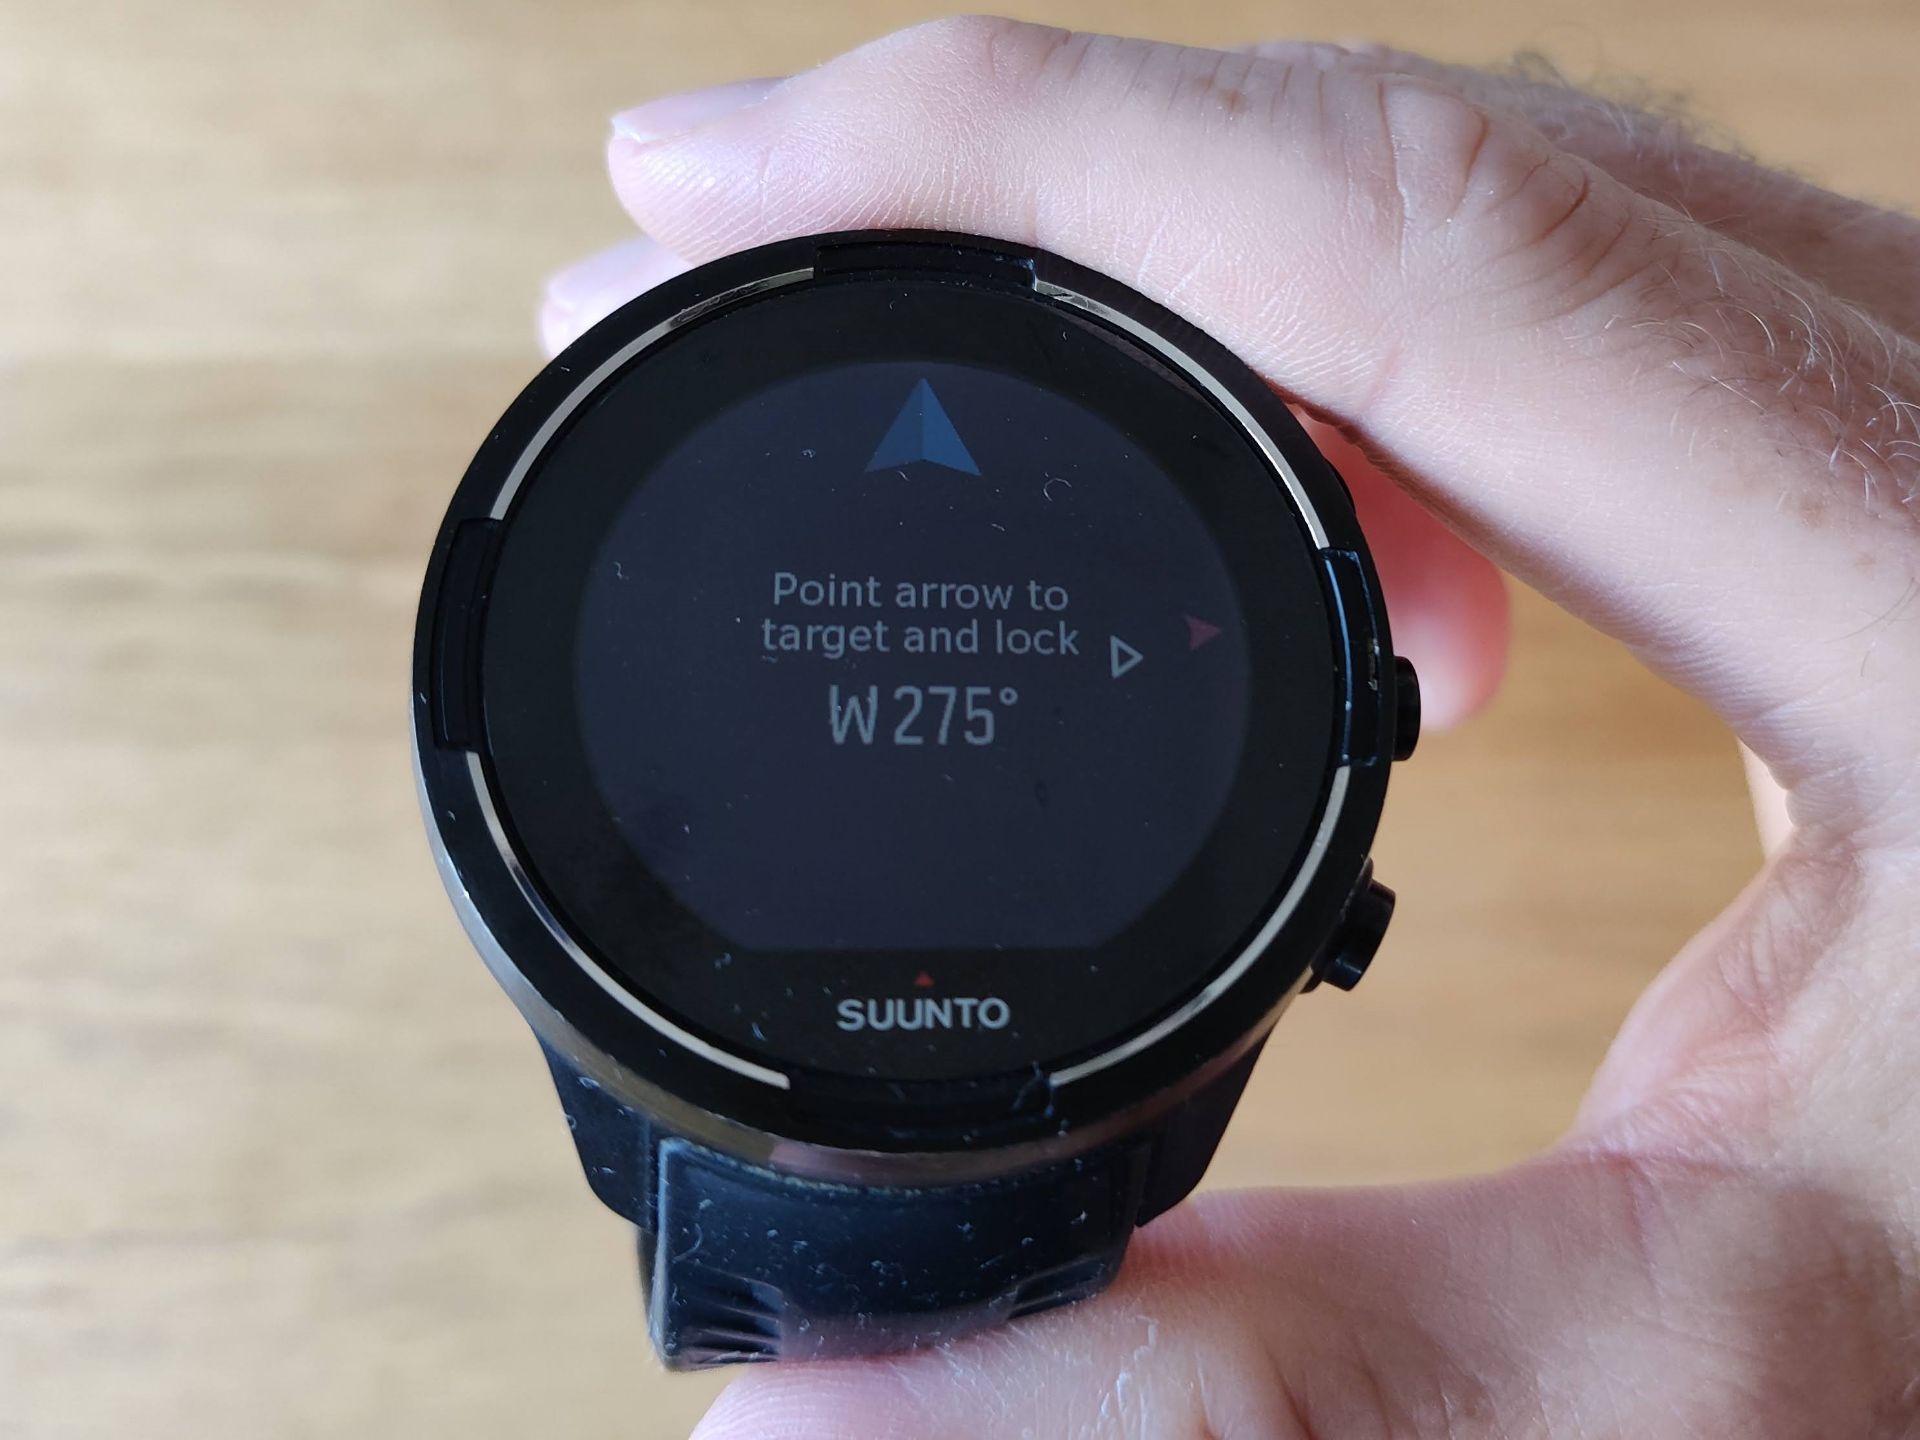
Setting up the bearing navigation
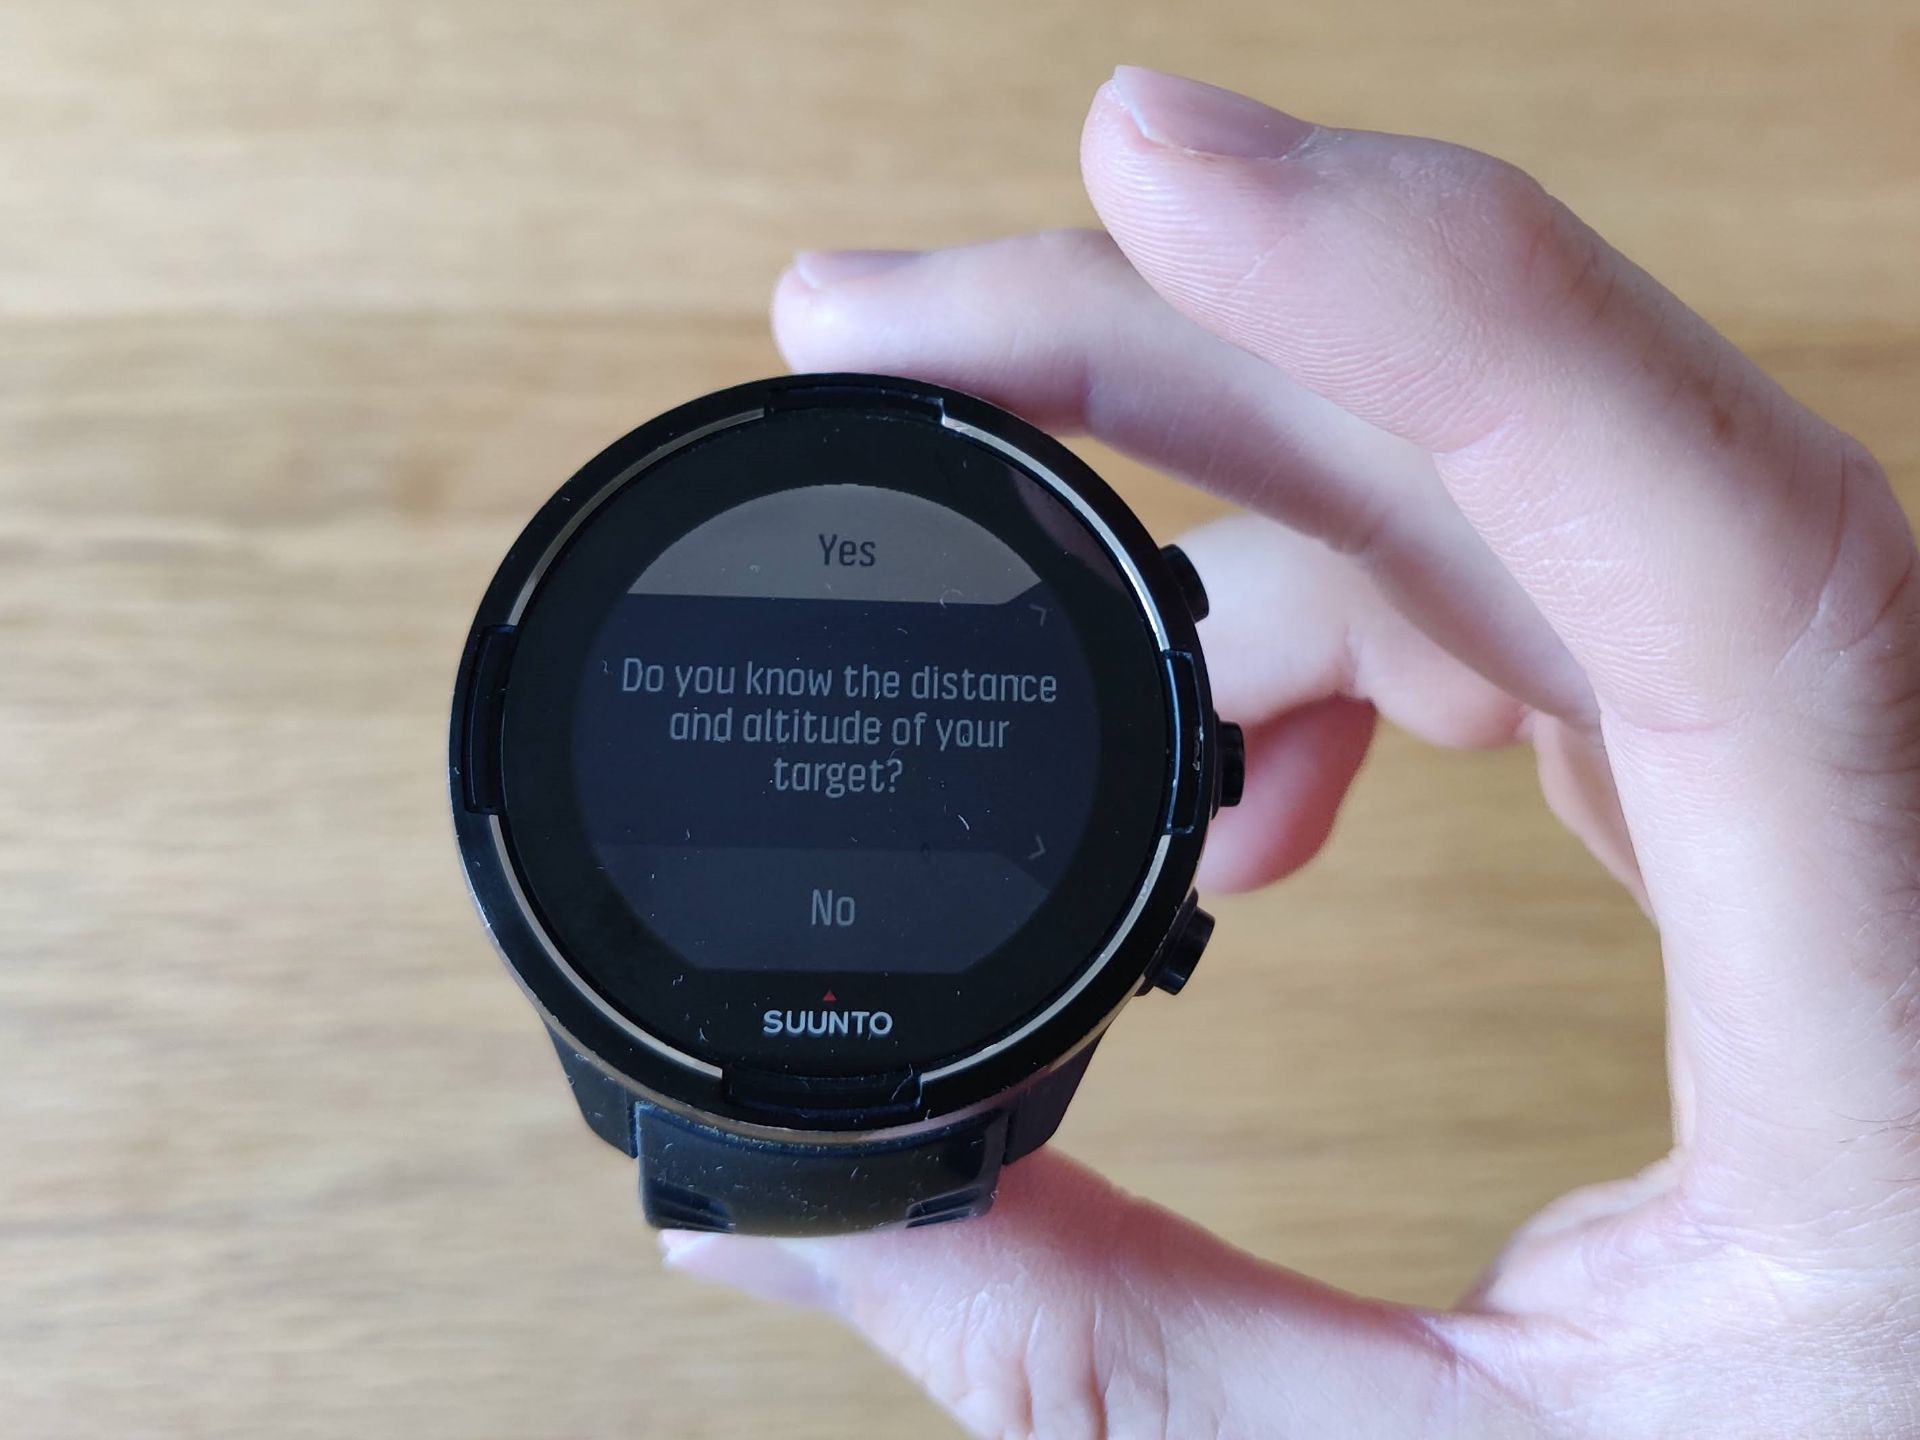
Watch prompts you for distance and altitude when setting up the bearing navigation mode
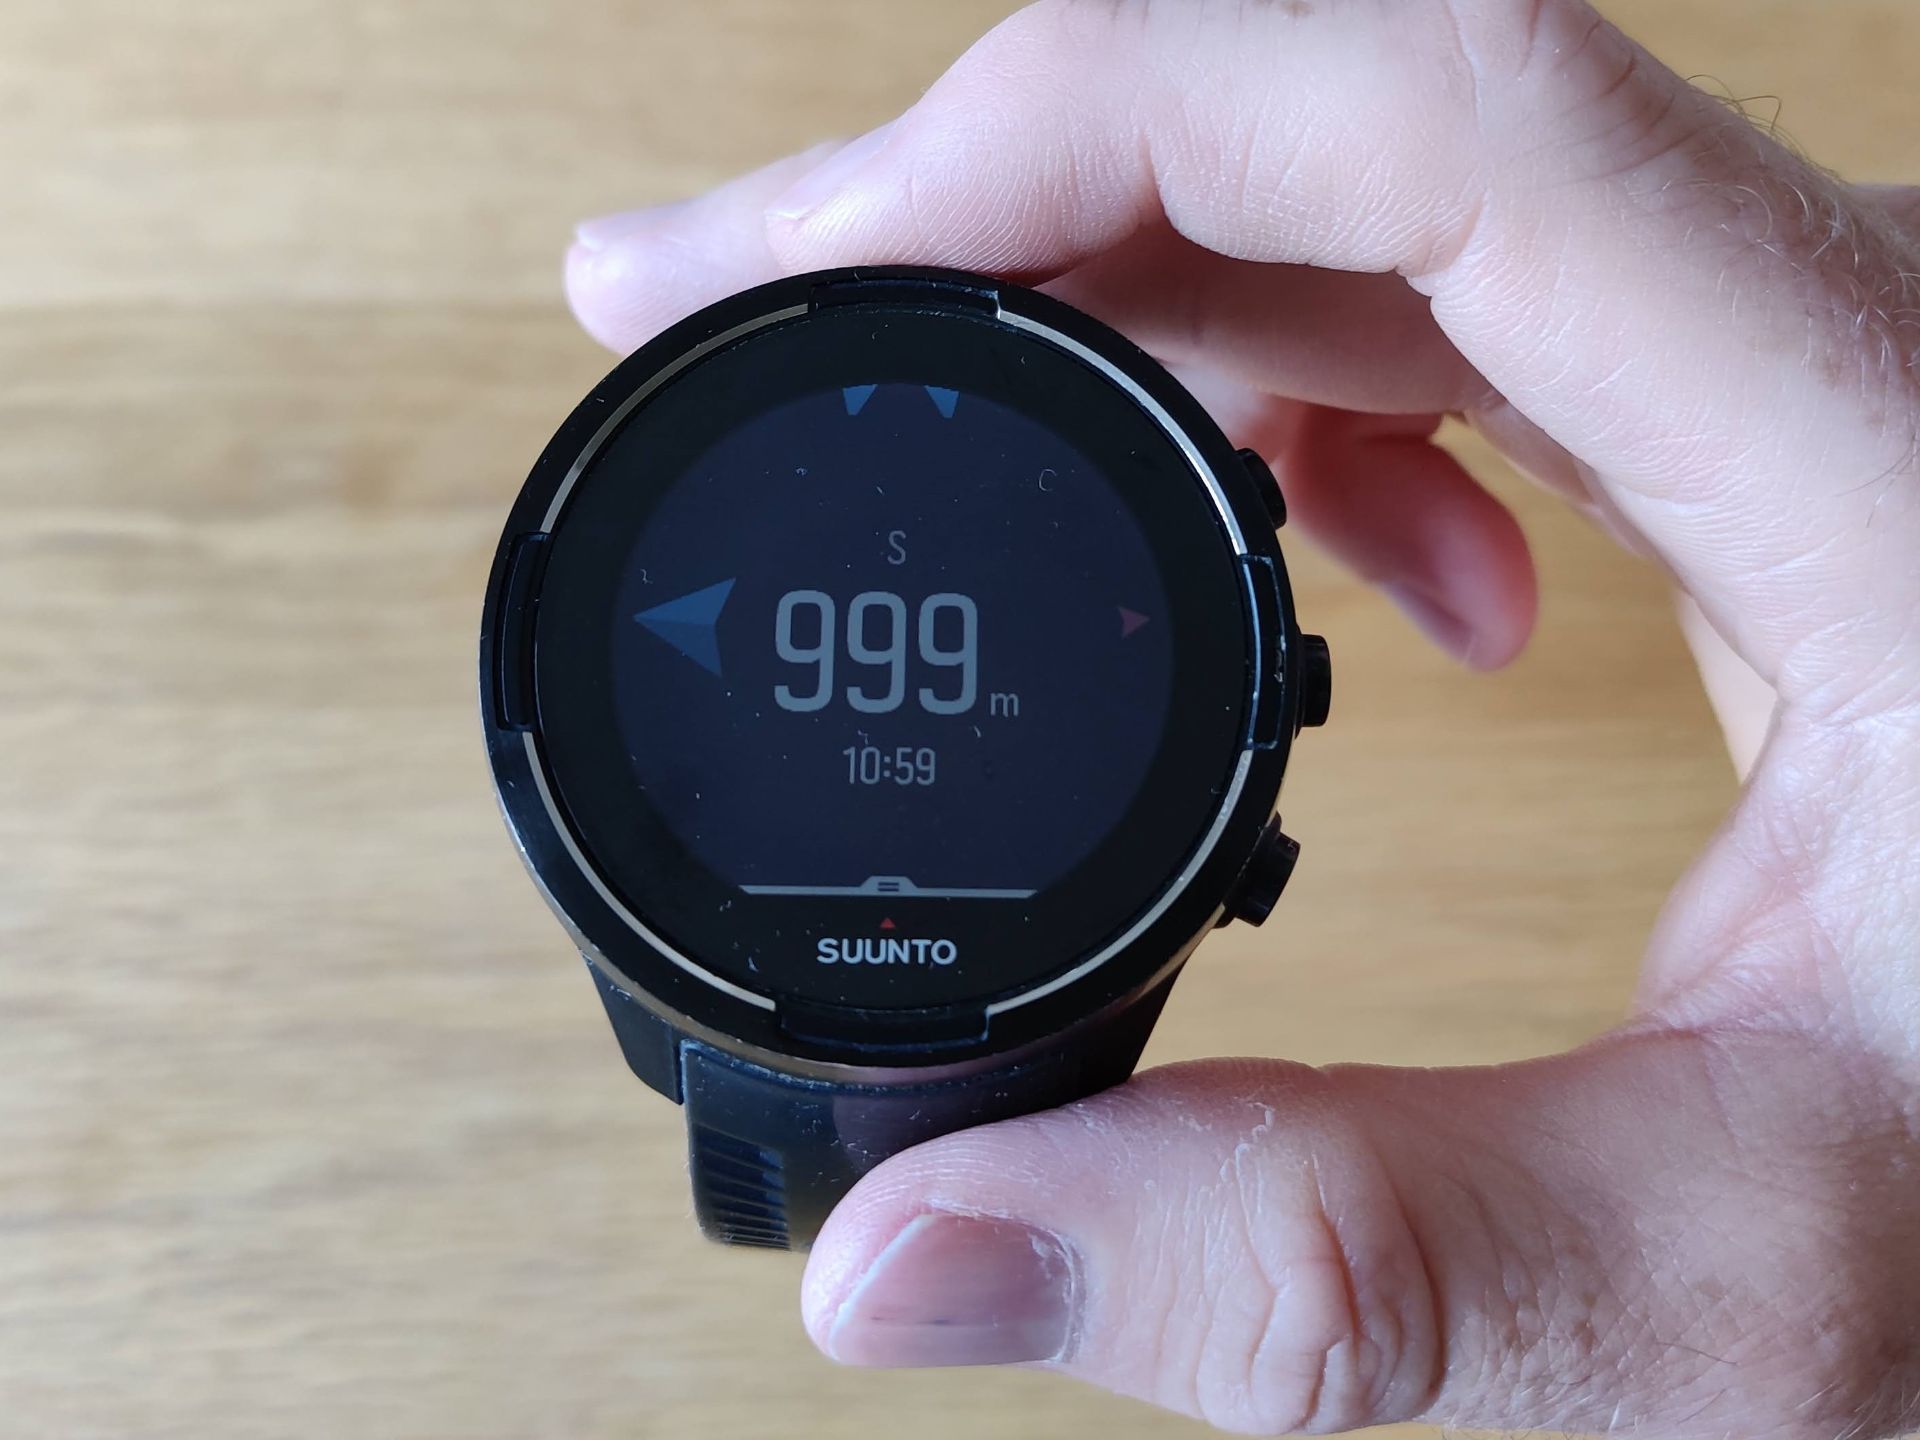
Bearing navigation when you know the distance to your destination
Routes
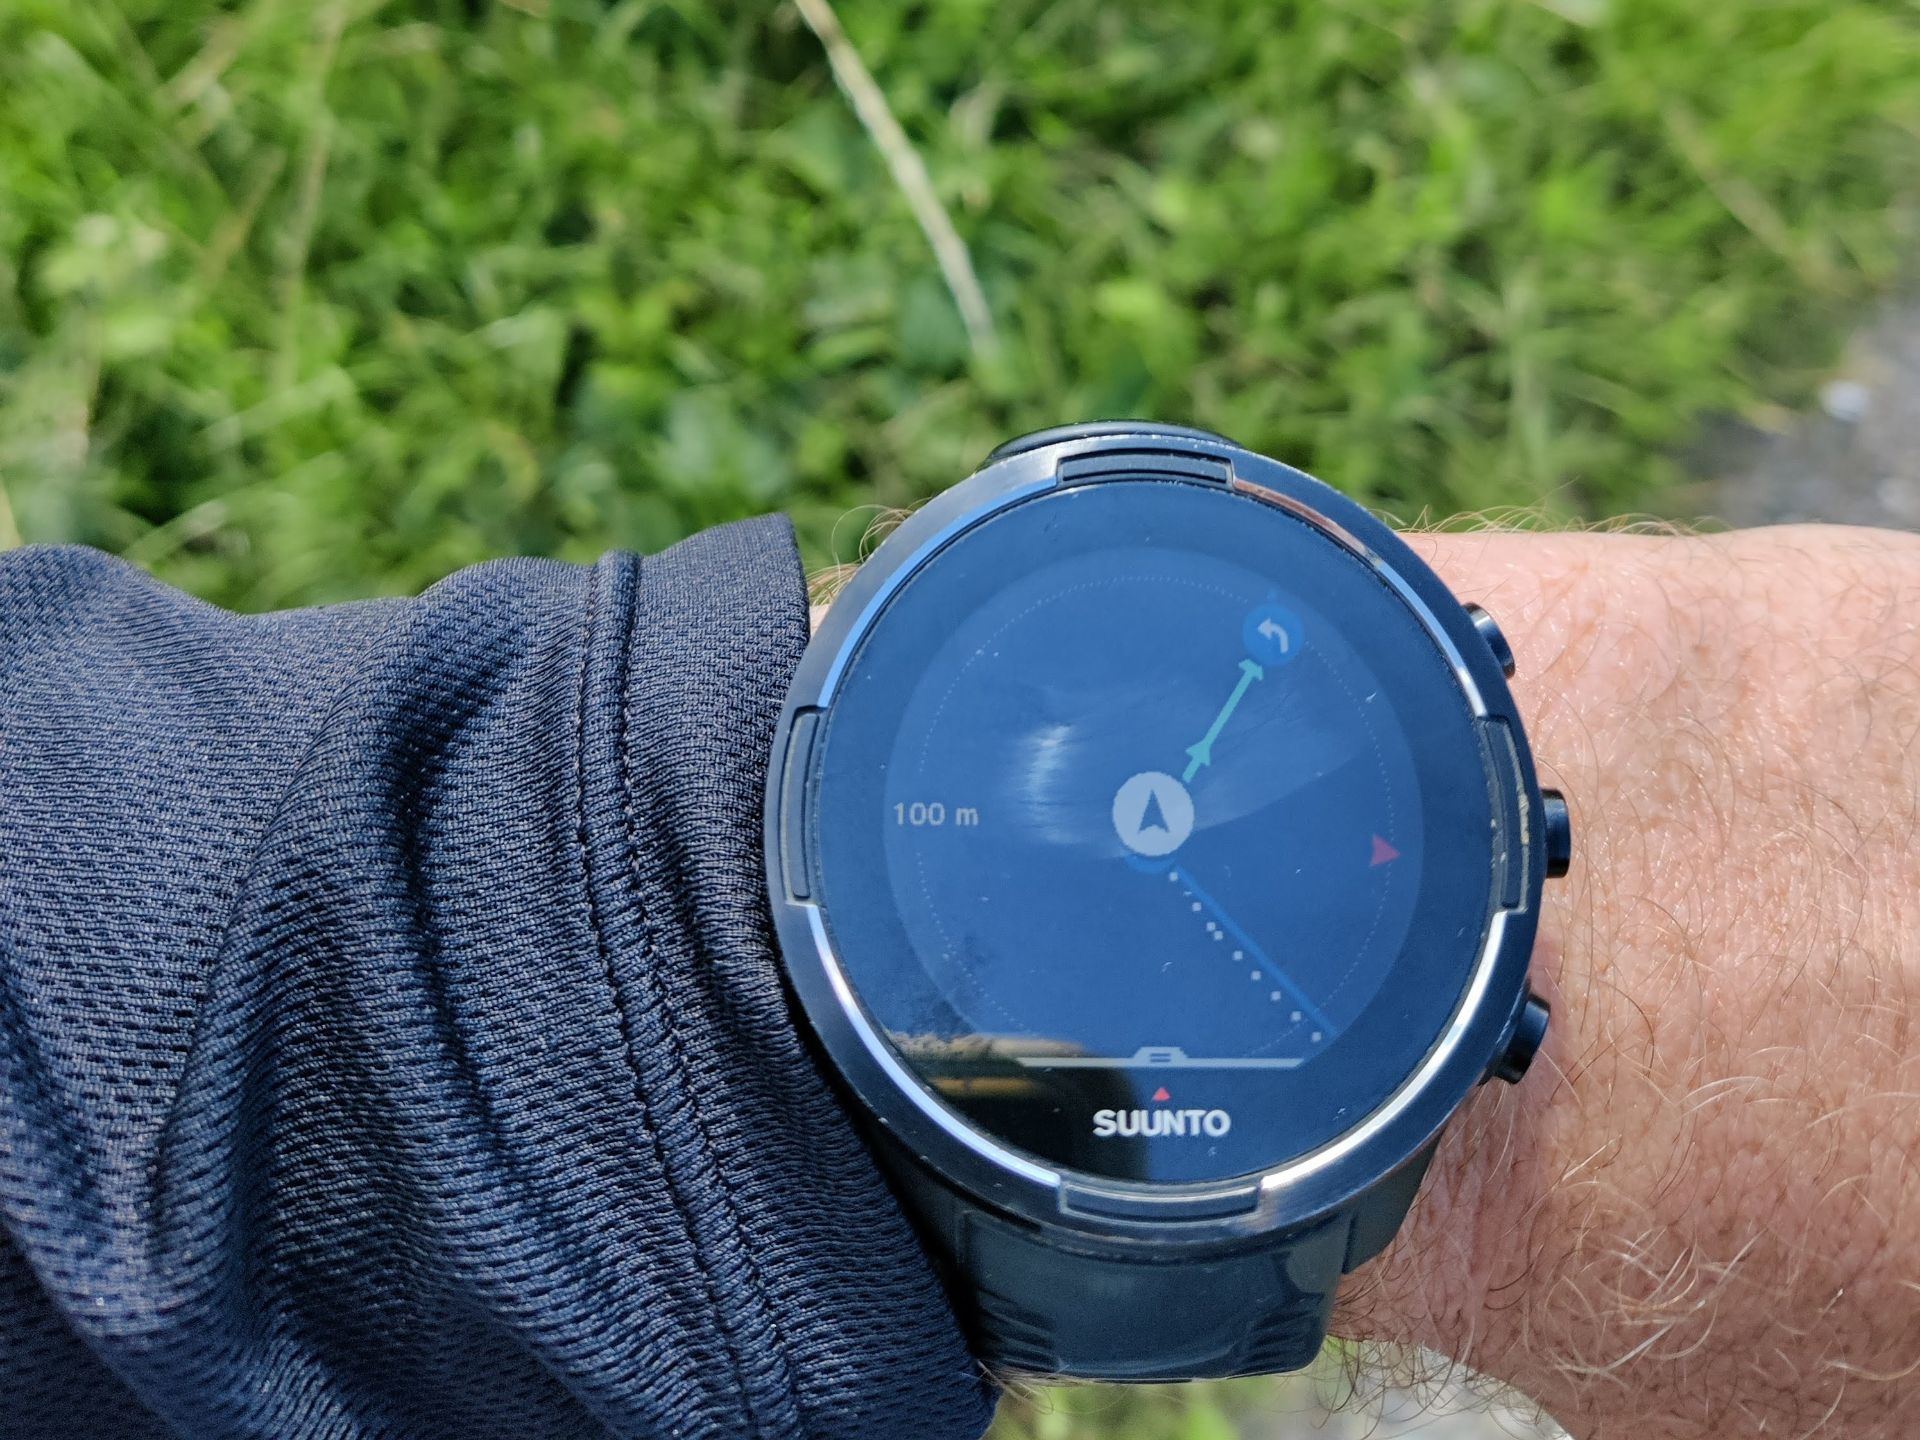
Route navigation mode
Routes are the most advanced navigation feature of Suunto 9 watch.
Planning the route
You plan routes in Suunto app which is available for iOS and Android operating systems. If you’d rather plan your routes on desktop, check out our article Suunto Route Planning: How to do it on PC without Movescount. Nevertheless, Suunto app has become really good for planning routes. It enables you to easily draw the route on the map and supports activity specific heatmaps (trails where many people run, bike, hike etc.), road types (asphalt, gravel etc.) and more. You can also add POIs (points of interest) to your routes by holding for a few seconds on a location on the map. The app supports many different types of POIs, such as crossroads, peaks, mountains etc.
When you’re done planning the route you give it a name and save it. If you check “Use in watch”, the route will automatically get synced to the watch. Here you can also enable “Turn-by-turn guidance”.
Using the route in the watch
When the watch is in route navigation mode it shows the route, your location and your direction. The route has arrows, so you don’t accidentally follow it in the wrong direction. 100 meters of the route is visible on the screen. In addition to that the watch also shows the direction of the north with a small red arrow.
If you press the middle button in route navigation mode, you change the view, and the watch shows the altitude chart of your route and your position on that altitude chart. That’s indeed a useful feature as it allows you to see whether the route will be ascending or descending in the next kilometers.
POIs on the route are shown with small icons and the watch warns you about them with sound alarm and vibration (depending on the settings).
If you enabled “Turn-by-turn guidance”, the watch will warn you when you should turn right or left. This works well on bigger roads but is a bit problematic on hiking trails. The watch will often say to turn right in 100 meters but since there might be a few trails to the right within the next 100 meters, it’s hard to know which one you should take without looking at the route navigation screen.
When route navigation is on, the watch will warn you if you go off route with sounds alarm and vibration, depending on the settings.
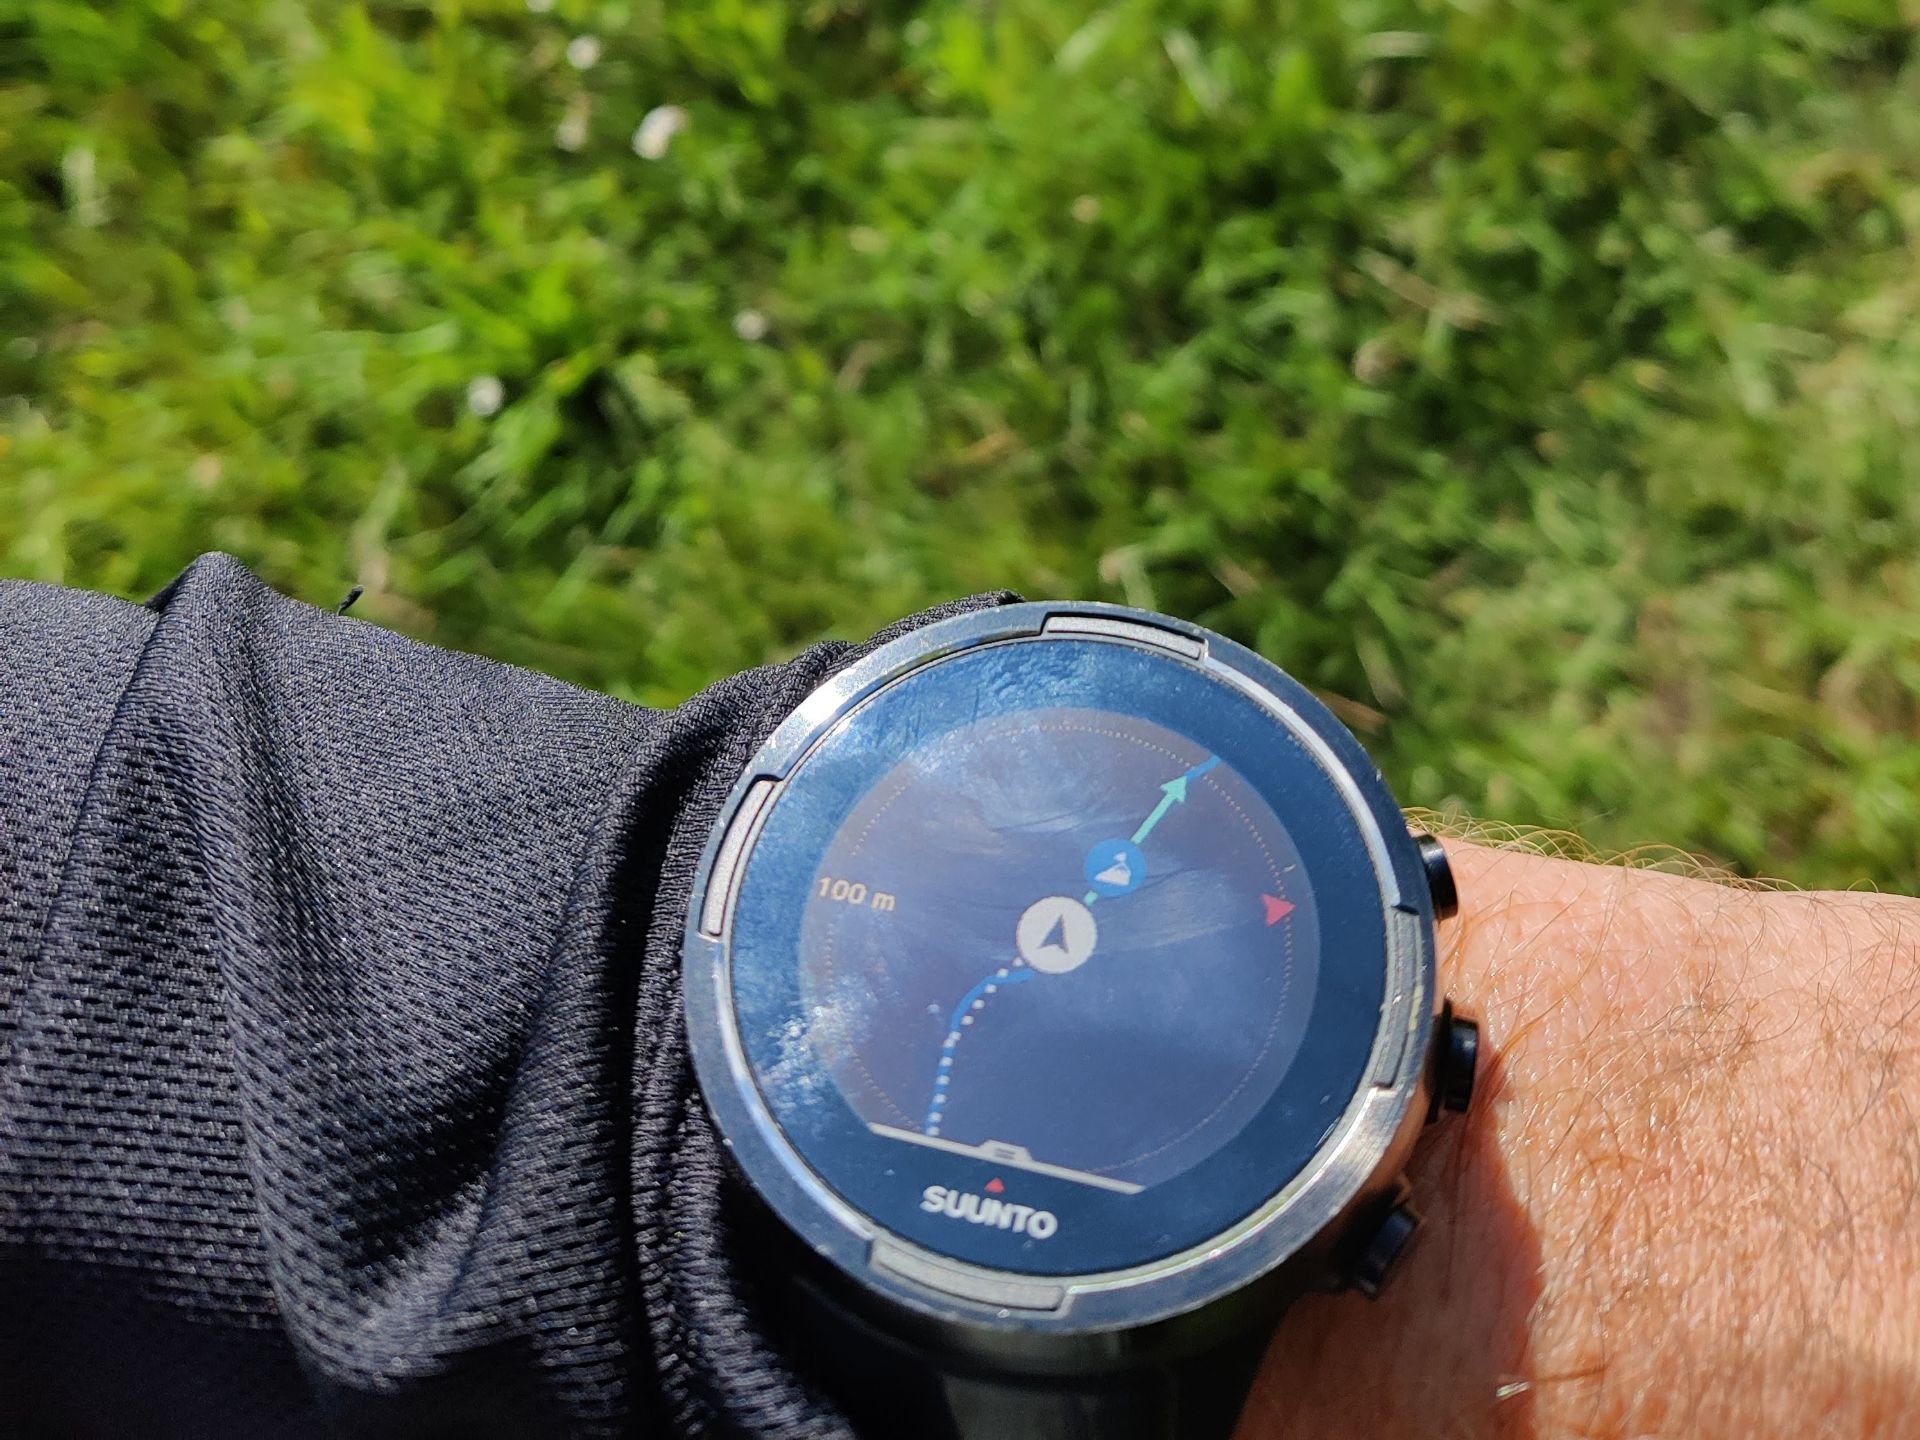
Route navigation – the peak POI is seen some meters from the current location
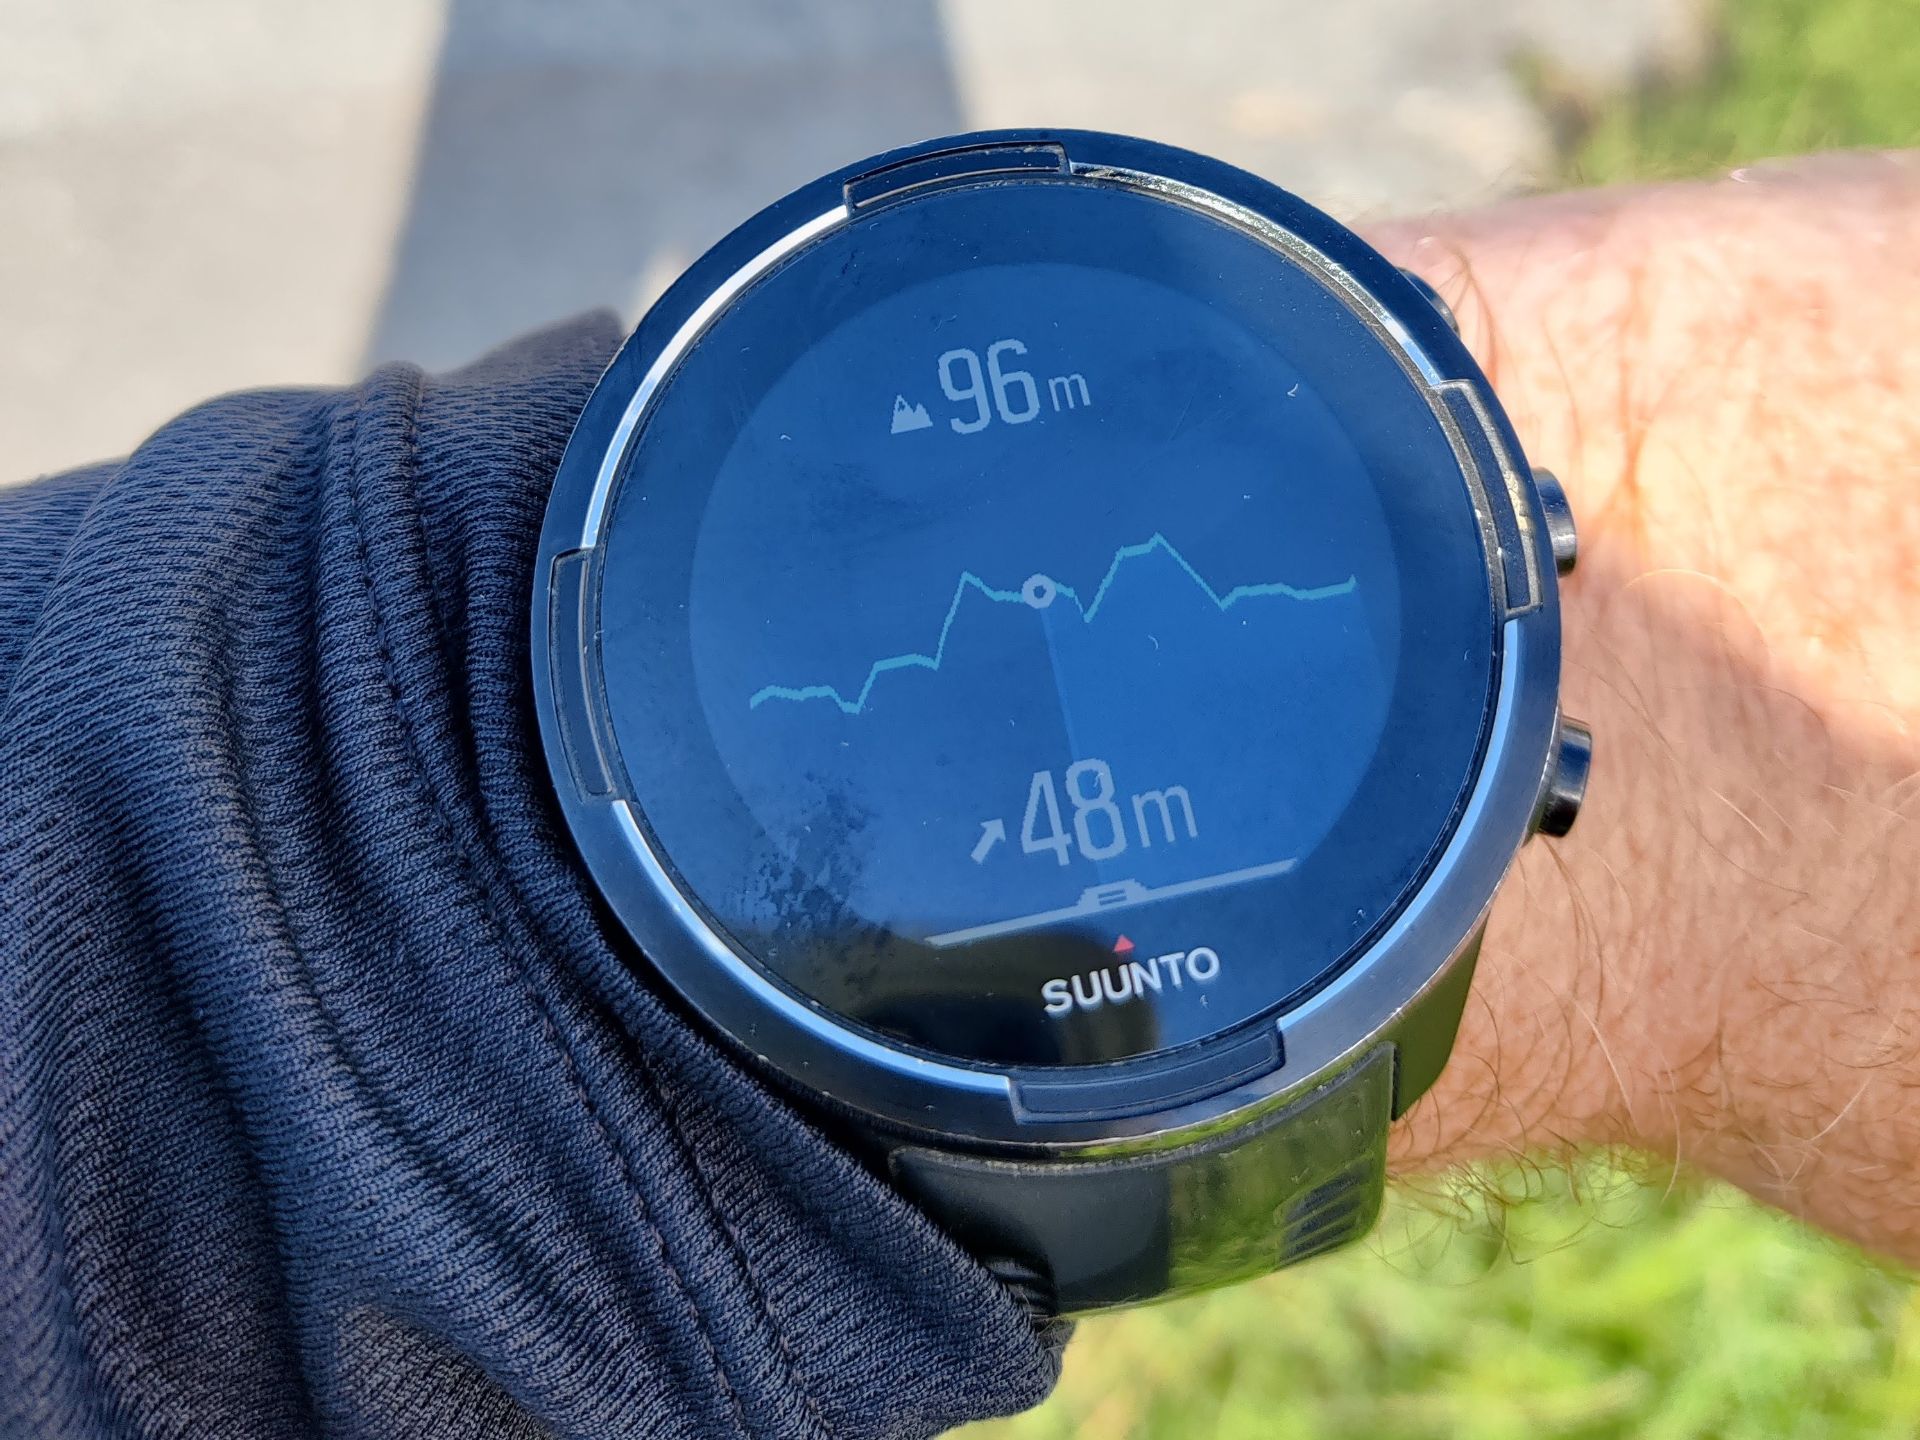
Current location on the altitude chart in route navigation mode
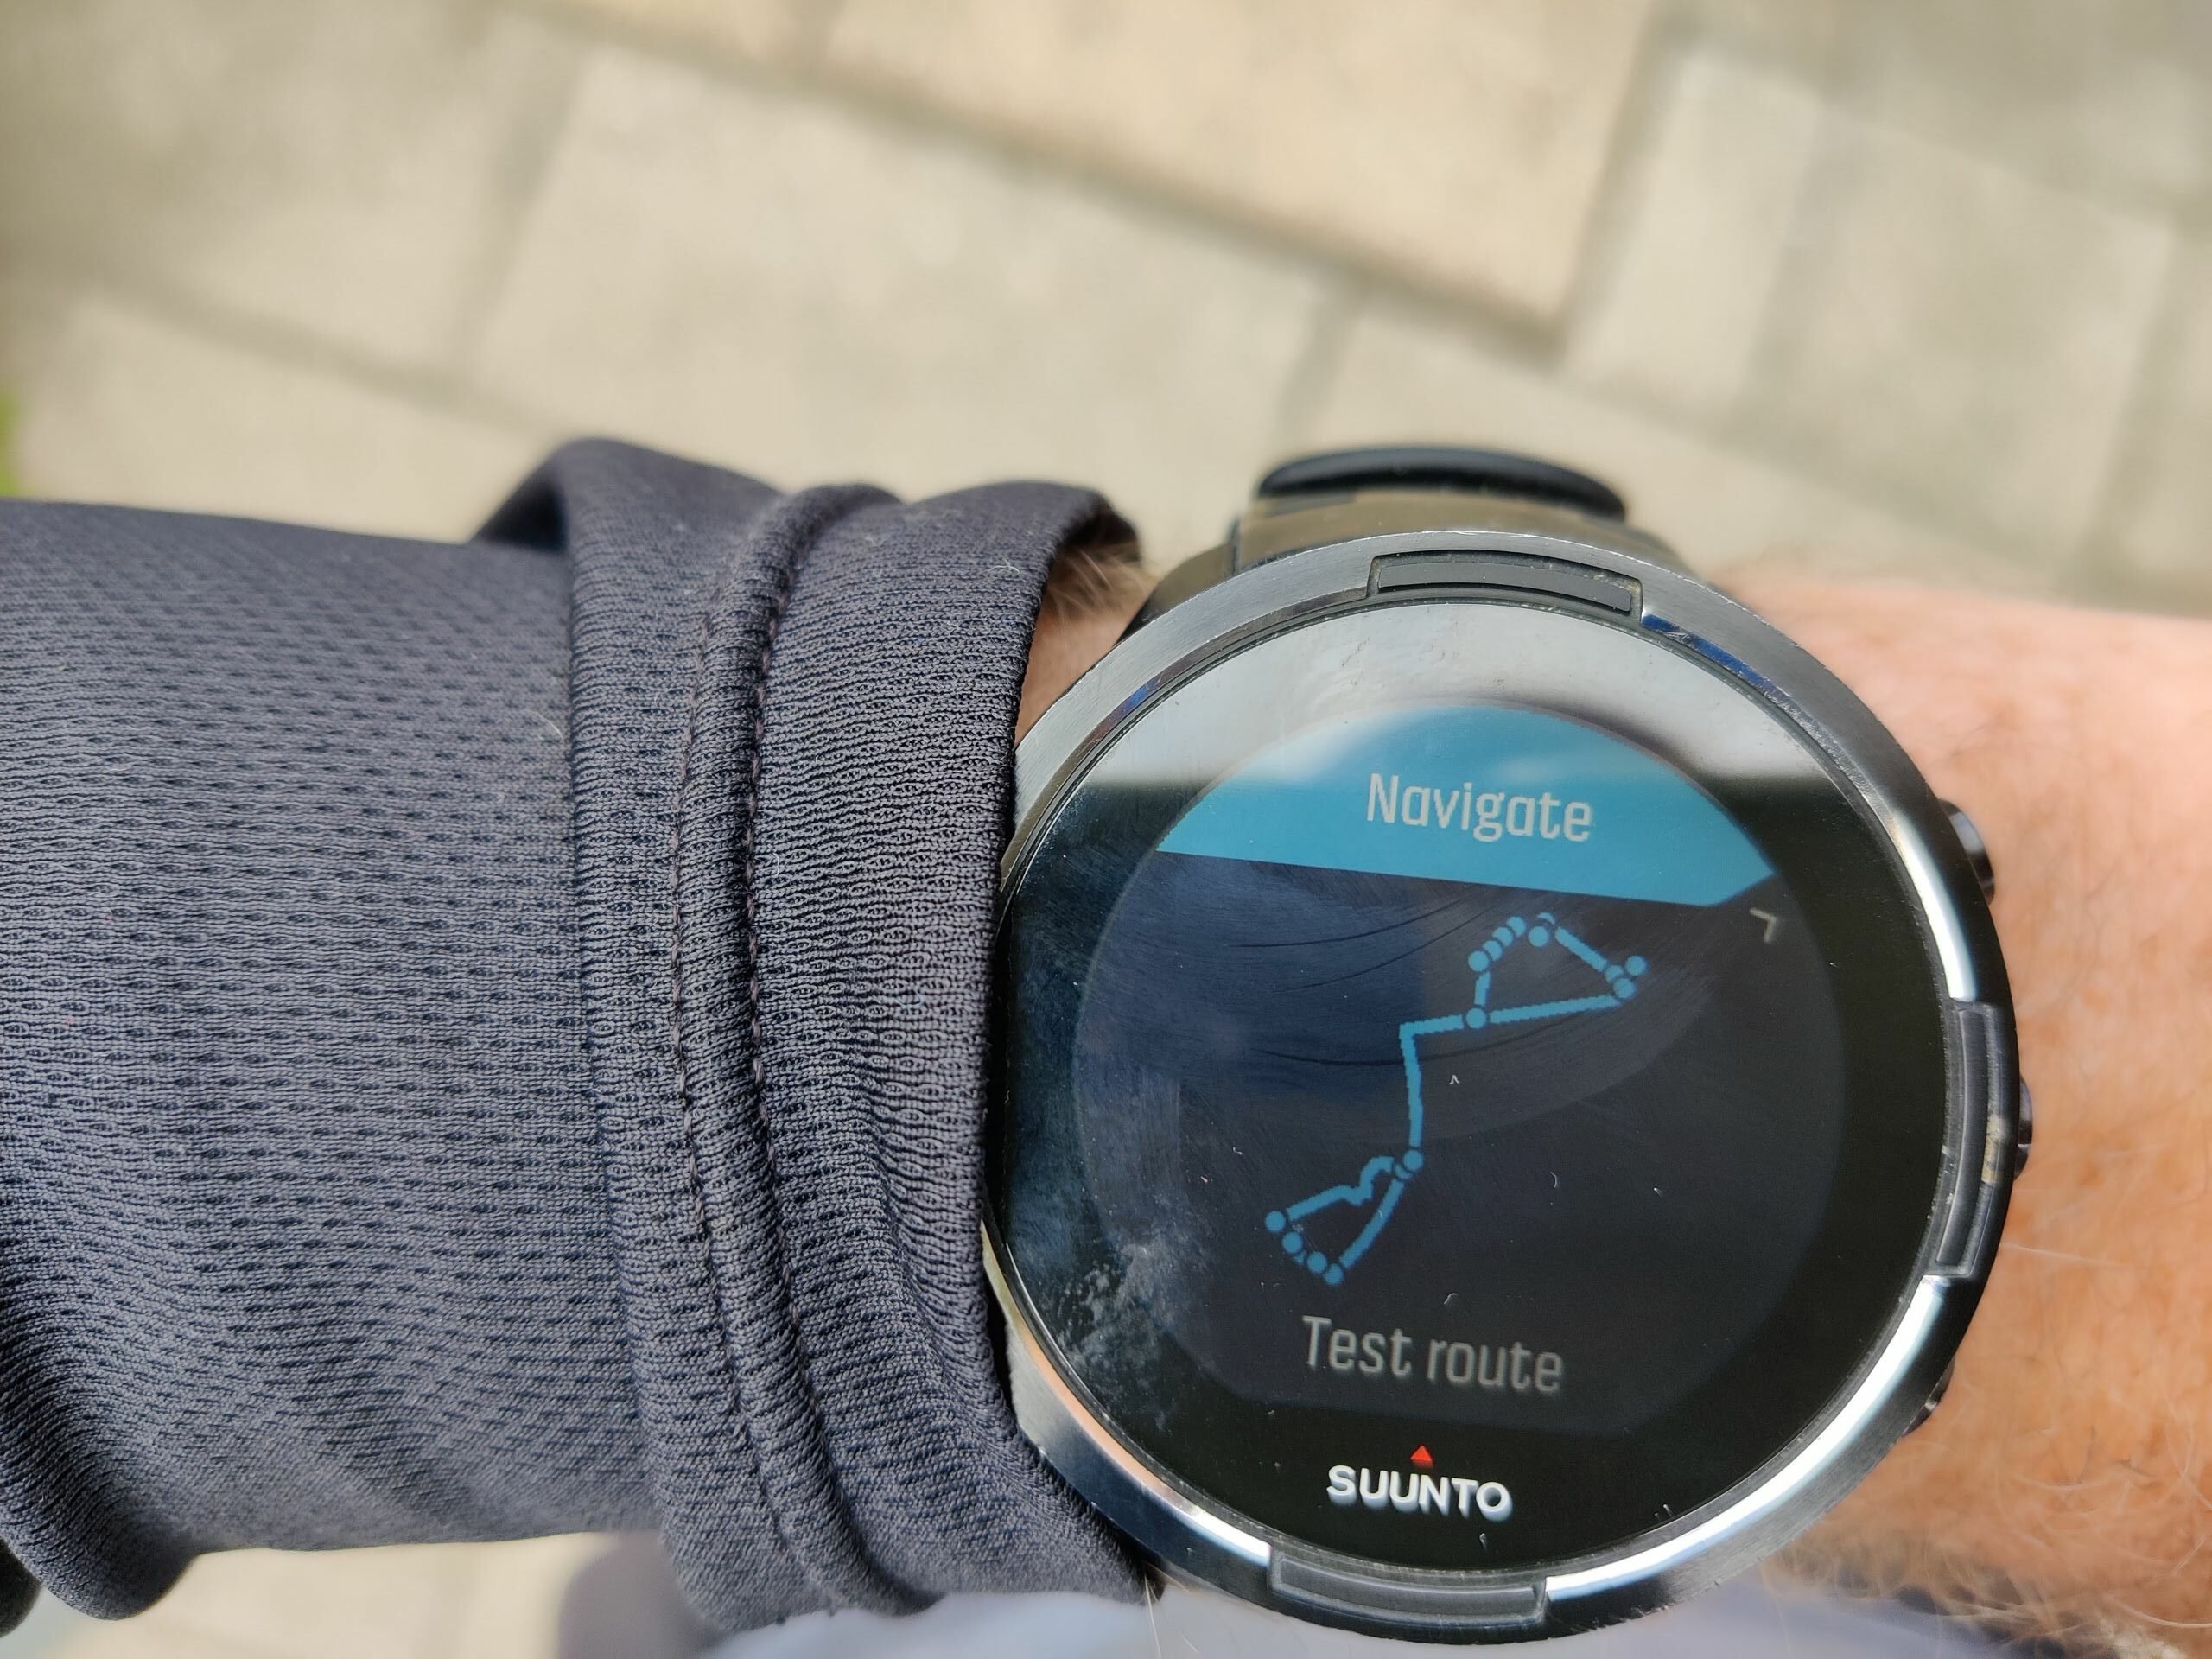
Starting the route navigation on Suunto 9 watch
POIs
POI Navigation: You have to keep the big blue arrow within the two small triangles at the top
Inserting POIs
POIs are inserted via Suunto App. You can’t insert them directly in the watch. In the app, you go to the map view and then you tap on location on map where you want to add a waypoint. A dialog box appears and there you tap “save waypoint”. The waypoint will be automatically synced to the watch.
Using POIs in the watch
POIs work similar to bearing navigation. When the watch is in the POI mode it shows a big blue arrow which you should keep within two small triangles for the right direction towards the POI, distance to POI, time and the direction of the north (small red arrow). If you press the middle button the watch switches the view and shows breadcrumb trail of your activity after you started the POI navigation. Here the POI will also be shown when it’s within 100 meters of your location.
Find back
The find back feature works the same as POI navigation (explained above). It simply converts your starting point into POI and then guides you to it. The only difference is that you can see the breadcrumb trail of your activity from before you started the find back feature in the second view which you access by pressing the middle button. That enables you to follow the exact same path back which is useful on steep terrain.
Location
The location feature simply outputs your current location in the position format of your choice. The watch supports many position formats such as WGS84, MGRS and UTM. This feature is useful in case of emergency because it enables you to quickly tell rescue services where you are. In this mode you can also save your current locations as POI.
Conclusion
The Suunto 9 watch has very powerful navigation capabilities, although it doesn’t support maps like some newer watches. It enables you to navigate along routes, find POIs and do more primitive navigation such as bearing navigation. I’m very satisfied with the navigation capabilities of Suunto 9 watch. The only thing I wish is that you could insert POIs directly on the watch by specifying the coordinates. This would make navigation capabilities much better in areas without internet access. Routes and POIs currently require access to the internet because they can be inserted only via the Suunto App.
I’d love to hear about your thoughts on navigation with Suunto 9 watch. Write them in the comments section below.