Passo Falzarego – Lagazuoi Trail
About Passo Falzarego – Lagazuoi Trail
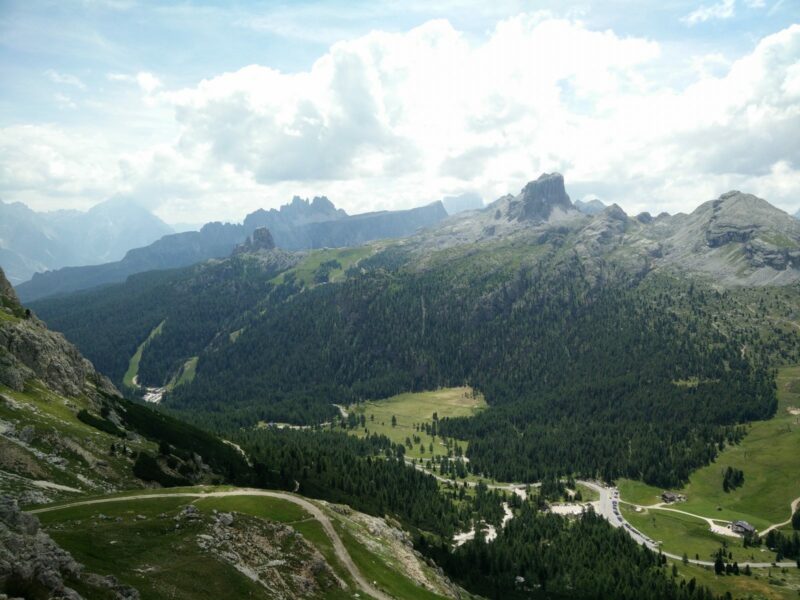
In the summer of 2018 we decided to go to the Dolomites in northern Italy for a few days. After a brief research online, we concluded that we wanted to stay near the town of Cortina d’Ampezzo because this area is known to be a paradise for mountaineers, hikers and trekkers. However, as we couldn’t find any campsite in Cortina d’Ampezzo, we booked the Sass Dlacia campsite, not far from Cortina d’Ampezzo and close to the Falzarego pass – a starting point for many hiking trails. Booking the Sass Dlacia campsite was indeed the right decision. The campsite is very clean and organized, with a perfect location. It is located 1700 meters above the sea level and only 9 kilometers from the 2105 meters high Falzarego pass, where we started most of our hikes. Note that sleeping at 1700 meters above the sea level also helps you to adjust to high altitudes.
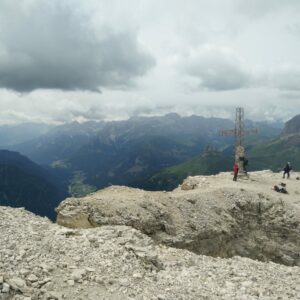
For our first hike in the Dolomites we decided to ascend the 2778 meters high Lagazuoi from the Falzarego pass. Lagazuoi is a very popular peak because the trail to the top is not technically difficult (no special gear required in summer) – unlike at other peaks of this altitude. Furthermore, if you start at the Falzarego pass you can reach the top in less than two hours. Those who are not into hiking and mountaineering, can instead take the Lagazuoi Cable car which whisks you from the Falzarego pass to the Rifugio Lagazuoi (mountain hut) near the top in a couple of minutes. From the cable car station at the mountain hut it only takes 10 minutes or so to reach the top of Lagazuoi. However, we decided to take the regular trail from the Falzarego pass to the top and below is the trail review.
Passo Falzarego – Lagazuoi Trail Details
Physical Difficulty
Medium
Technical Difficulty
Medium
Duration
2h 30 min
Distance
4.42 km
(2.75 mi.)
Ascent
682 m
(2238 ft.)
Descent
56 m
(184 ft.)
Highest Point
2778 m
(9114 ft.)
Lowest Point
2182 m
(7159 ft.)
Date of the Hike Date when we did this hike ?
August 2018
Weather On the day when we did this hike ?
Partly cloudy
Temperature On the day when we did this hike ?
25° C
(77° F)
Wind On the day when we did this hike ?
5 km/h
Warning!
This trail has a few steep sections and requires good footwear, steady footing and no fear of heights.
Passo Falzarego – Lagazuoi GPS Route and Trail Description
*Click on the chart to see the location on the map
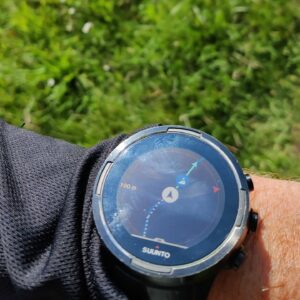
GPX route helps you with the navigation on a hike. It can be used with a smartphone, handheld GPS device or a GPS watch.About GPX Route
Reaching the starting point
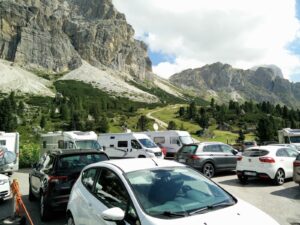
The trail starts at the Falzarego pass which is located 19 kilometers from the town of Cortina d’Ampezzo. You can leave your car free of charge on one of the many parking lots there. We parked our car on the big parking lot at the lower cable car station (coordinates 46.519934, 12.008356). The above attached GPS track starts exactly at this parking lot.
If you are arriving from the west (e.g. western Italy, western Austria etc.) you should drive along the Italian A22 highway (Verona-Trento-Bolzano) until you reach the Bressanone – Val Pusteria exit. Take this exit and proceed on road SS49 towards Brunico. In the town of San Lorenzo di Sebato turn right towards Badia and the road will take you through the towns of Montana, Longega and La Villa Stern to the Falzarego pass. Park your car on the parking lot at the cable car station.
If you are coming from the east (e.g. Slovenia, eastern Italy etc.) drive along the Italian A27 highway towards Belluno and then on road SS51 towards Pieve di Cadore. Just before the town of Pieve di Cadore turn left towards Cortina d’Ampezzo. Go through Cortina d’Ampezzo and keep left. Soon the road will start ascending towards the Falzarego pass. There you can park your car at the cable car station.
You can also reach the Falzarego pass by bus from Cortina d’Ampezzo. Bus number 30 seems to drive from Cortina d’Ampezzo to Falzarego pass quite regularly (every 1.5 hour or so).
Trail
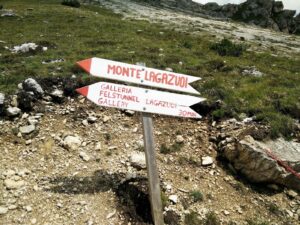
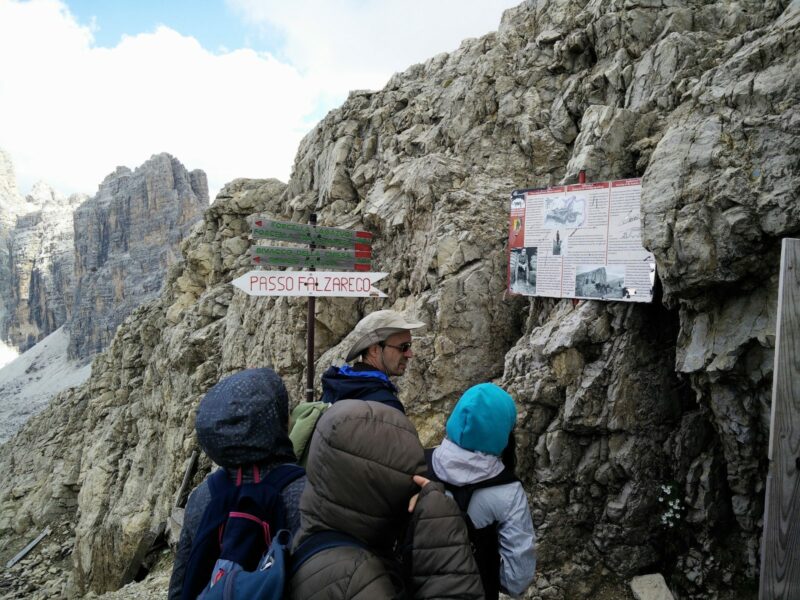
There are many direction signs along the trail as well as hikers going up and down the mountain and therefore you shouldn’t have any problems navigating your way to the top. If you want to take the regular path to the top like us, just follow the direction signs for Monte Lagazuoi. There is also another path, called Galleria, which takes you to the top through the tunnels from the First World War. However, we decided to take the regular path to enjoy the nature and fresh air. For easier navigation you can also download our GPS track above for free and use it with your smartphone or handheld GPS device.
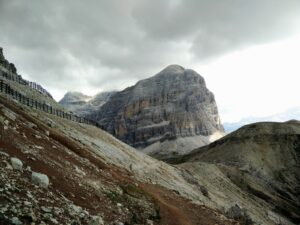
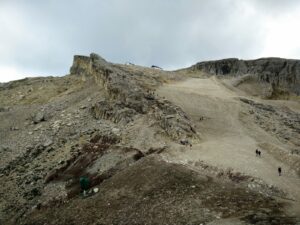
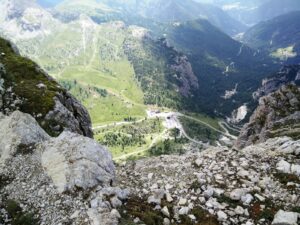
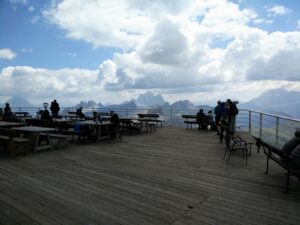
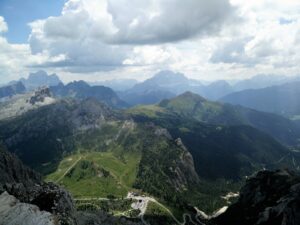
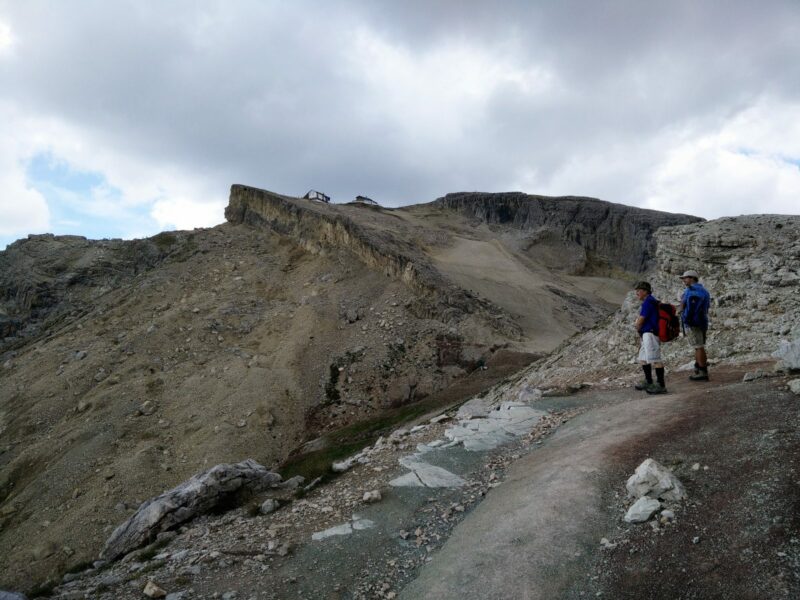
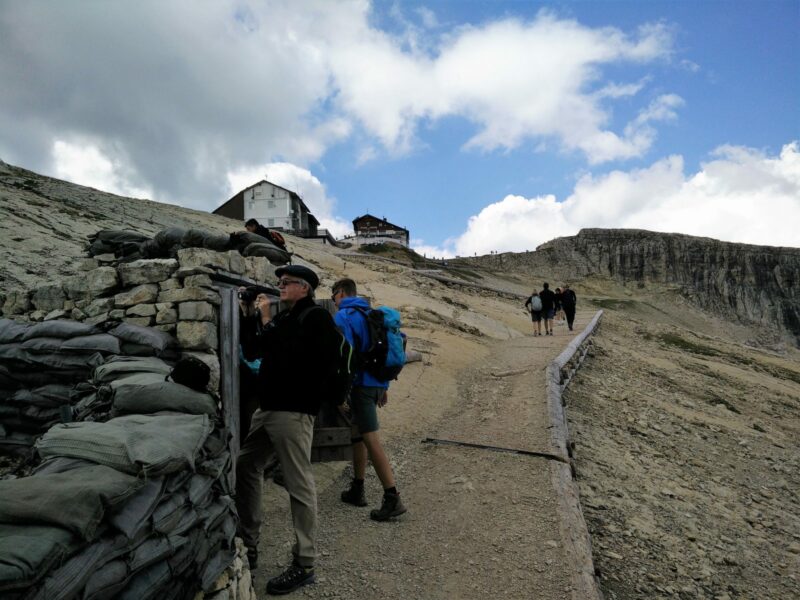
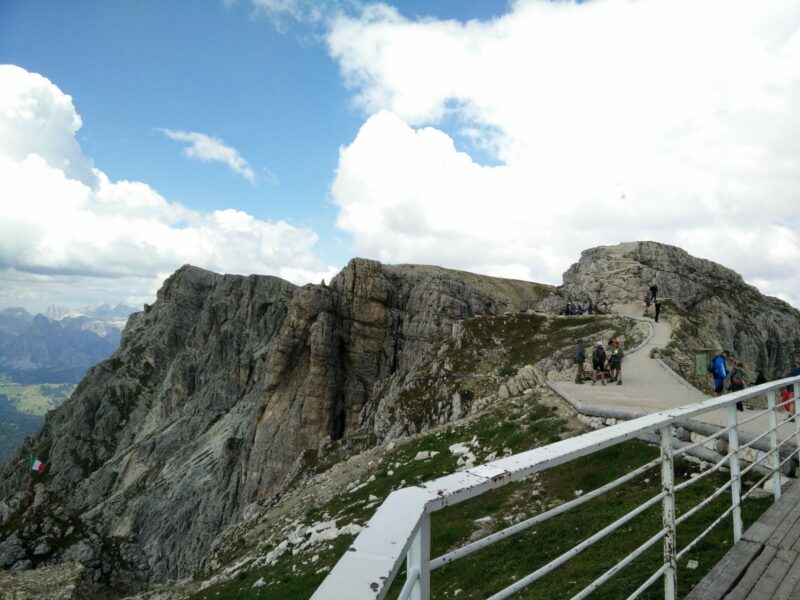
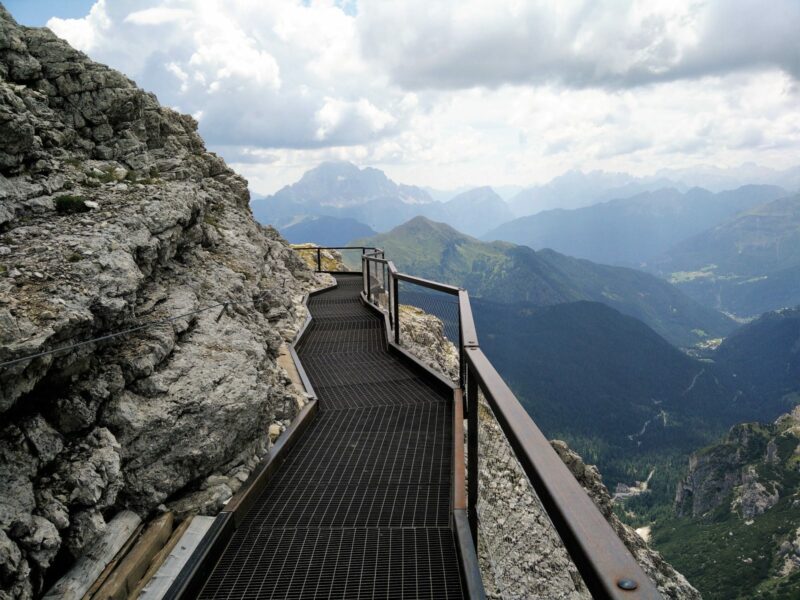
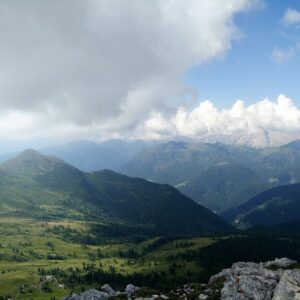
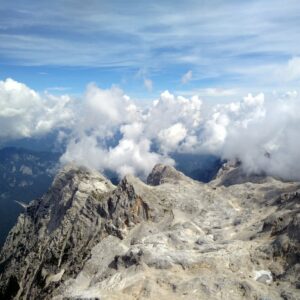
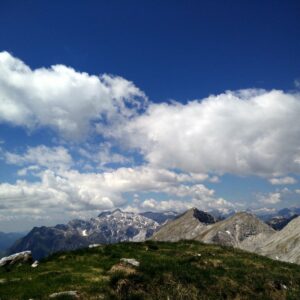
At the parking lot next to the cable car station, you should find the direction sign for Monte Lagazuoi (north of the parking lot) and start hiking on the wide dirt track towards north-east. The path ascends rapidly towards north-east and eventually becomes narrower. After ascending for approximately 1.7 kilometers you will reach a saddle where many paths cross. Here you should go left towards Rifugio Lagazuoi which you will see towards west. The path becomes less steep and soon it brings you to the cliff under the Rifugio Lagazuoi. Then the path ascends rapidly over the rocky terrain to the Rifugio Lagazuoi. This is the steepest part of the trail. On this stretch you will also see many bunkers from the First World War. At Rifugio Lagazuoi you should go in the direction of north-west and after hiking for around 10 minutes you will reach the top. From the top you will see many beautiful peaks as well as the Falzarego pass beneath. We also recommend stopping in the Rifugio Lagazuoi mountain hut where you can buy warm food, delicious cakes and good Italian coffee. Rifugio Lagazuoi has a big terrace with a great view and therefore it’s indeed worth to spend some money on food and eat it while enjoying the view on the amazing peaks of Dolomites. We spent more than an hour there and we certainly don’t regret it.
Getting back to the starting point
While we were enjoying the last bites of cake at Rifugio Lagazuoi we heard thunder and thus we concluded that we need to get back down as soon as possible – thunderstorms are no joke in the Alps. Therefore, we took the cable car down. Going down with the cable car was a great experience since the cable car is super-fast. It takes you from 2700 meters to 2100 meters in only 3 minutes and some people in the cable car looked very scared indeed – my significant other felt like passing out. The price for a single ride is around 12 € ($ 14).
Equipment
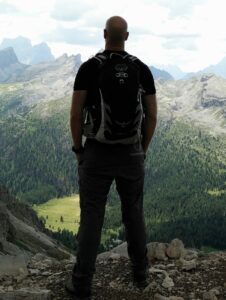
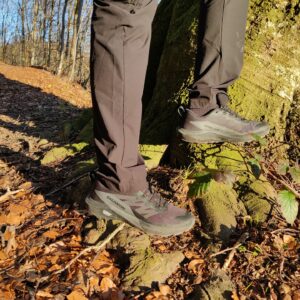
Because the temperatures were very high 25 C (+77 F) and the hike was short, I didn’t bring too many things with me. In my Osprey Talon 22 backpack I was carrying 3 liters of water, some food, sun cream Montane Minimus jacket and Mountain Hardwear fleece jacket. While hiking I was wearing the Icebreaker Tech t-shirt, Montane Terra Pack pants, Salewa Mountain Trainer Mid hiking boots and a sun hat.
Equipment under scrutiny
Osprey Talon 22 Daypack
The Osprey Talon 22 daypack is my pack of choice for day hikes because it is lightweight (it weighs merely 750 grams) and very functional. With the volume of 22 liters it offers just enough space for summer day hikes. I really like the well-placed pockets and the Stow-On-The-Go trekking pole attachment system which allows you to easily attach trekking poles so that they don’t get in the way while you are climbing or ascending technically difficult stretches. I’ve been using the Osprey Talon 22 daypack for more than a year now and I literally can’t say a single bad thing about it. You can read the full review here.
- Note: Osprey has since released an updated version of the Talon 22 and the link points to the new version.
Conclusion and photo gallery
The Passo Falzarego – Lagazuoi trail is a great day hike for hikers and mountaineers of all sorts. The trail is quite easy and doesn’t require any special equipment in summer (helmet, via ferrata set etc.). However, keep in mind that if the trail is covered with snow, you will need proper winter gear and experience with winter hiking. Note that the Falzarego pass might also not be accessible in winter due to the snow – the roads leading up to it are equipped with multiple removable barriers for use in winter. Before going on this hike, check the weather forecast and postpone the hike in case of bad weather. If you go anyway, be prepared to start descending whenever you hear a rumbling of thunder. You do not want to get caught in the Alps in bad weather.
If you have any questions about this hike, please drop us a line in the comments below.
