The Quick Answer
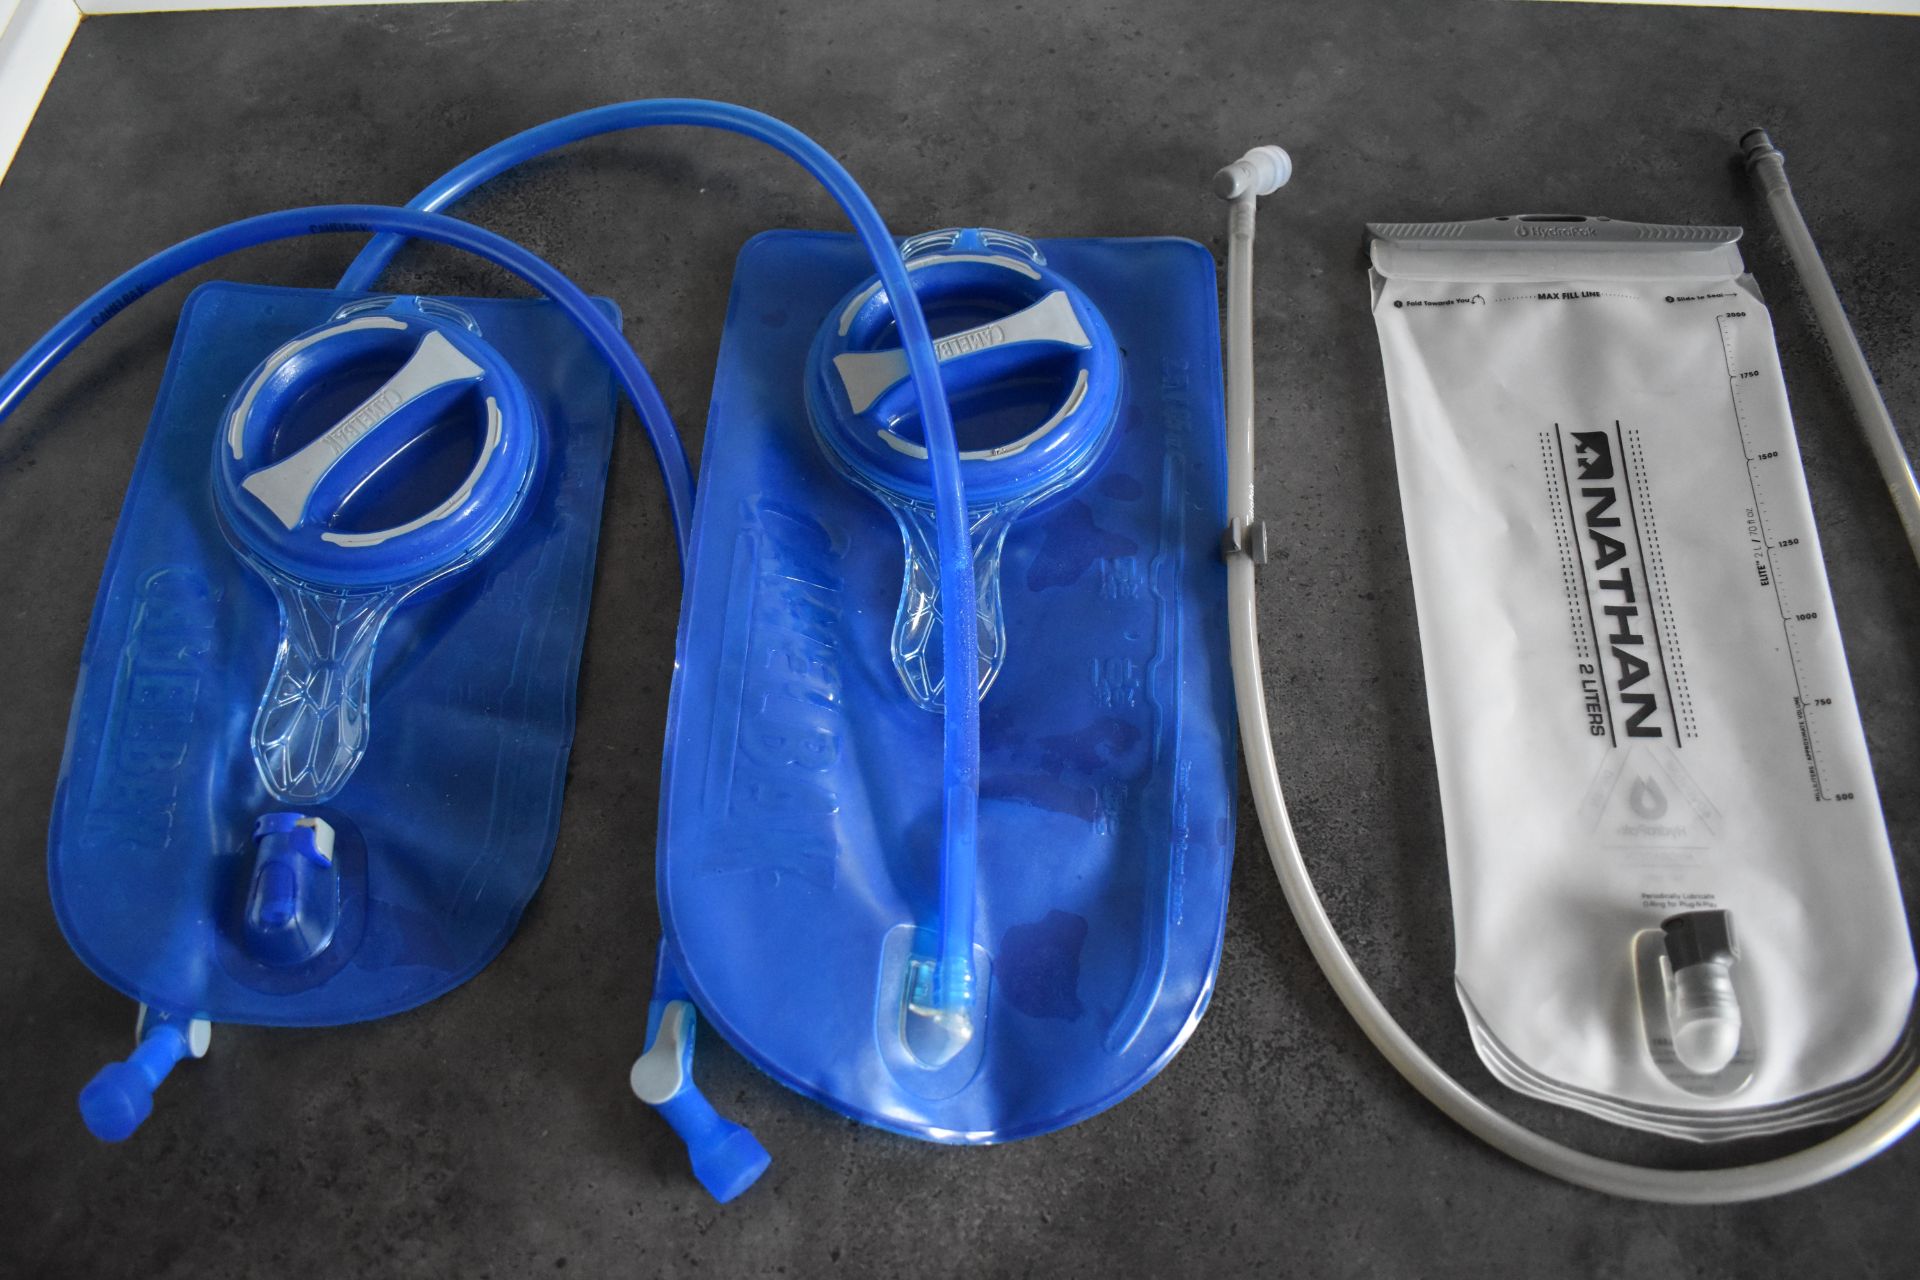
How to clean and maintain a hydration bladder?
Hydration bladders are convenient because they enable you to easily drink on the go. However, when it comes to cleaning them, few things are more annoying. It is not easy to get a hydration bladder look like new again. Now, you might ask why does a hydration bladder even need cleaning? You only put clean water in it after all. Well, the thing is that wet and moist conditions are a great habitat for microorganisms that form mold and fungus. If you forget to empty and dry your hydration bladder after use, you’ll certainly notice small black spots in the tube and reservoir itself after a couple of days. That’s mold, and you should of course get rid of it before next use as ingesting mold can damage your health.
In the following I’ll explain when and how to clean a hydration bladder, what’s the best way to clean and dry it, and how to keep it permanently mold- and fungus-free. I’ve had four hydration bladders so far. The first one had to be thrown out because of inadequate maintenance, but it seems that I learned a lesson as the last three are still in perfect condition. I hope that the tips here will help you increase the lifespan of your hydration bladder(s).
Table of contents:
- When to clean a hydration bladder?
- Best way to clean a hydration bladder
- Best way to dry a hydration bladder
- How to keep a hydration bladder permanently mold free?
- Conclusion
When to clean a hydration bladder?
When to clean a hydration bladder?
You might be surprised but cleaning the hydration bladder and the tube is not the most important thing when it comes to maintenance. It’s much more important to properly dry all components or simply store them in the freezer, but more about this below. Nevertheless, you should definitely clean your hydration bladder if you spot fungus/mold in it or if you have filled it with other beverages than pure water. Fungus and mold will show as colored stains (typically in black or green color) on the surface. In my experience mold and fungus form the fastest in the tube and in the mouthpiece, and they are a real hassle to get rid of. You will probably also want to clean your hydration bladder if it becomes smelly and/or takes on a bad taste. Hydration bladders quickly absorb smells and if you leave your hydration bladder in a smelly place like a basement that smells of mildew, the hydration bladder will for sure become smelly.
Best way to clean a hydration bladder
Cleaning the mold off the hydration bladder
A kitchen scrubbing pad is a great tool for cleaning hydration bladders
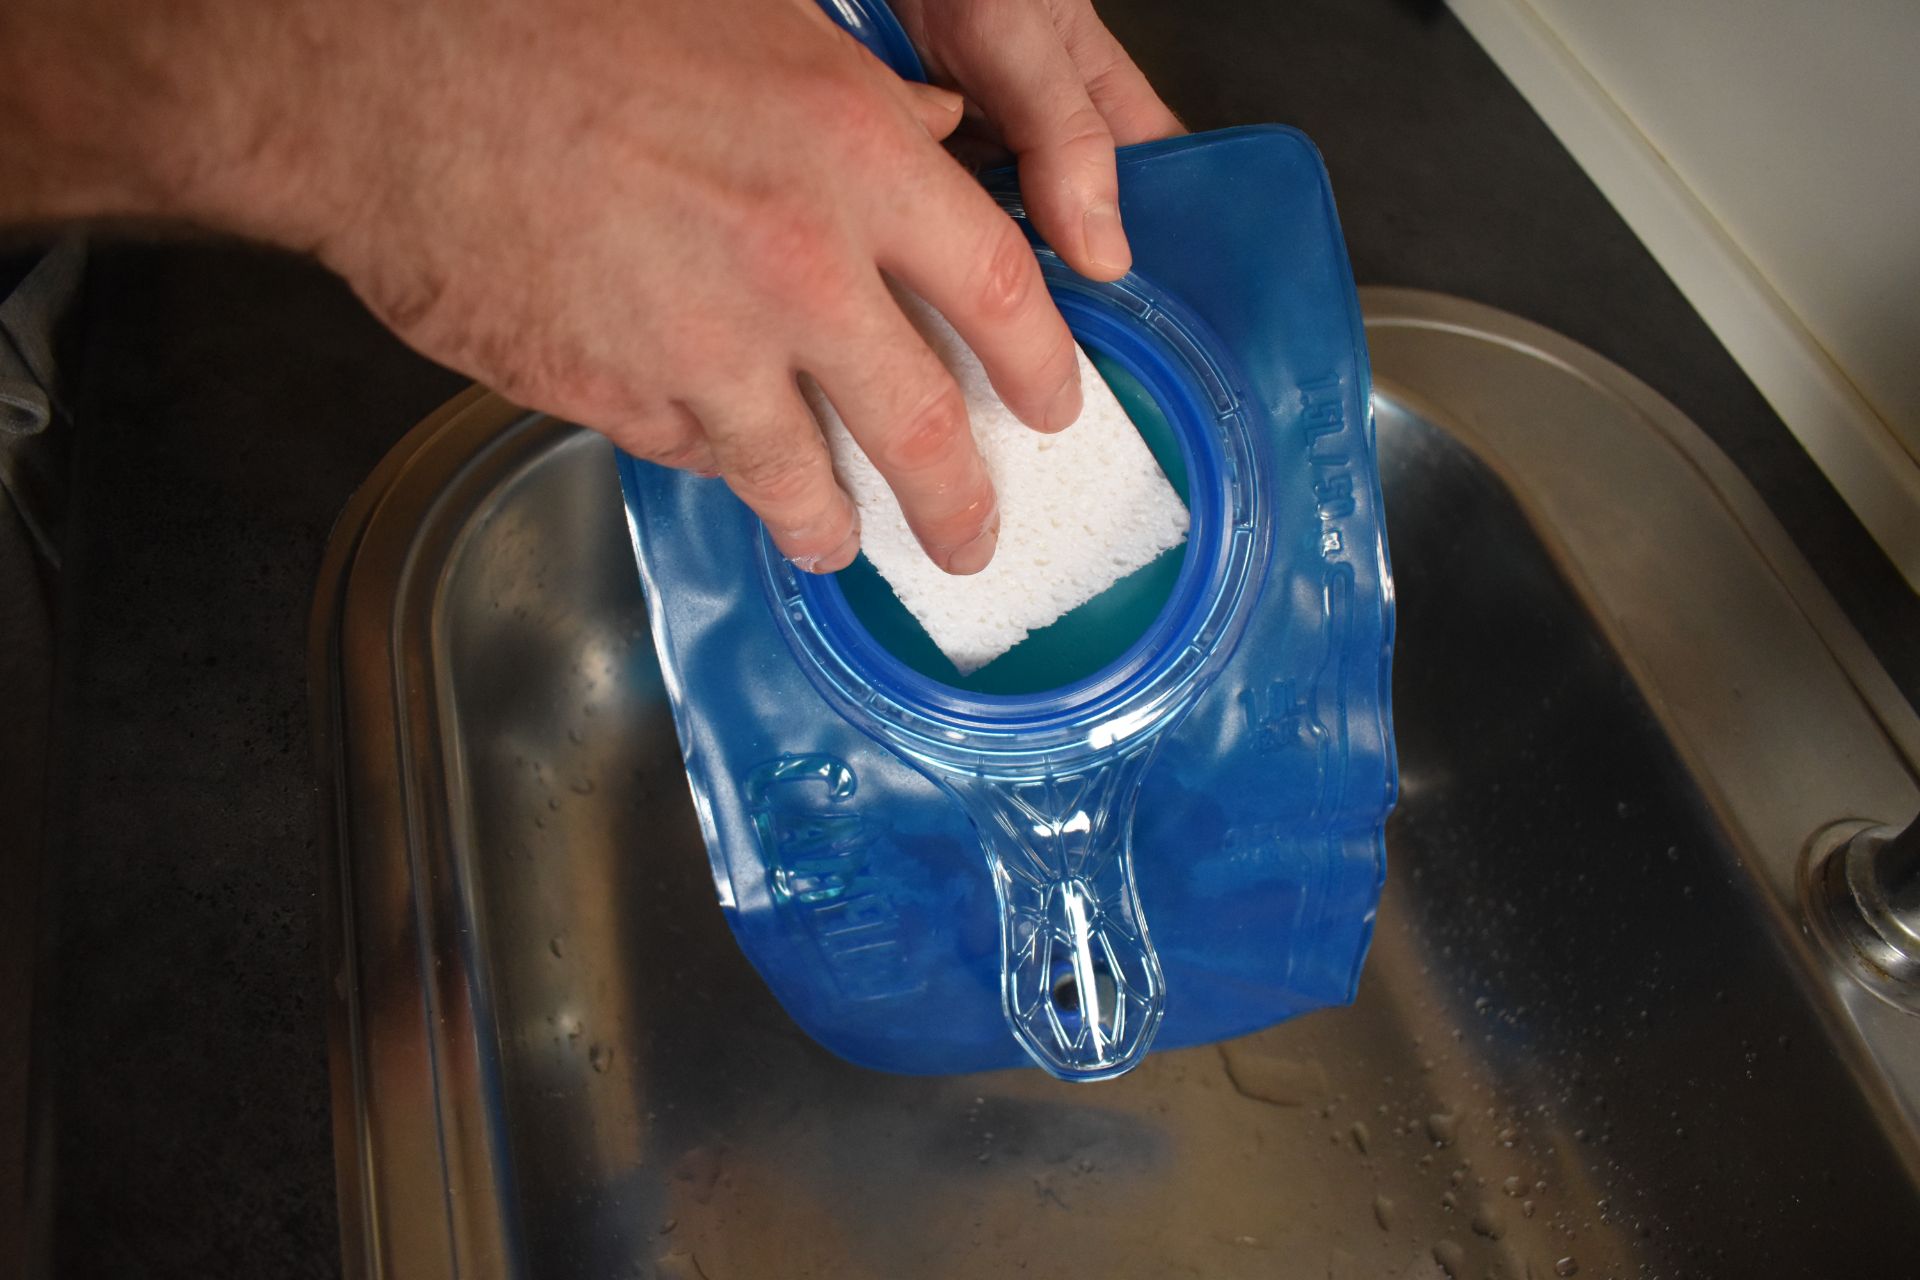
If you spot mold in your hydration bladder or tube, I recommend using white vinegar or baking soda. Vinegar dissolves dirt, grease and grime. It’s also strong enough to kill bacteria. Now, you might be worried that your hydration bladder will smell or taste of vinegar afterwards but that’s not the case. I have cleaned my hydration bladders with vinegar many times, and when the hydration bladder dried, there was no smell of vinegar. Baking soda is also a great cleaning solution for hydration bladders. It kills mold like vinegar and neutralizes odors. Some manufacturers recommend using their cleaning tablets. For example, CamelBak has its own cleaning tablets. I haven’t tried such tablets yet, but I do believe that they work in the same way as baking soda or vinegar. If you have experience with cleaning tablets for hydration bladders, please do share them in the comments bellow – I’m curious!
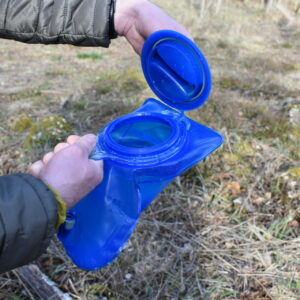
Whichever cleaning solution you decide to use, I recommend filling the hydration bladder and the tube with it and let it rest for a day or so. You can simply pour white vinegar in the hydration bladder but baking soda you should of course dissolve in water. Letting the cleaning solution rest for a day will make scrubbing the mold off much easier. For scrubbing the interior of a hydration bladder, I recommend using a clean kitchen scrubbing pad/sponge with rough surface. If your hydration bladder has a wide opening at the top, that will be a simple task. However, if your hydration bladder features a cap opening it might be a bit tricky to get your hand in there. If that’s the case, I recommend using a scrub brush instead. Nevertheless, most hydration bladders with cap openings have very wide caps these days so that they are easier to clean.
Cleaning the mold off the tube
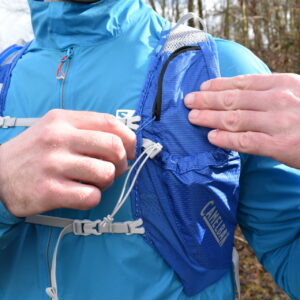
The tube is much harder to clean than the hydration bladder itself. First, you should detach the tube from the hydration bladder and then you’ll need a tube brush. CamelBak sells a cleaning kit which includes a tube brush but there are also other vendors which sell similar kits. I had little luck cleaning the tube with a tube brush in the past, because I was simply not able to apply enough pressure with the brush to get the mold off. Since these cleaning kits cost from 10 to 20 USD, I recommend replacing the tube instead. Replacement tubes retail for a similar price and thus it kind of makes sense to go for a new tube. Cleaning or replacing the tube of course only comes into consideration, if you have a hydration bladder with a detachable tube.
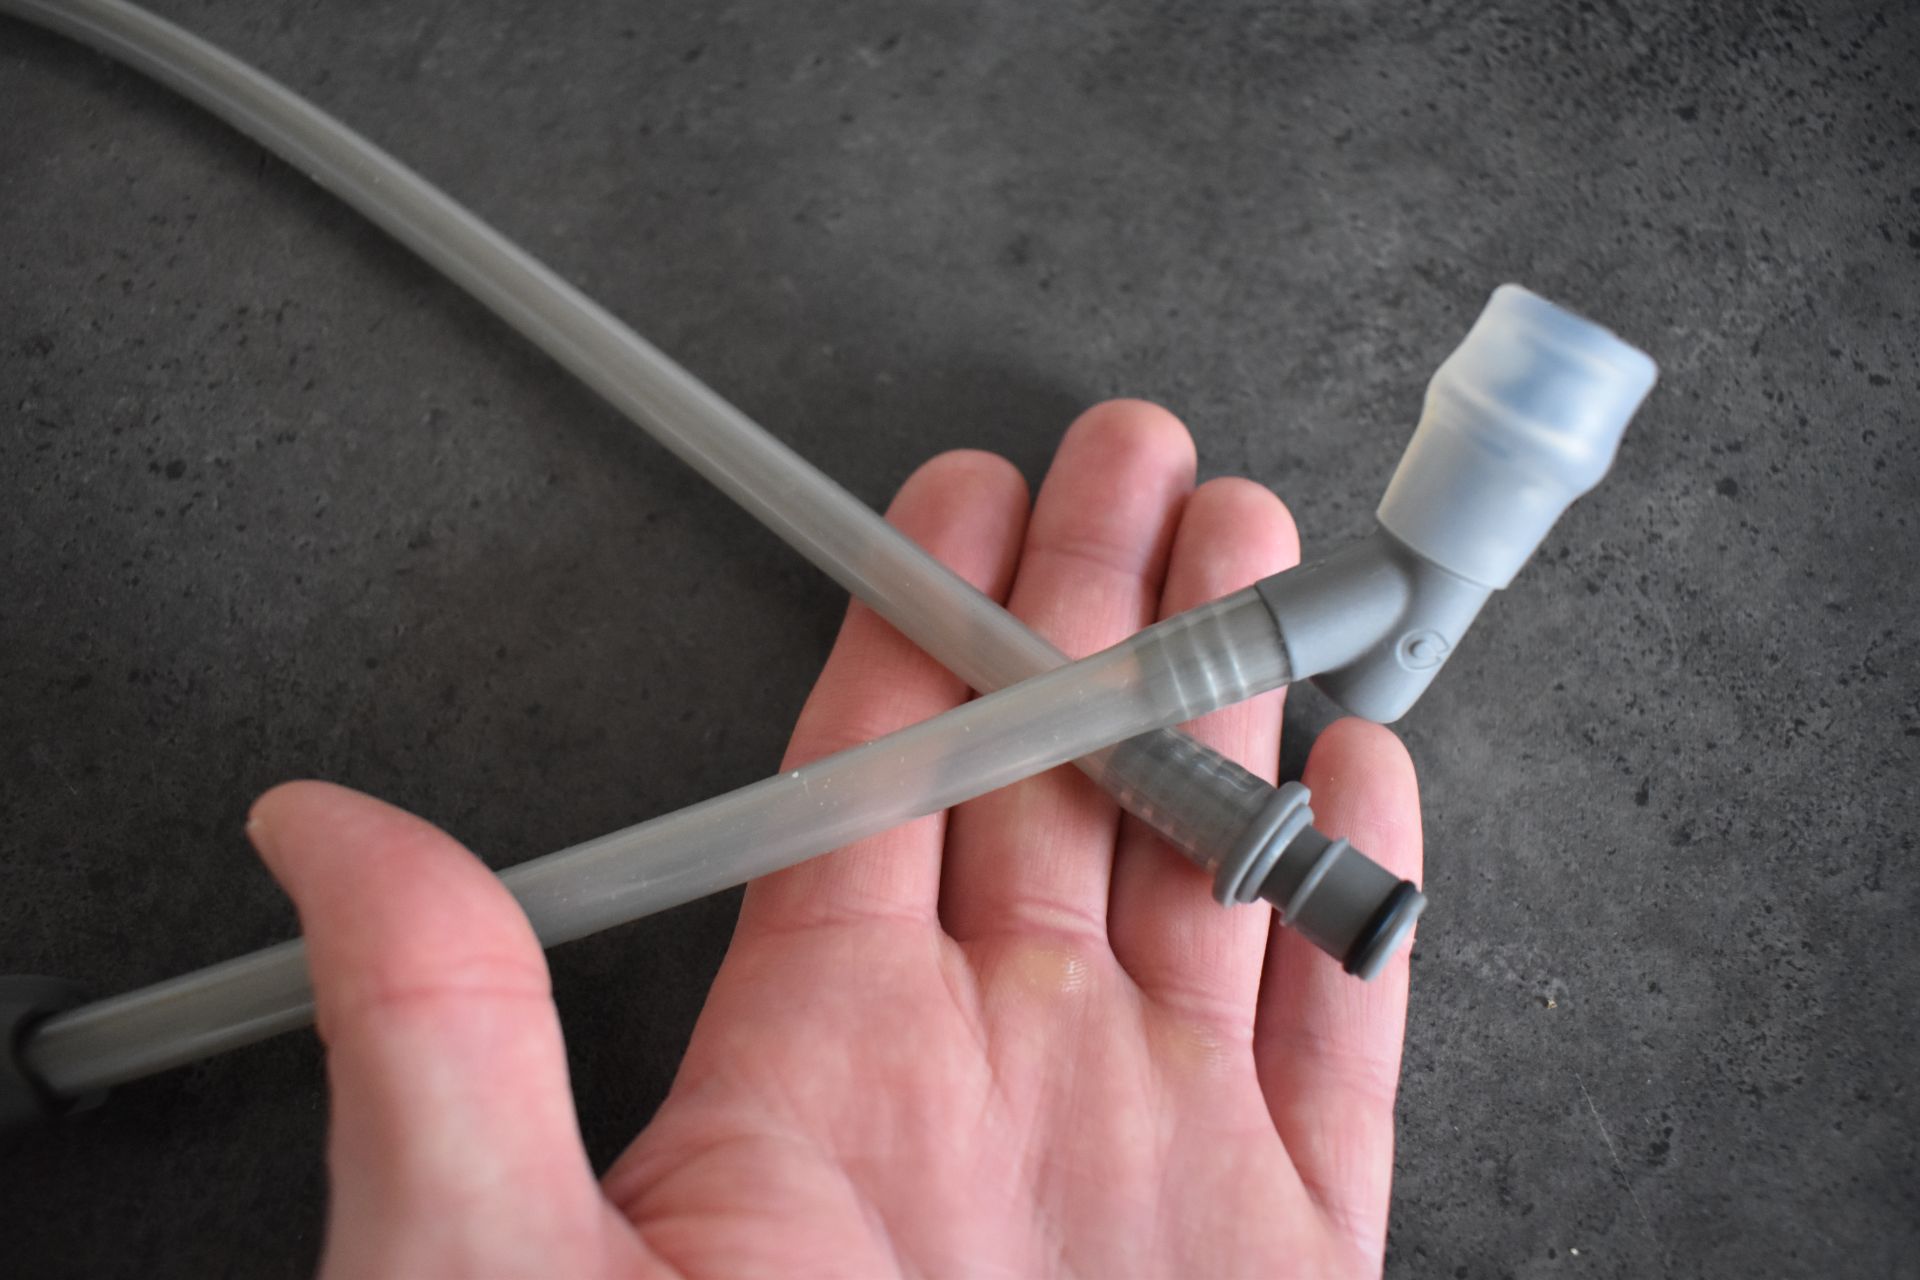
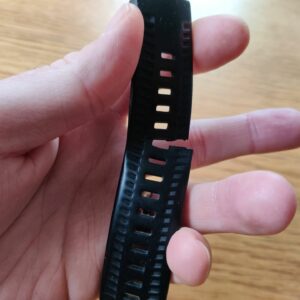
Tubes are a hassle to clean - it might make more sense to simply buy a new tube
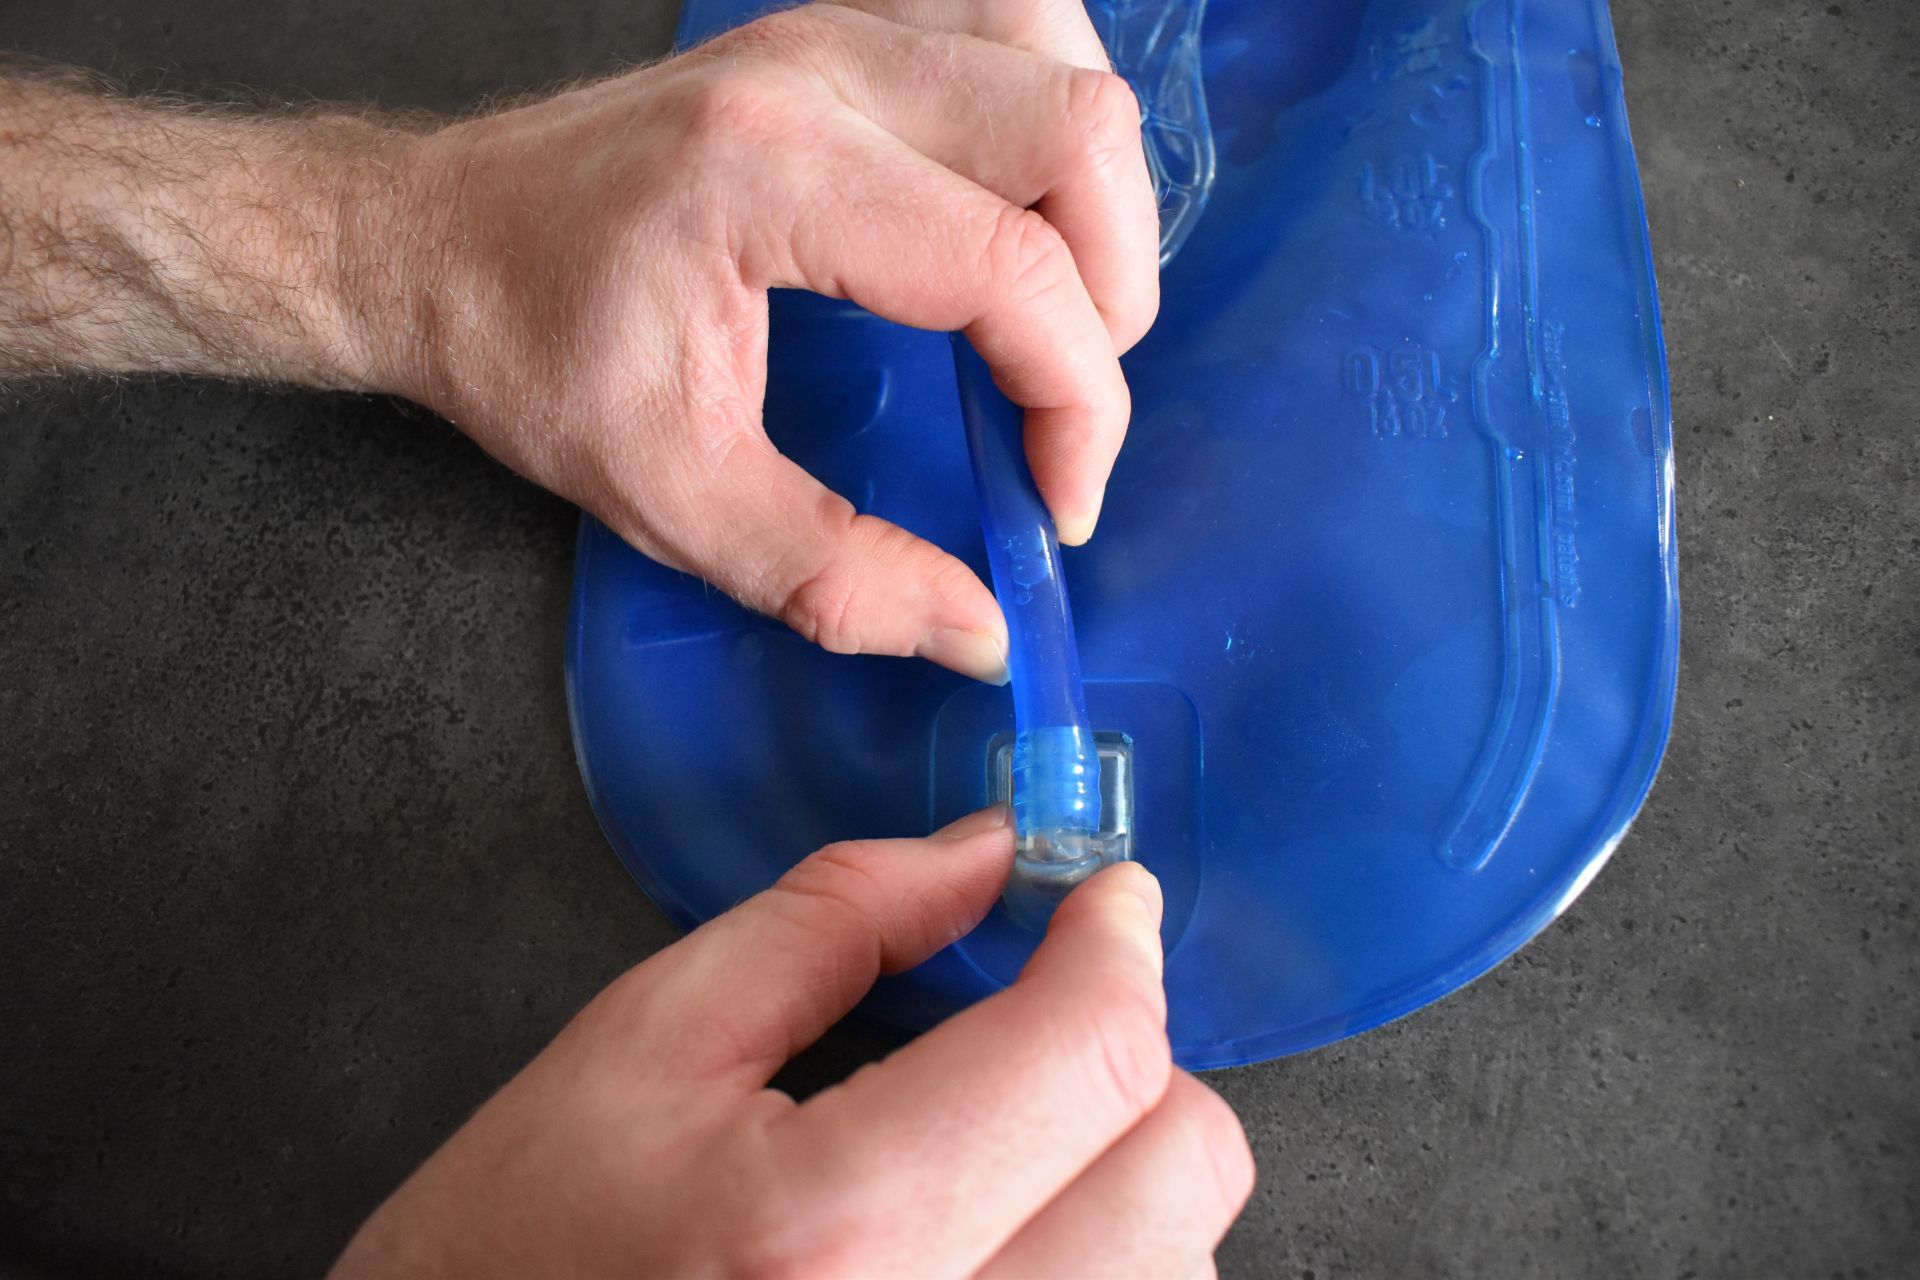
Fixed tube on a hydration bladder
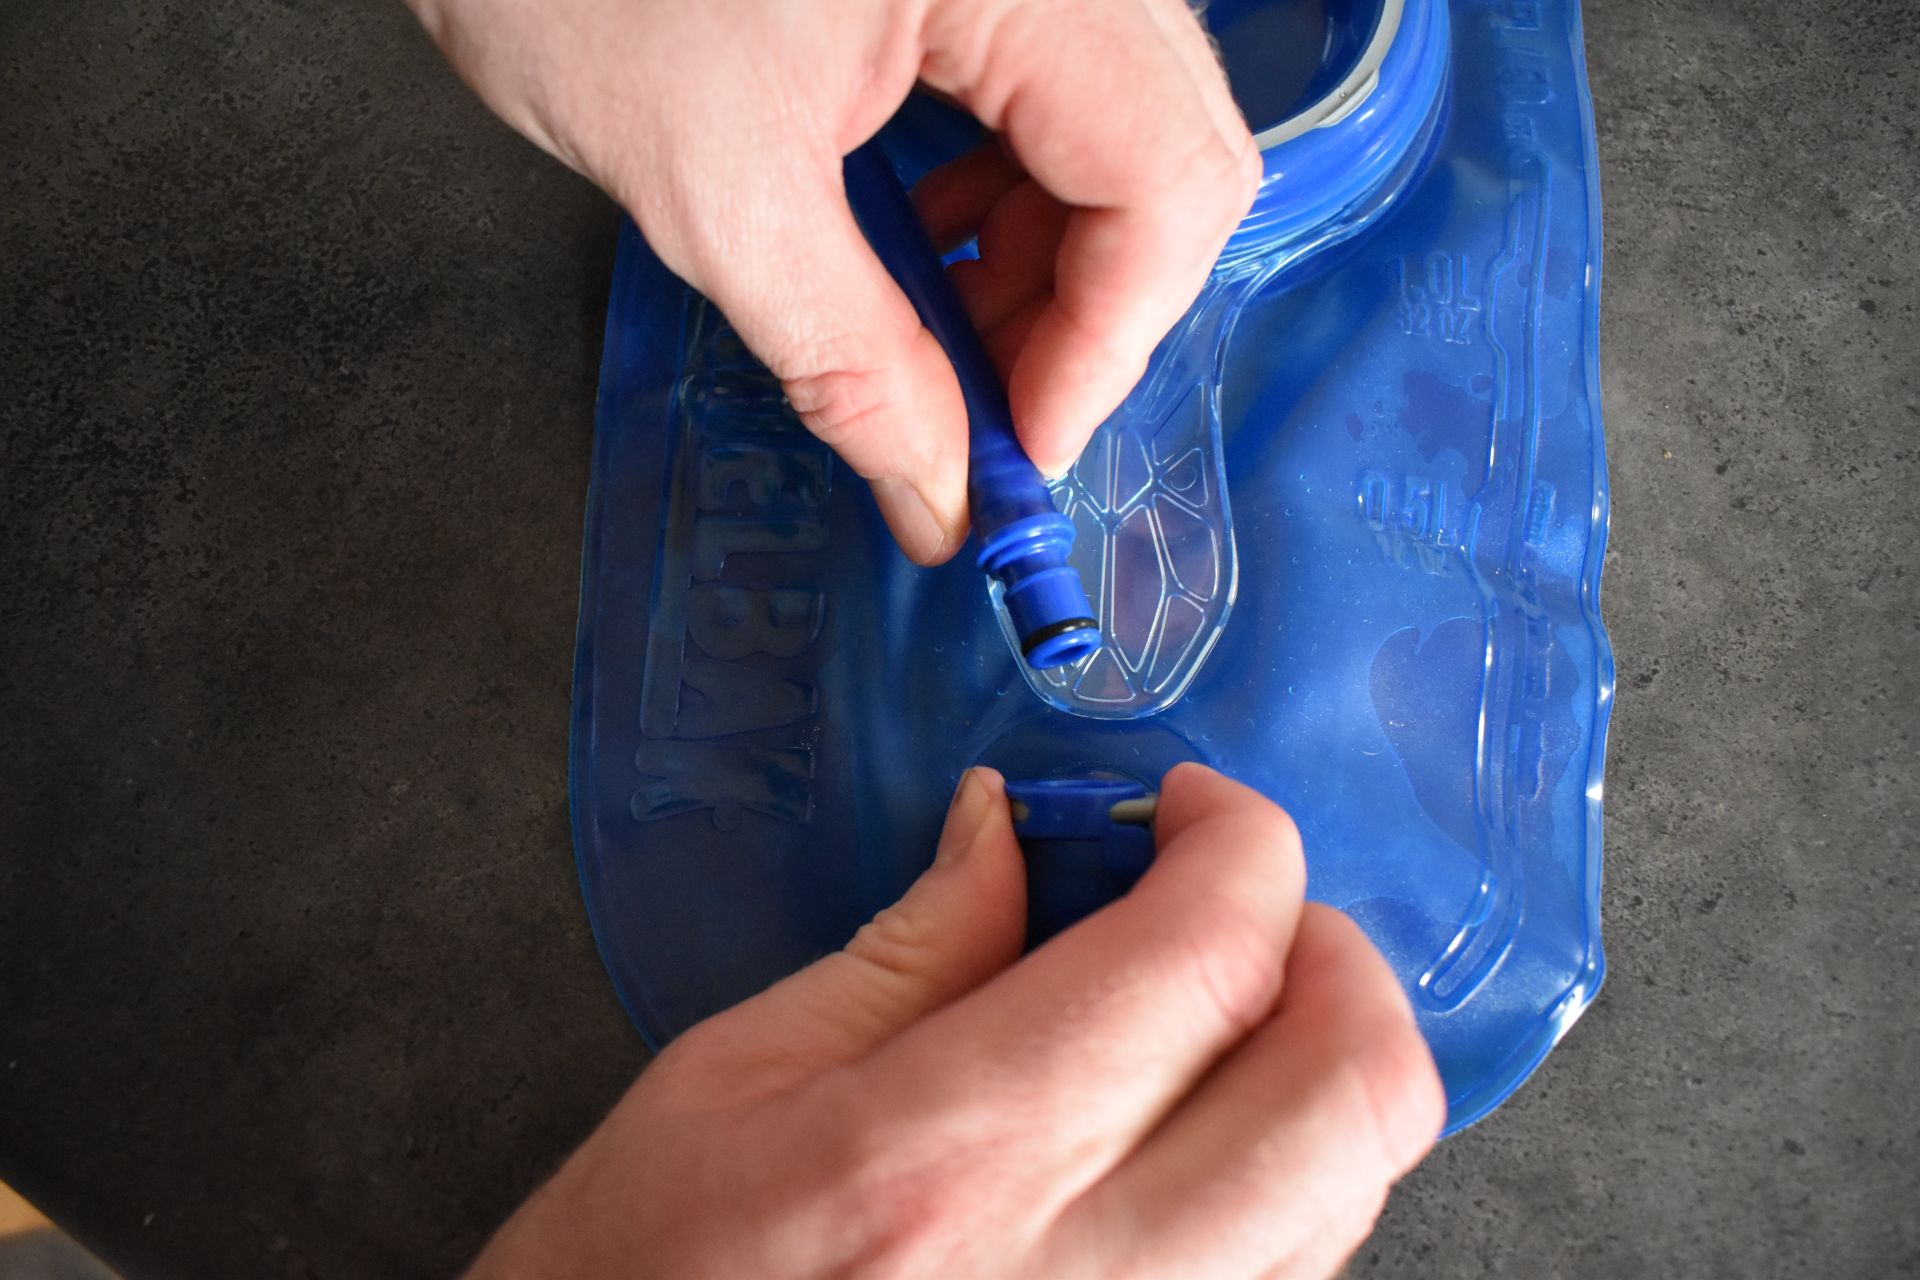
Detachable tube on a hydration bladder
Getting rid of flavor
Hydration bladders quickly absorb flavors, and if you put something else than water (juice, ice tea, flavored water, beer) in it, you’ll probably want to get rid of the taste. In the old days, new hydration bladders also often had a plastic taste but that doesn’t seem to be the case anymore. The easiest way to get rid of any taste is to fill the hydration bladder and the tube with diluted lemon juice and let it rest for a day or two.
Getting rid of bad smell
In the summer I forgot my Hydrapak hydration bladder (which came with Nathan VaporAir hydration vest) in a closet where another item had a really bad mildew smell. When I put the hydration bladder out of the closet, I quickly figured out that it had absorbed the smell. I decided to fill the hydration bladder with mixture of baking soda and water. Then I put the hydration bladder in a big bowl which was also filled with mixture of baking soda and water. That somewhat helped but I could still detect mildew smell if I put the bladder really close to my nose. Therefore, I decided to put the hydration bladder in the freezer overnight and that finally neutralized the smell completely.
So, if your hydration bladder smells bad, try filling it with baking soda dissolved in water and put it in a big bowl that also contains a mixture of baking soda and water. That’s important because the material must get soaked from the inside as well as from the outside. If it doesn’t eradicate the smell completely, try putting the hydration bladder in the freezer overnight.
Are hydration bladders dishwasher safe?
Most hydration bladders shouldn’t be put into a dishwasher. However, Hydrapak hydration bladders are top-shelf dishwasher safe. That’s indeed a big advantage when it comes to cleaning and maintenance.
Best way to dry a hydration bladder
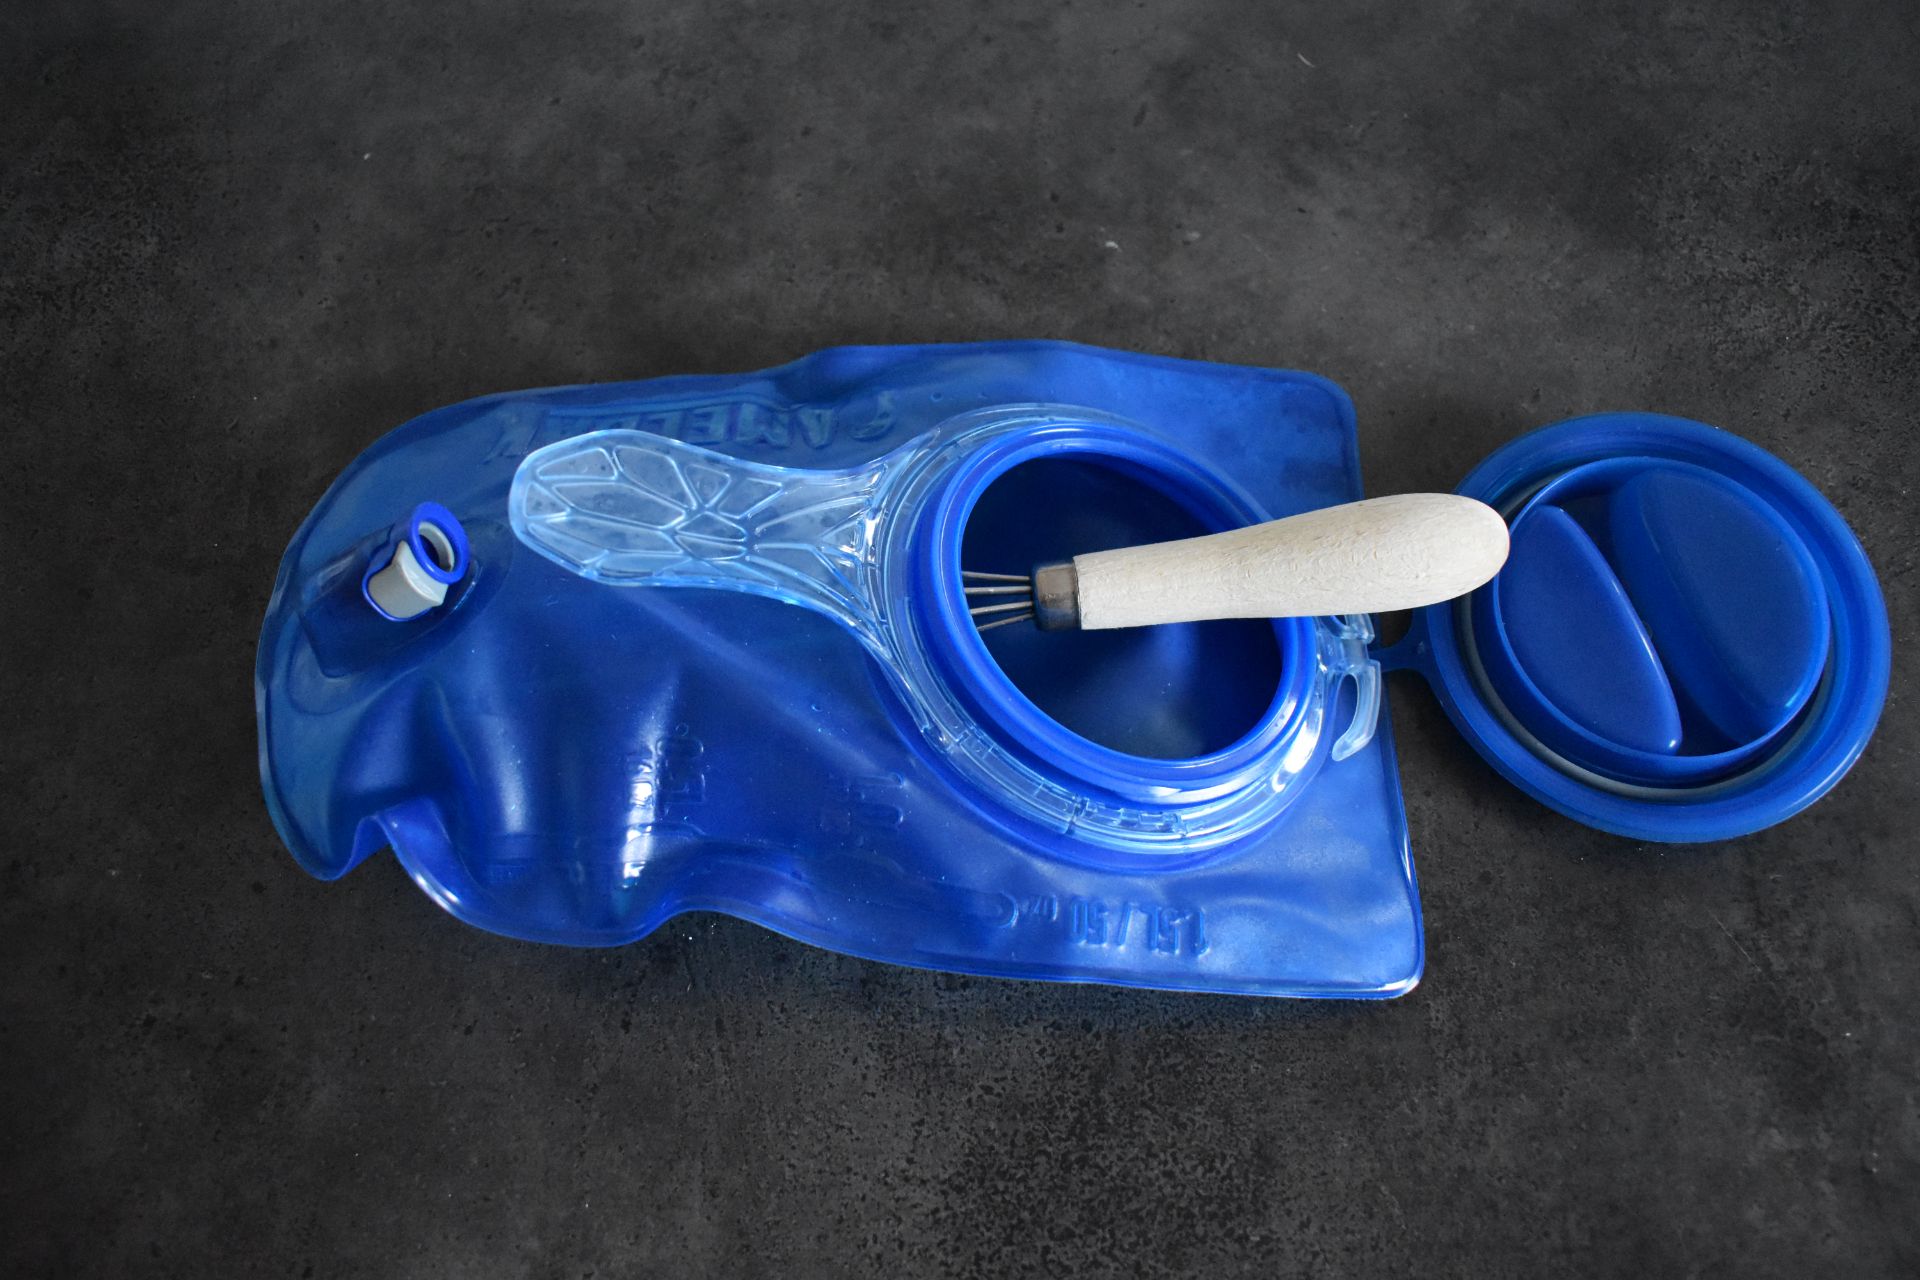
I recommend using a kitchen whisk for drying a hydration bladder completely
Drying a hydration bladder completely before storing it into a closet is one of the most important things when it comes to maintenance. Most hydration bladders are a hassle to dry because it’s incredibly hard to keep them fully open so that the air can circulate. I typically put a kitchen whisk into the bladder to keep it open, and after a day I wipe moist spots with paper towels. Some hydration bladders (Hydrapak) are reversible, and these are easier to dry. You simply put the hydration bladder inside out and hang it for drying.
Tubes are the hardest to get completely dry. The most important thing to do is to detach the tube and then blow air into it. This will force the water out of the tube, although tiny water droplets might still stay inside. After that I recommend hanging the tube in the kitchen and waiting a couple of days that it dries.
How to keep a hydration bladder permanently mold free?
In the freezer mold and fungus can’t form
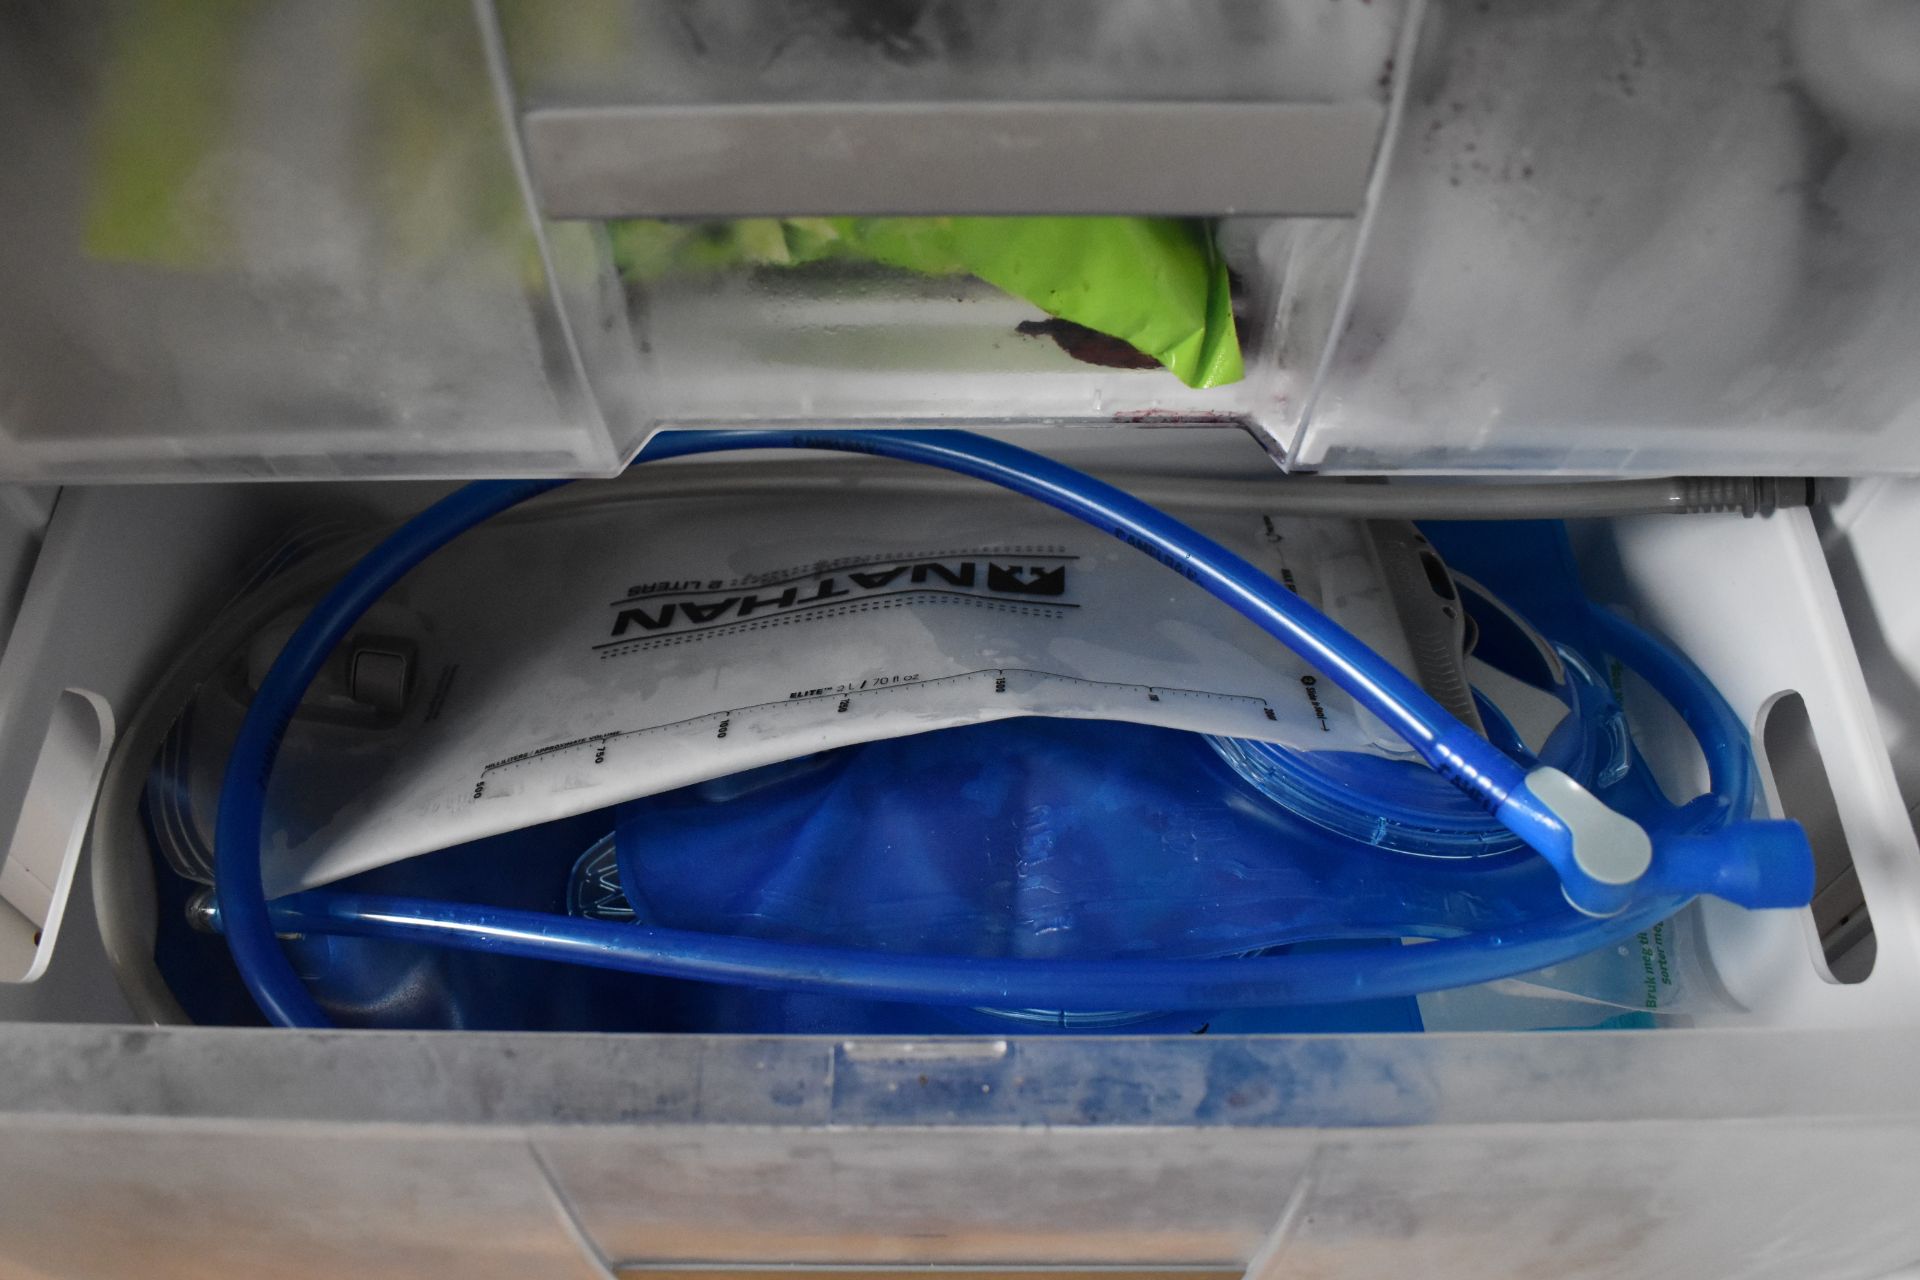
Through time I learned that the best way to keep hydration bladder (more or less) permanently clean is to simply store it in the freezer after emptying it. At first, I was a bit worried that I would ruin my hydration bladders, but so far, all my hydration bladders are in perfect condition despite spending most of their time out of use in the freezer. I store my Hydrapak and both Crux hydration bladders in the freezer. The main advantage of storing a hydration bladder in the freezer is that you don’t have to dry it. Subzero temperatures will kill microorganism that cause mold and fungus.
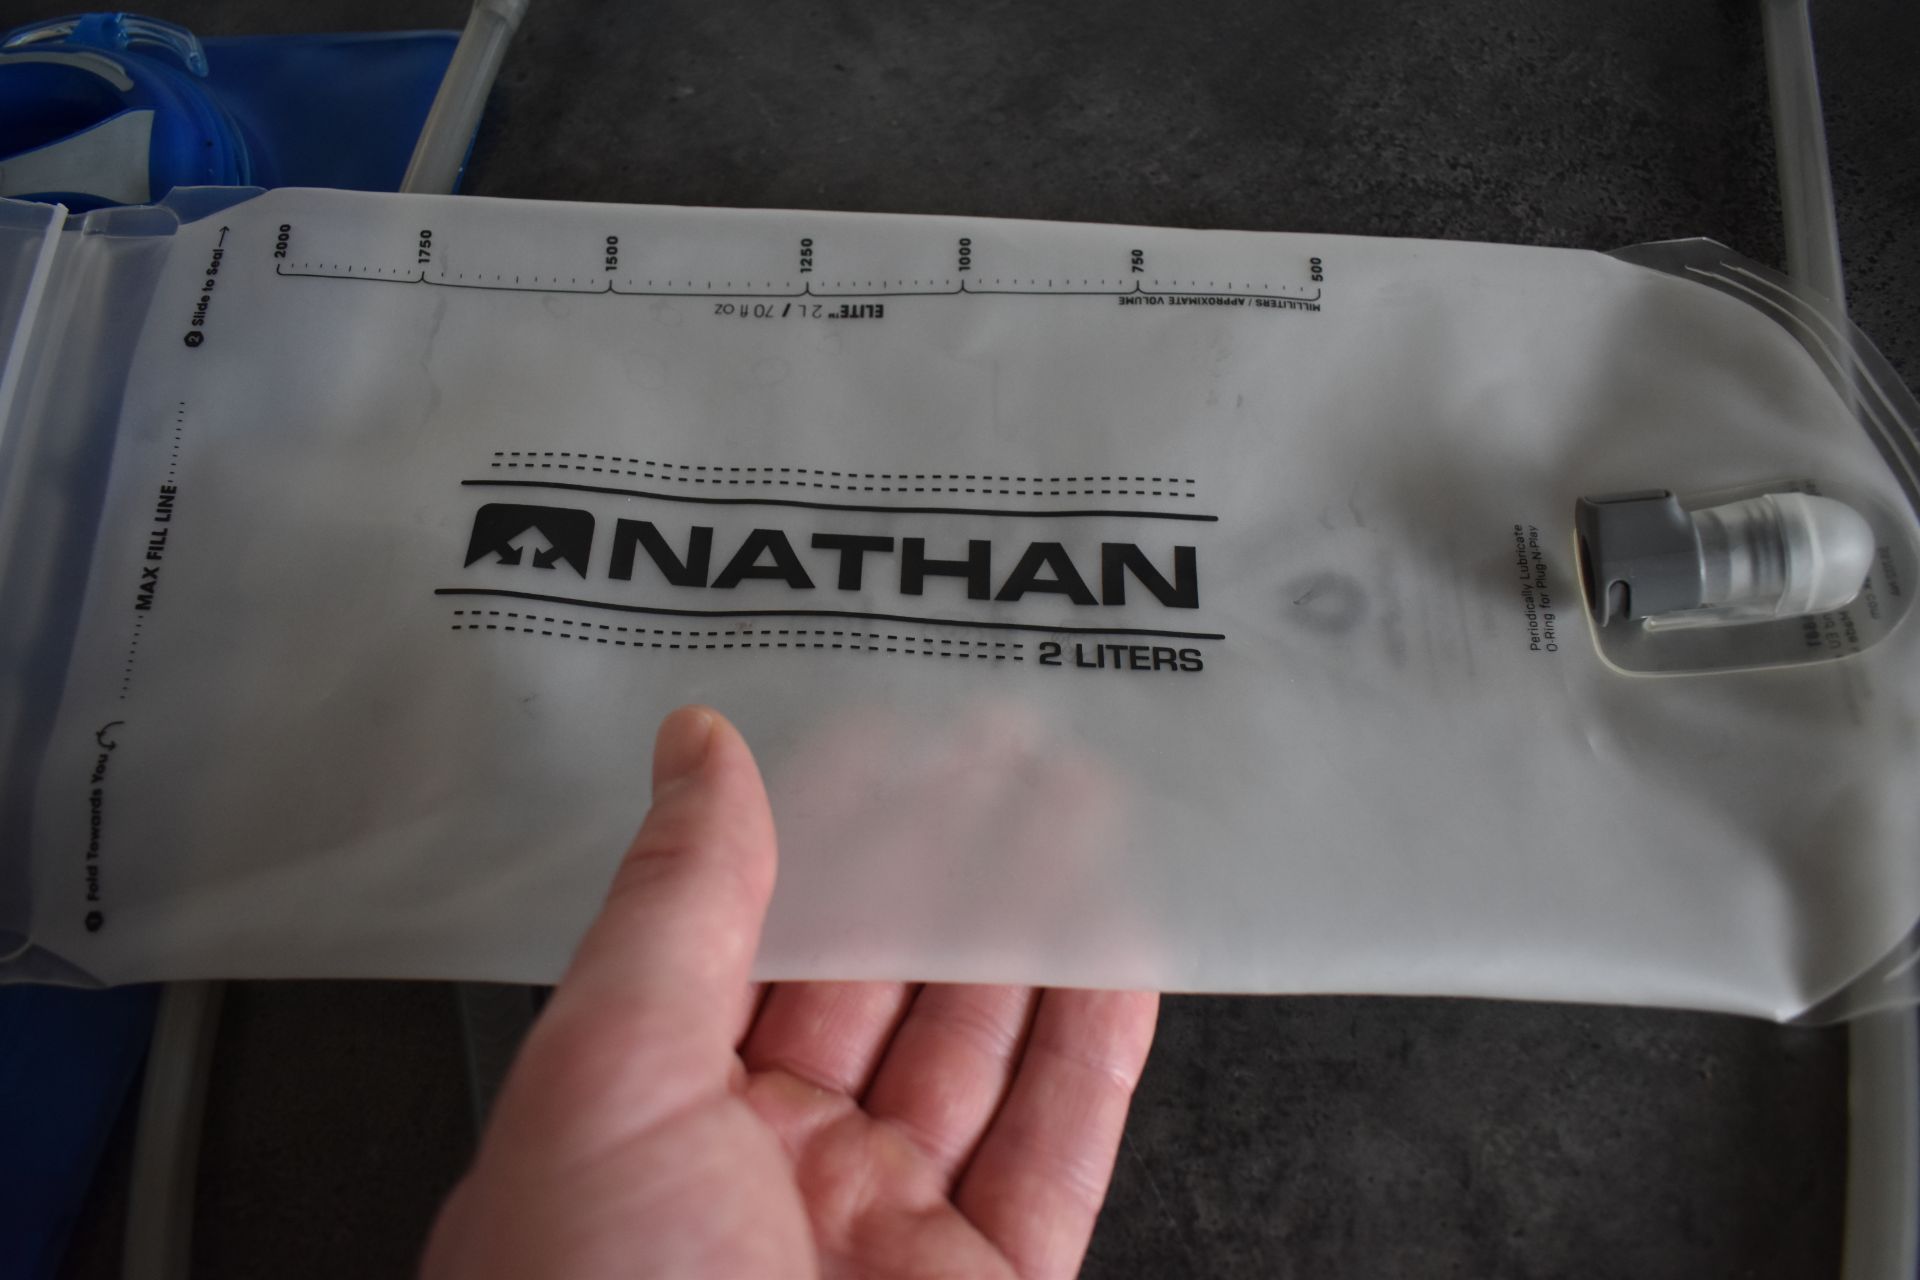
While you don’t have to dry the hydration bladder before putting it into freezer, you should definitely empty it. Water increases 9% in volume after freezing, so a full bladder or tube could be torn by the water expanding during the freezing process. Therefore, it’s important that you pour the water out of the hydration bladder and blow the water out of the tube.
Conclusion
If you spotted mold or fungus in your hydration bladder, fill it with vinegar or baking soda dissolved in water and let it rest for a day or two. Then scrub the hydration bladder with kitchen scrubbing pad. If you also have mold in the tube, you will need a tube brush. However, since it’s very hard to remove mold from the tube it might be a better idea to simply buy a new tube. Prices of spare tubes are approximately the same as prices of cleaning kits with a tube brush. Baking soda also helps if your hydration bladder smells bad because it neutralizes odors. If your hydration tastes bad, I recommend cleaning it with lemon juice instead.
As for the maintenance, the most important thing is to completely dry the hydration bladder before storing it into a closet. If you want to avoid the hassle of drying your hydration bladder, you can simply store it in the freezer. The low temperature will prevent the growth of mold and fungus. Since water increases in volume after freezing, remember to empty the hydration bladder and the tube before putting them in the freezer.
I’d love to hear about your thoughts on how to clean a hydration bladder. Write them in the comments section below.


What would happen if you put the bladder in the refrigerator and let the dehumidifier of the refrigeration system do its thing? I’m thinking within a day all water will have evaporated. I’ll try it and let you know.
Hi Greg,
Looking forward to results of your experiment 🙂 Keep me posted.
Regards,
Blaz