Cima Setsass Trail
About Cima Setsass Trail
For our third hike in the Dolomites we decided to ascend the peak called Cima Setsass from the Valparola pass which is located only 22 kilometers from the beautiful town of Cortina d’Ampezzo. Cima Setsass is 2571 meters high and very popular because the trail to the top is not technically difficult and thus doesn’t require any special equipment in summer. However, you need to be reasonably fit for this trail because it does ascend for 785 meters over the distance of 11.5 kilometers (to the top and back). We found the Cima Setsass trail much more difficult than the Lagazuoi and Croda Negra trails even though we expected it to be the easiest since the altitude difference between the starting point and the peak is less than 400 meters. However, the trail takes you up and down which significantly increases the total ascent. Nevertheless, it was an enjoyable hike that offered great views on the beautiful Italian Dolomites. You will find more details about the trail below.
Cima Setsass Trail Details
Physical Difficulty
Medium
Technical Difficulty
Medium
Duration
5 h
Distance
11.45 km
(7.11 mi.)
Ascent
2149 m
(7051 ft.)
Descent
785 m
(2575 ft.)
Highest Point
2571 m
(8435 ft.)
Lowest Point
2149 m
(7051 ft.)
Date of the Hike Date when we did this hike ?
August 2018
Weather On the day when we did this hike ?
Partly cloudy
Temperature On the day when we did this hike ?
25° C
(77° F)
Wind On the day when we did this hike ?
5 km/h
Warning!
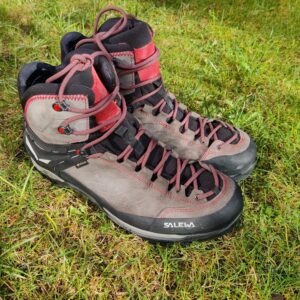
This trail has a few steep sections and requires good footwear, steady footing and no fear of heights.
Cima Setsass GPS Route and Trail Description
*Click on the chart to see the location on the map
GPX route helps you with the navigation on a hike. It can be used with a smartphone, handheld GPS device or a GPS watch.About GPX Route
Reaching the starting point
The Cima Setsass trail starts at the Valparola pass, approximately 22 kilometers from the town of Cortina d’Ampezzo. You can leave you car free of charge on one of the many parking lots there. However, don’t leave your car on the parking lot in front of the Rifugio Passo Valparola (mountain hut) as only guests of the hut are allowed to park there. We parked our car slightly south of the Rifugio Passo Valparola (coordinates 46.530526, 11.989408). The above attached GPS track starts exactly at the Rifugio Passo Valparola hut.
If you are arriving from the west (e.g. western Italy, western Austria etc.) you should drive along the Italian A22 highway (Verona-Trento-Bolzano) until you reach the Bressanone – Val Pusteria exit. Take the Bressanone – Val Pusteria exit and proceed on road SS49 towards Brunico. In the town of San Lorenzo di Sebato turn right towards Badia and the road will take you through the towns of Montana, Longega and La Villa Stern to the Valparola pass.
If you are coming from the east (e.g. Slovenia, eastern Italy etc.) drive along the Italian A27 highway towards Belluno and then on road SS51 towards Pieve di Cadore. Just before the town of Pieve di Cadore turn left towards Cortina d’Ampezzo. Go through Cortina d’Ampezzo and keep left. Soon the road will start ascending towards the Falzarego pass. From the Falzarego pass you have only two kilometers of driving left to reach the Valparola pass.
You can also reach the Valparola pass by bus from Cortina d’Ampezzo. Bus number 30 seems to drive from Cortina d’Ampezzo to Valparola pass quite regularly in summer (every 1.5 hour or so).
Trail
There are many directions signs along the trail and therefore you shouldn’t have any problems navigating your way to the top. Furthermore, the trail is also relatively busy and therefore the chances that you get lost are slim. However, for easier navigation you can always download our GPS track above for free and use it with your smartphone, GPS watch or handheld GPS device.
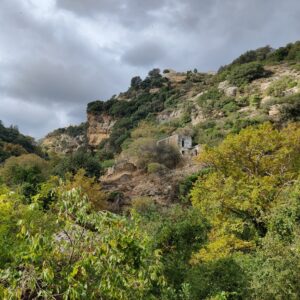
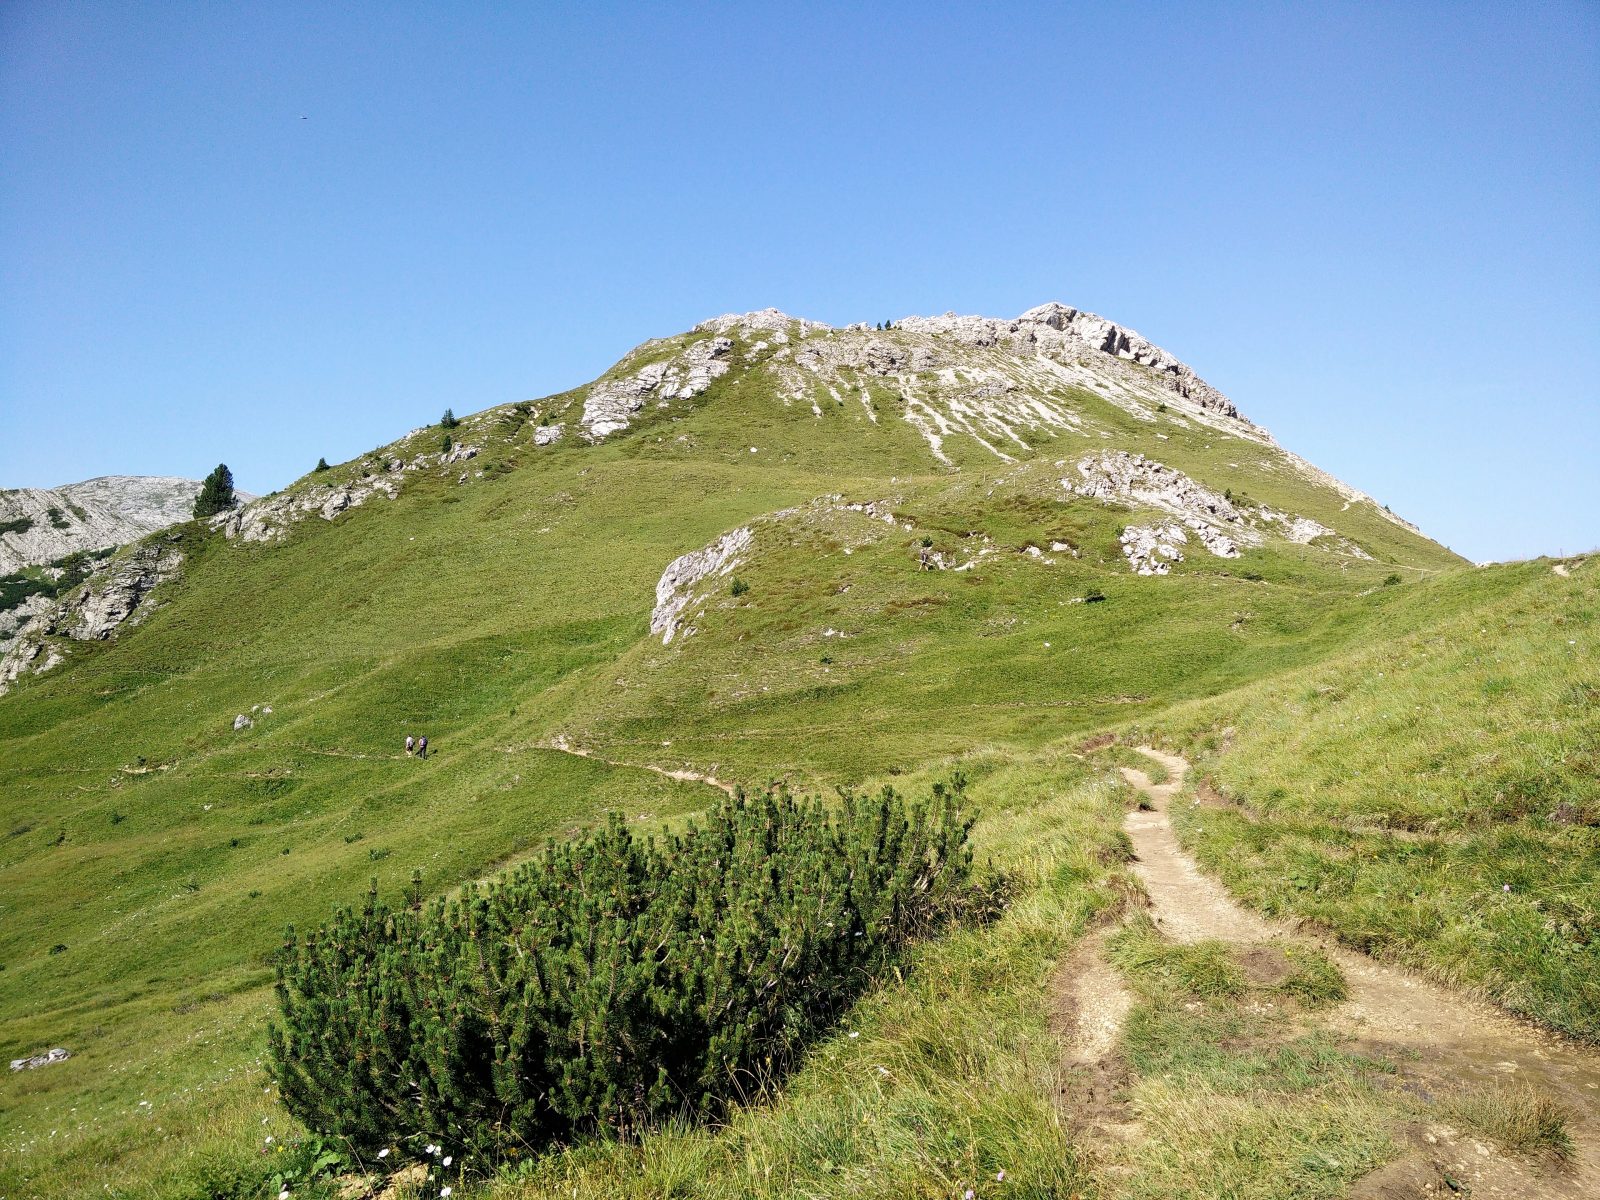
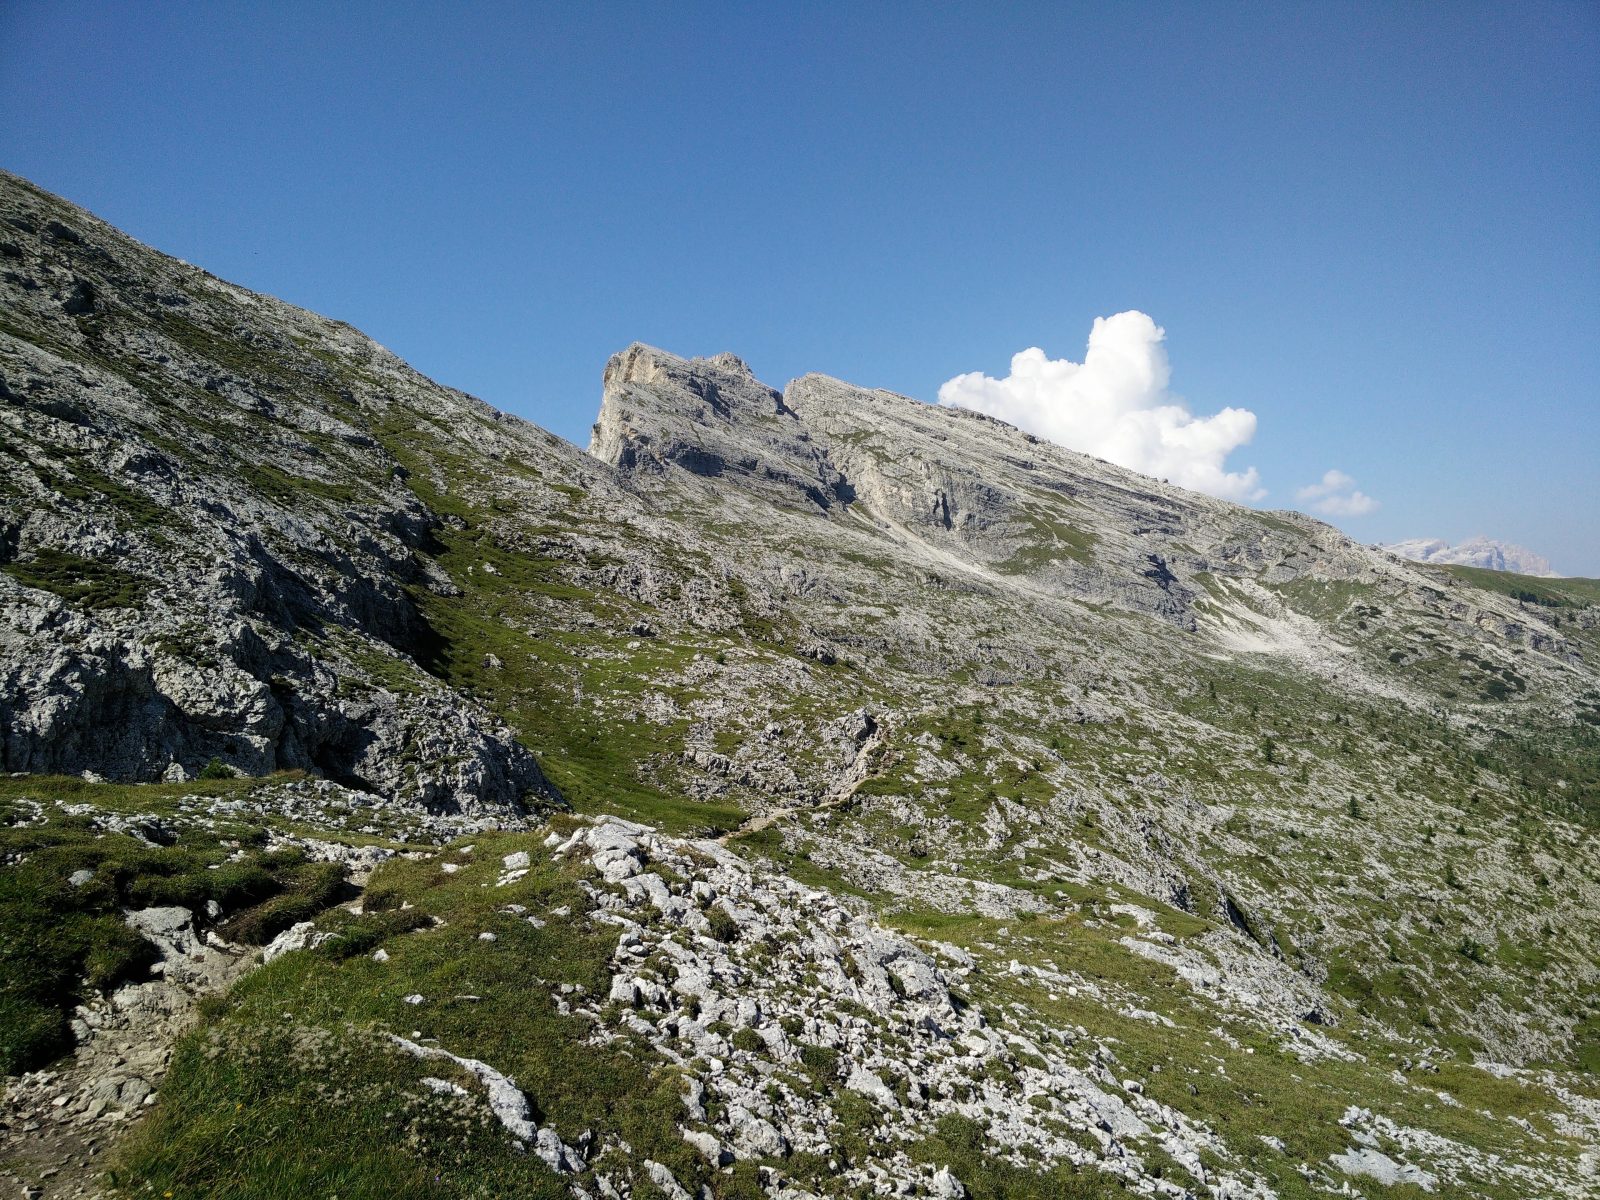
At the Rifugio Passo Valparola, start hiking on the narrow path towards south-west. The path starts behind the mountain hut and after hiking for only a couple of hundred meters you will reach a crossroad. In the crossroad continue straight ahead and the path will start ascending gently towards the north face of Cima Setsass over rocky terrain. However, after coming really close to the north face, the path changes its direction towards north-west and descends to the altitude of 2149 meters, which is lower than the altitude of the starting point. The terrain is green and lush here with many flowers and low to medium-high trees and bushes.
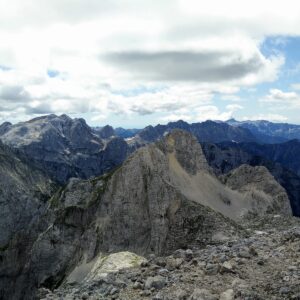
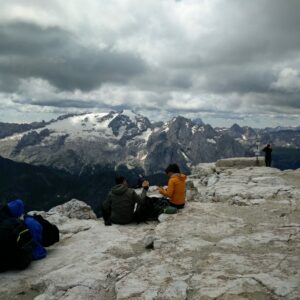
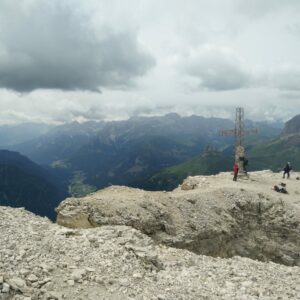
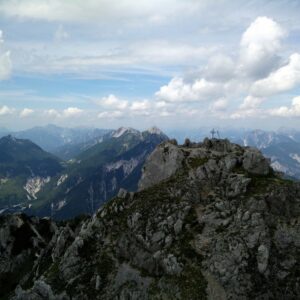
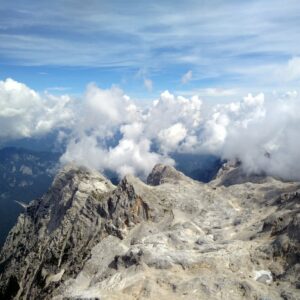
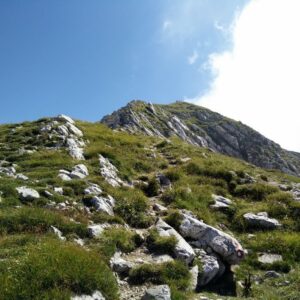
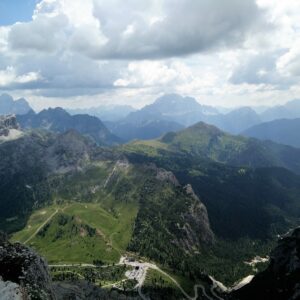
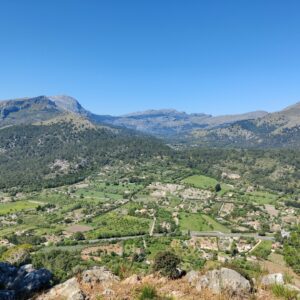
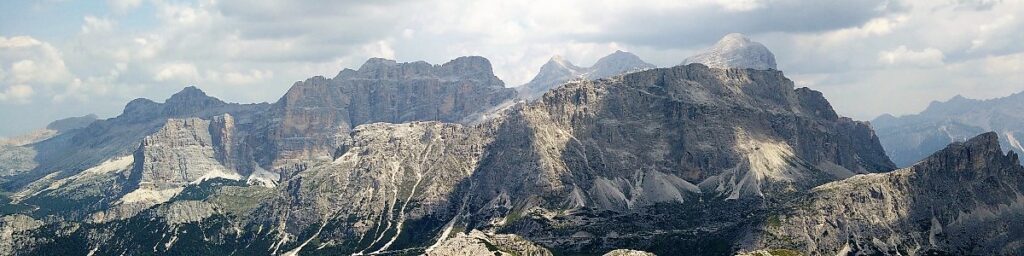
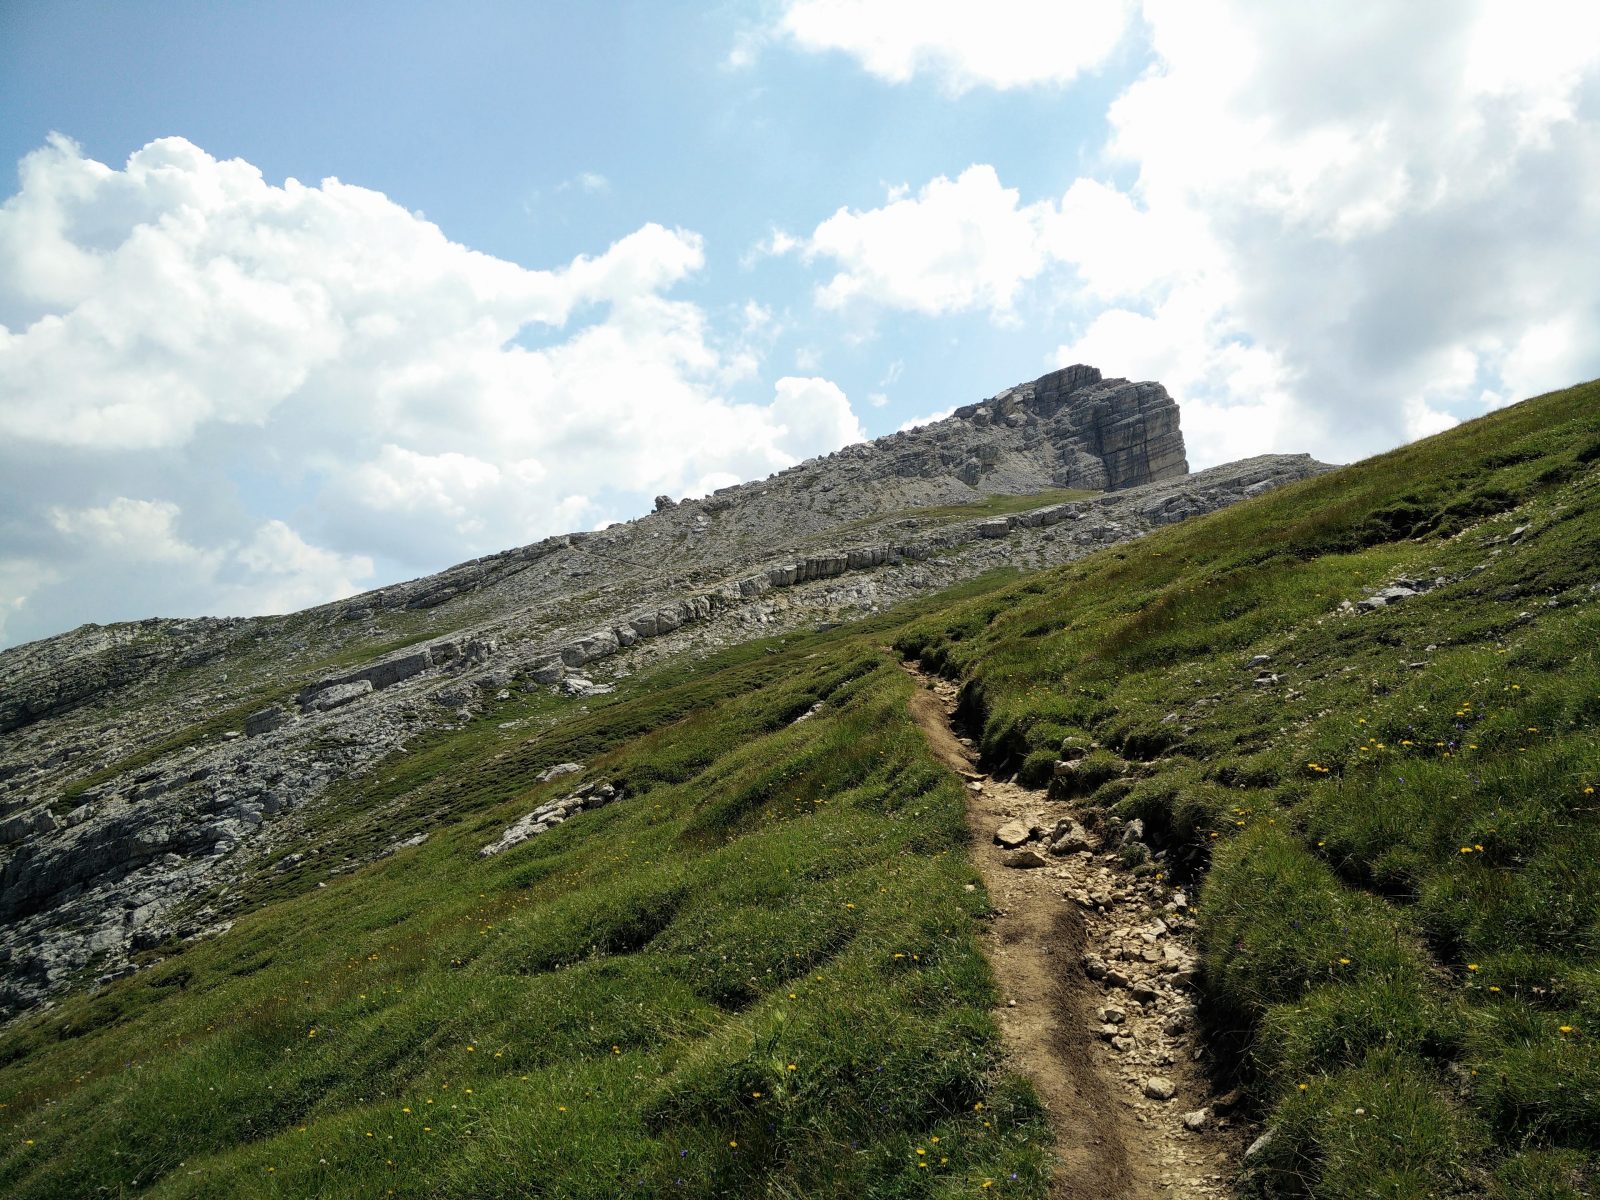
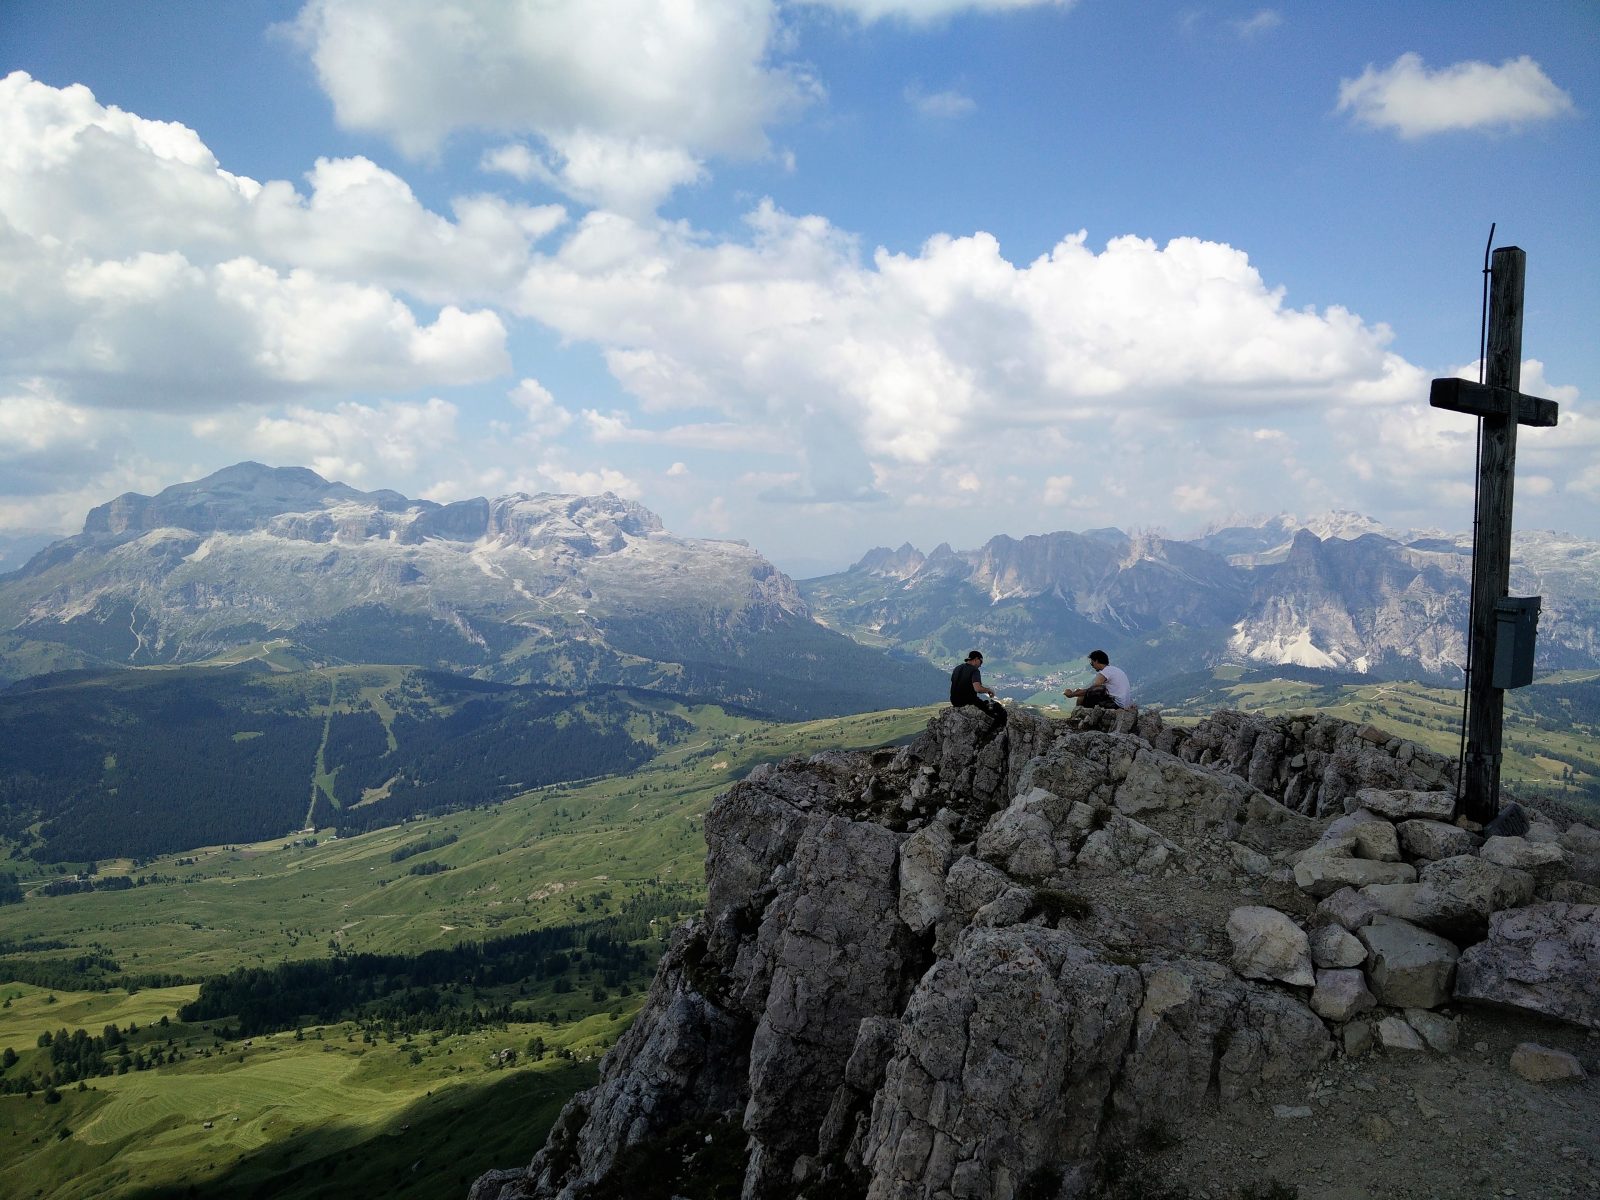
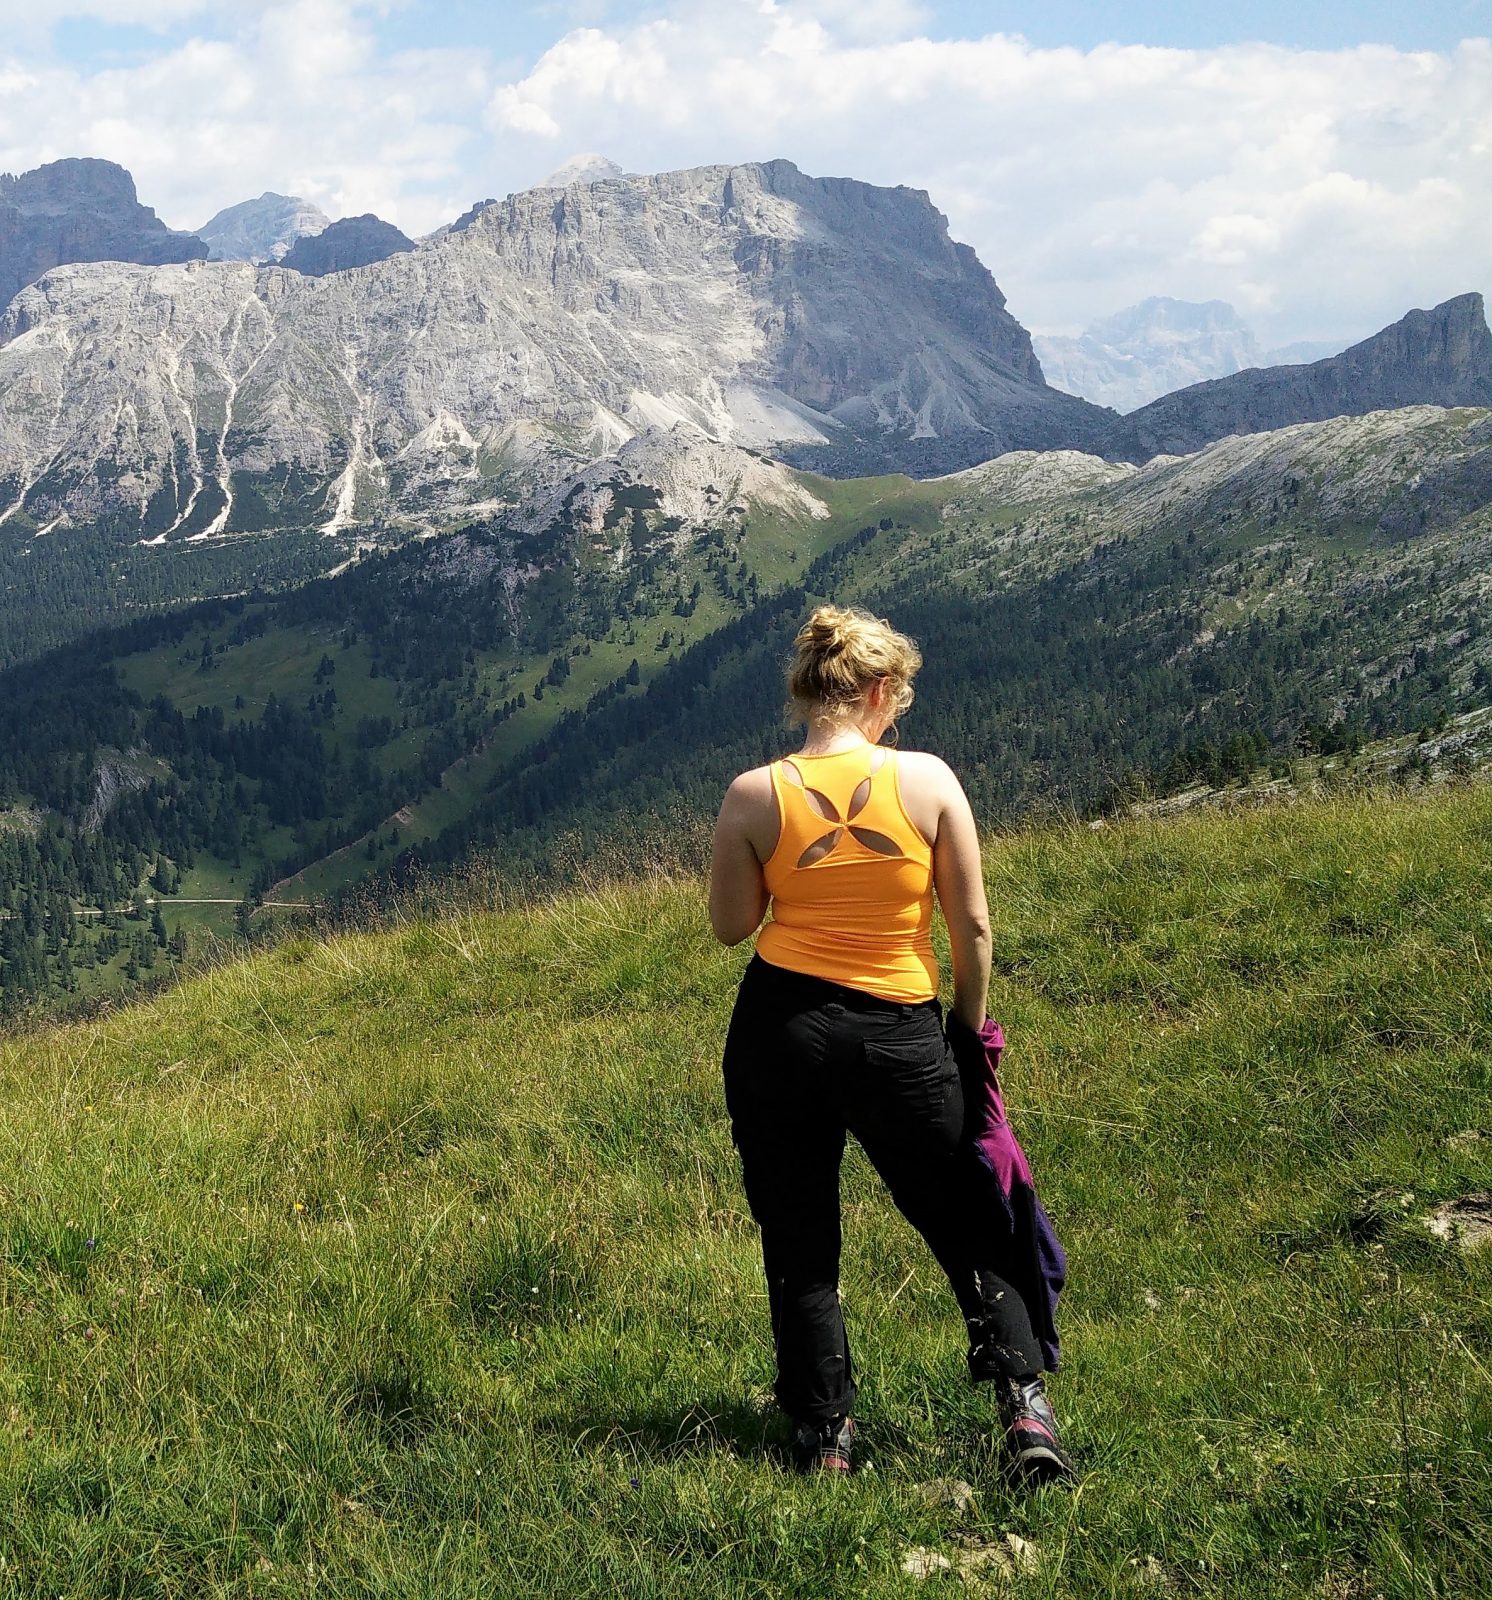
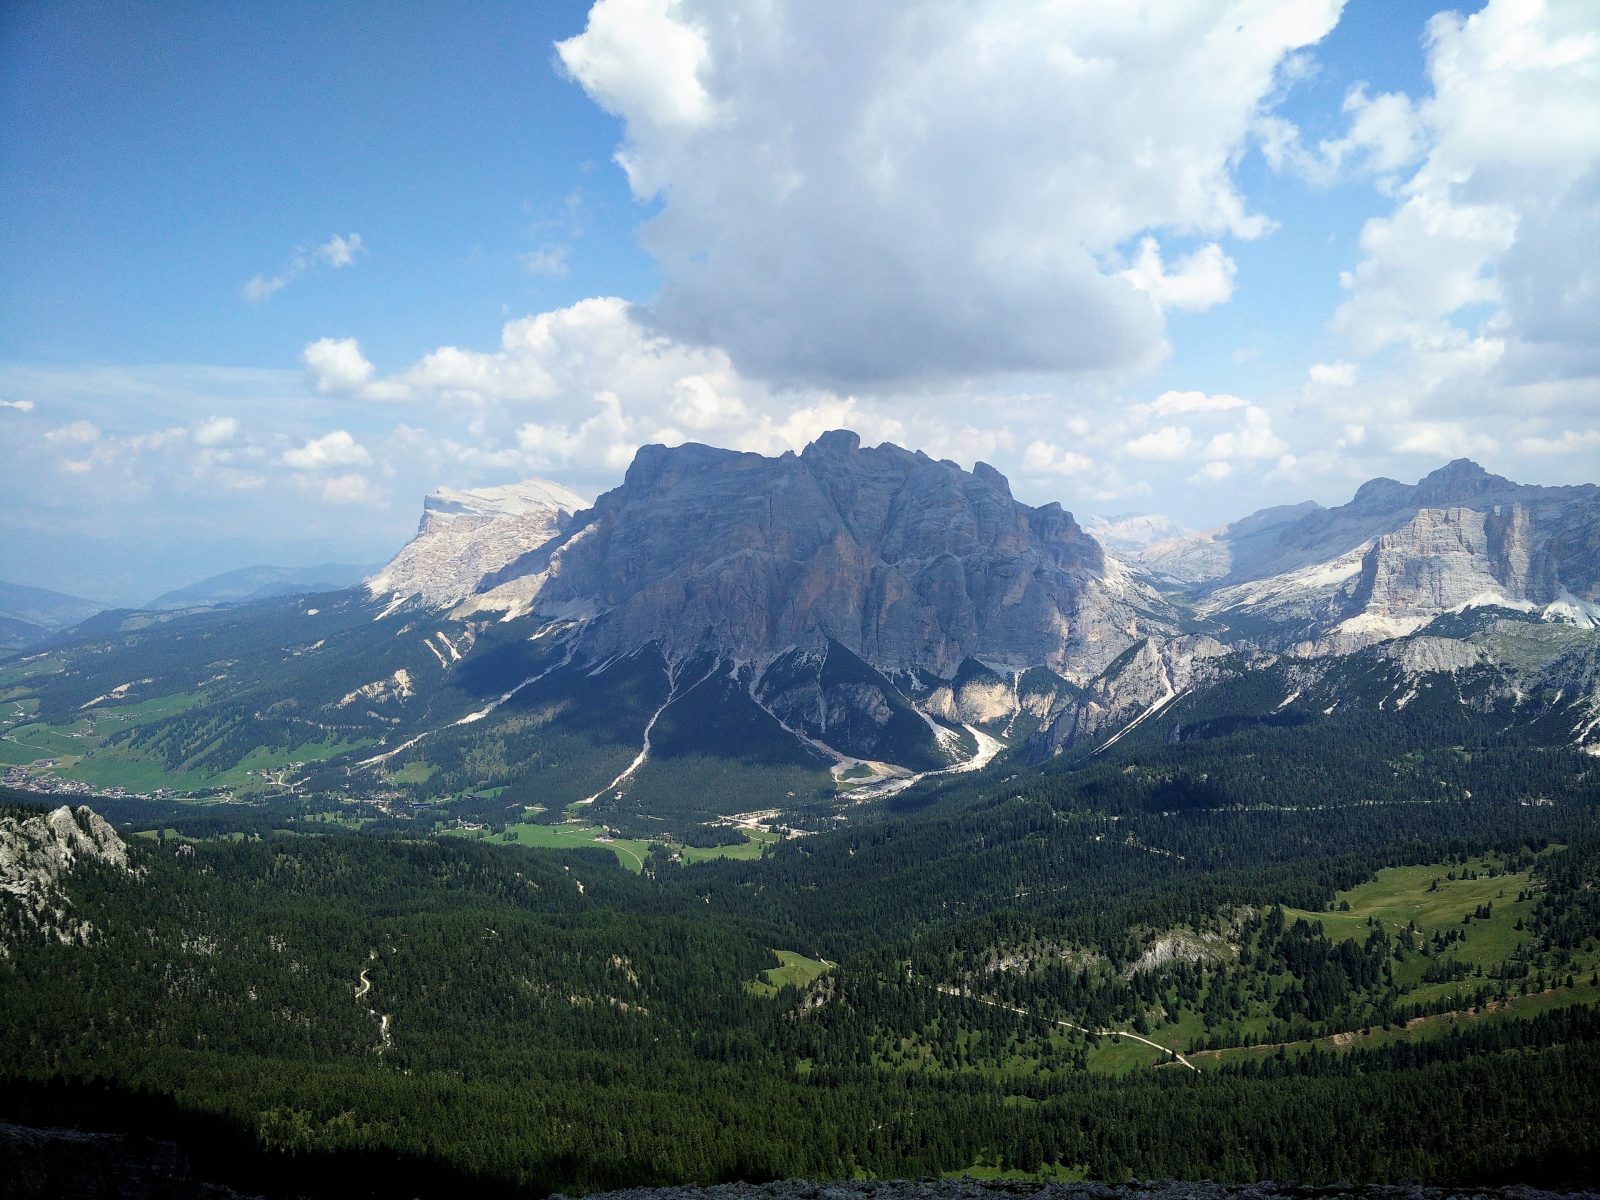
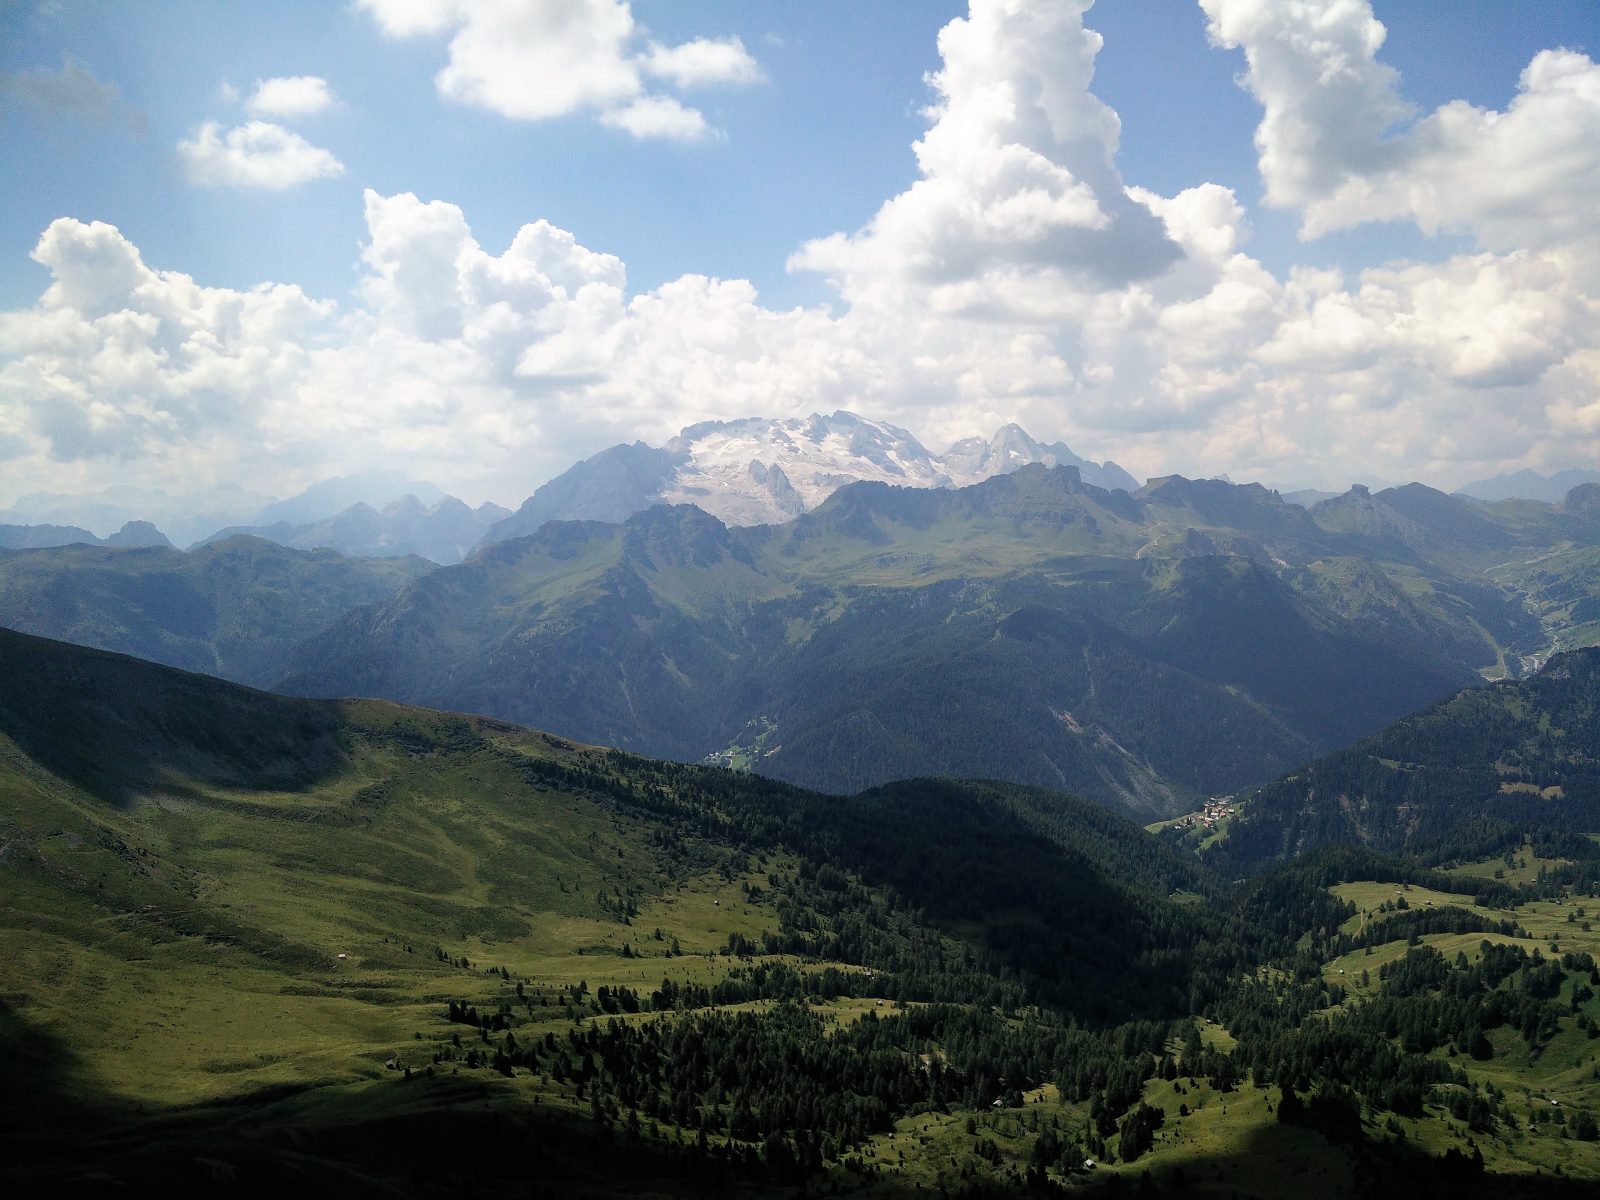
From here onwards, the trail is relatively flat (for 1 kilometer or so) until it turns towards south-east and starts ascending rapidly up the side of an idyllic mountain valley, after hiking for 3.8 kilometers altogether. At the time of our hike it was filled with cows grassing freely, but they mostly regarded us with quiet disinterest. If you are hiking with a dog, this might be a place to keep it close by your side. After ascending the steep side of the “Cow Valley”,the path leads you to the ridge and you can clearly see Cima Setsass ahead of you. Once you are on the ridge, you have 1.3 kilometers of hiking left to the top. Note that the terrain is very rocky on the last stretch of the trail and therefore it is crucial that you wear appropriate hiking footwear. The top of Cima Setsass offers an astonishing view of the landscape beneath you and other peaks in the Italian Dolomites. From the peak you can also see the 2778 meters high Lagazuoi and the notorious Lagazuoi cable car.
Getting back to the starting point
Since we couldn’t find any other route back to the starting point and we were a bit in a rush (last day of the holidays), we decided to take the same path for the way down. However, there are probably some technically difficult routes that go directly over the north face of Cima Setsass and are much shorter. If you have any information about such routes, please do write it in the comments section below.
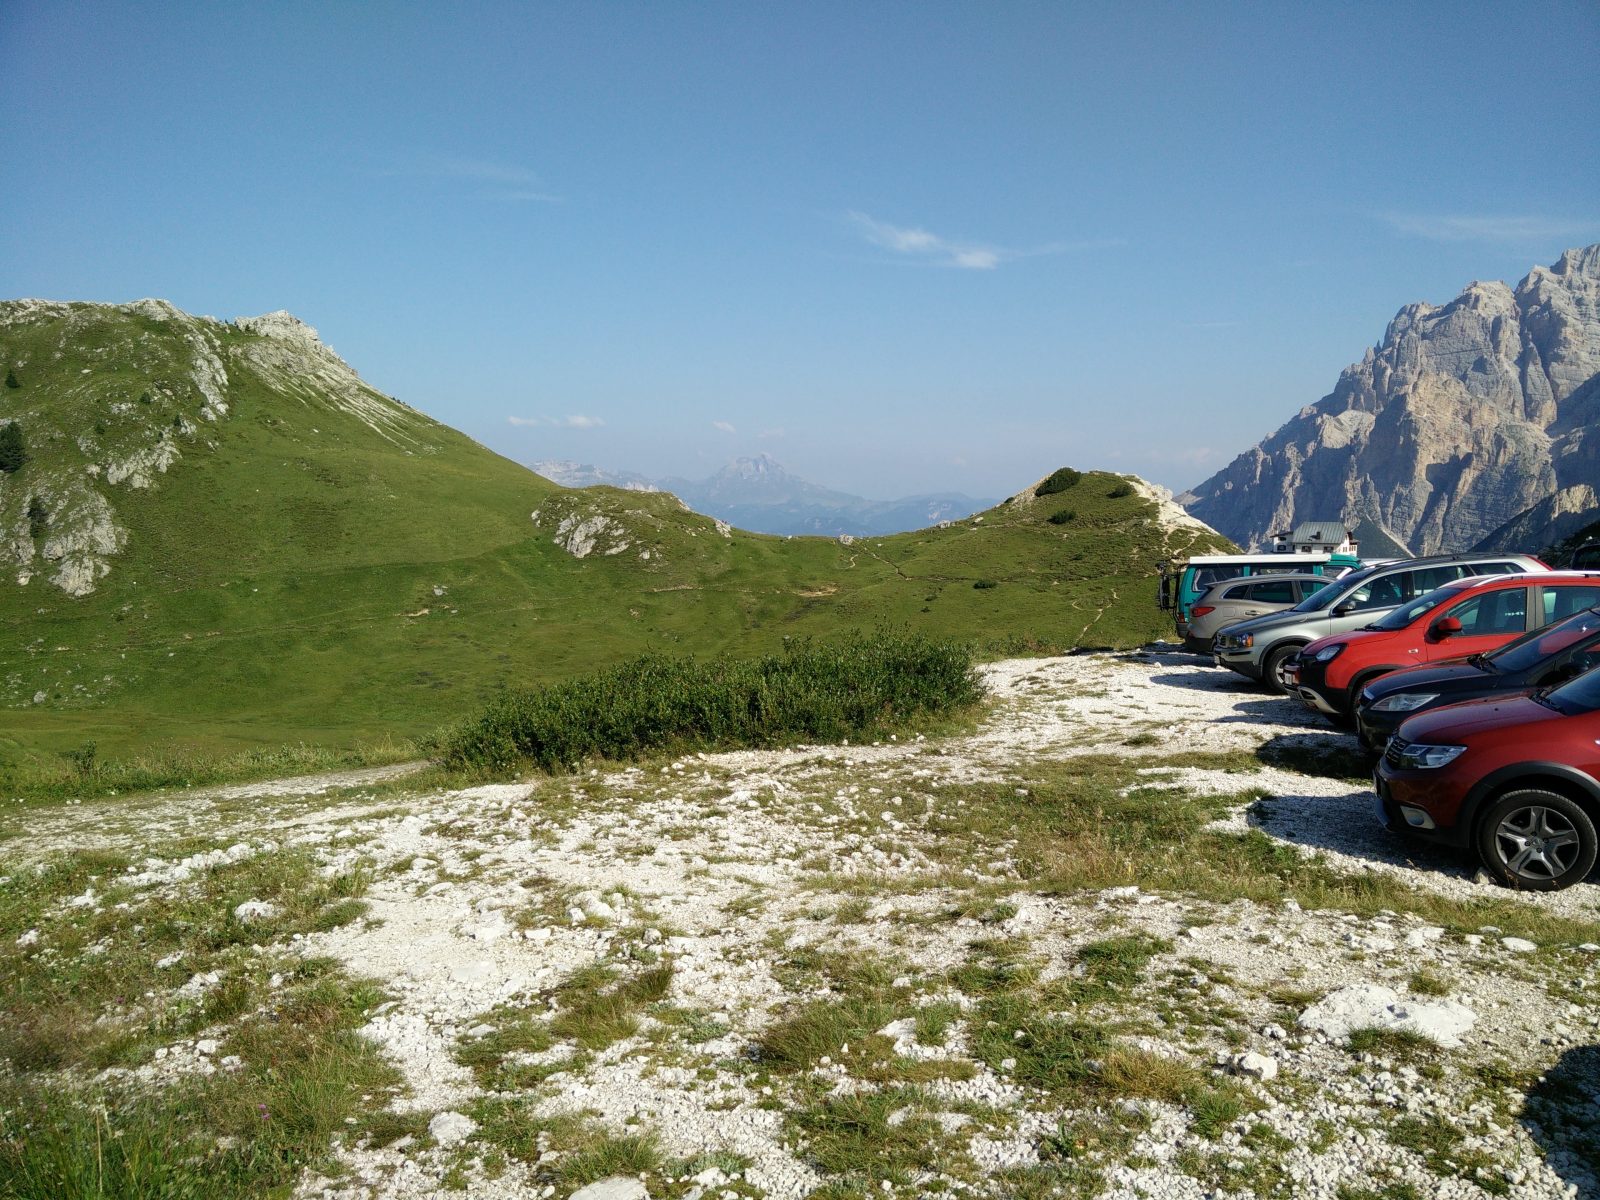
Cima Setsass Trail – Parking lot

Cima Setsass Trail – Lake
Cima Setsass Trail – Path behind the hut
Cima Setsass Trail – The north face
Cima Setsass Trail – Towards the top
Cima Setsass Trail – The top
Cima Setsass Trail – View towards north-east
Equipment
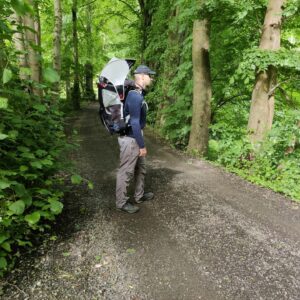
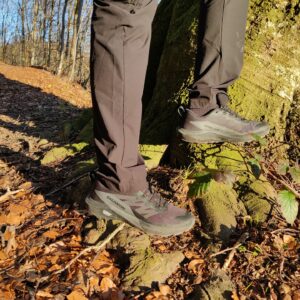
For all the hikes in the Dolomites, I was wearing long hiking pants and a long-sleeved Merino baselayer over my Asics Fit Sana Contour Tank Top with built-in bra. I was carrying an extra insulation layer (fleece jacket) and shell layer (rain jacket) in the backpack, but had little need for it as we mostly had excellent weather. On my feet I wore my Scarpa Marmolada boots.
Equipment under scrutiny
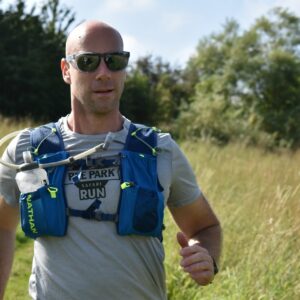
Asics Fit Sana Contour Tank Top
Asics Fit-Sana Tank Top
I wore the same Asics tank top for all three hikes in the Dolomites without possibility to wash it in between, but luckily there was no need as the top simply didn’t get smelly in spite of being soaked in sweat more than once per day. The smooth material also dried fast while on the go and wicks moisture extremely well. Our tempo was, however, a bit too high that day for the support to be adequate. For my chest size (70E/32E) the Asics Fit Sana offers low to medium support, which is comfortable for a slower pace. Smaller busts will likely be better supported. Read the full review of the Asics Fit Sana Contour tank here.

Conclusion and photo gallery
The Cima Setsass trail is a nice day hike that is suitable for everybody who is reasonably fit and takes you through some lovely and diverse landscapes characteristic for the Dolomites. You will meet other people, but it is far from as crowded as the Laguzuoi trail. In summer the trail doesn’t require mountaineering experience or special equipment such as via ferrata set, helmet etc., but merely a pair of proper hiking boots for adequate ankle support and traction on the rocky stretches. However, keep in mind that if the trail is covered with snow (typically late fall, winter and early spring), you will need crampons, ice axes and above all experience with winter hiking. Despite the season, don’t forget to bring enough water, appropriate footwear and sun cream. Before hitting the trail also check the weather forecast. In case of bad weather, we recommend postponing the hike (especially if thunderstorms are forecasted).
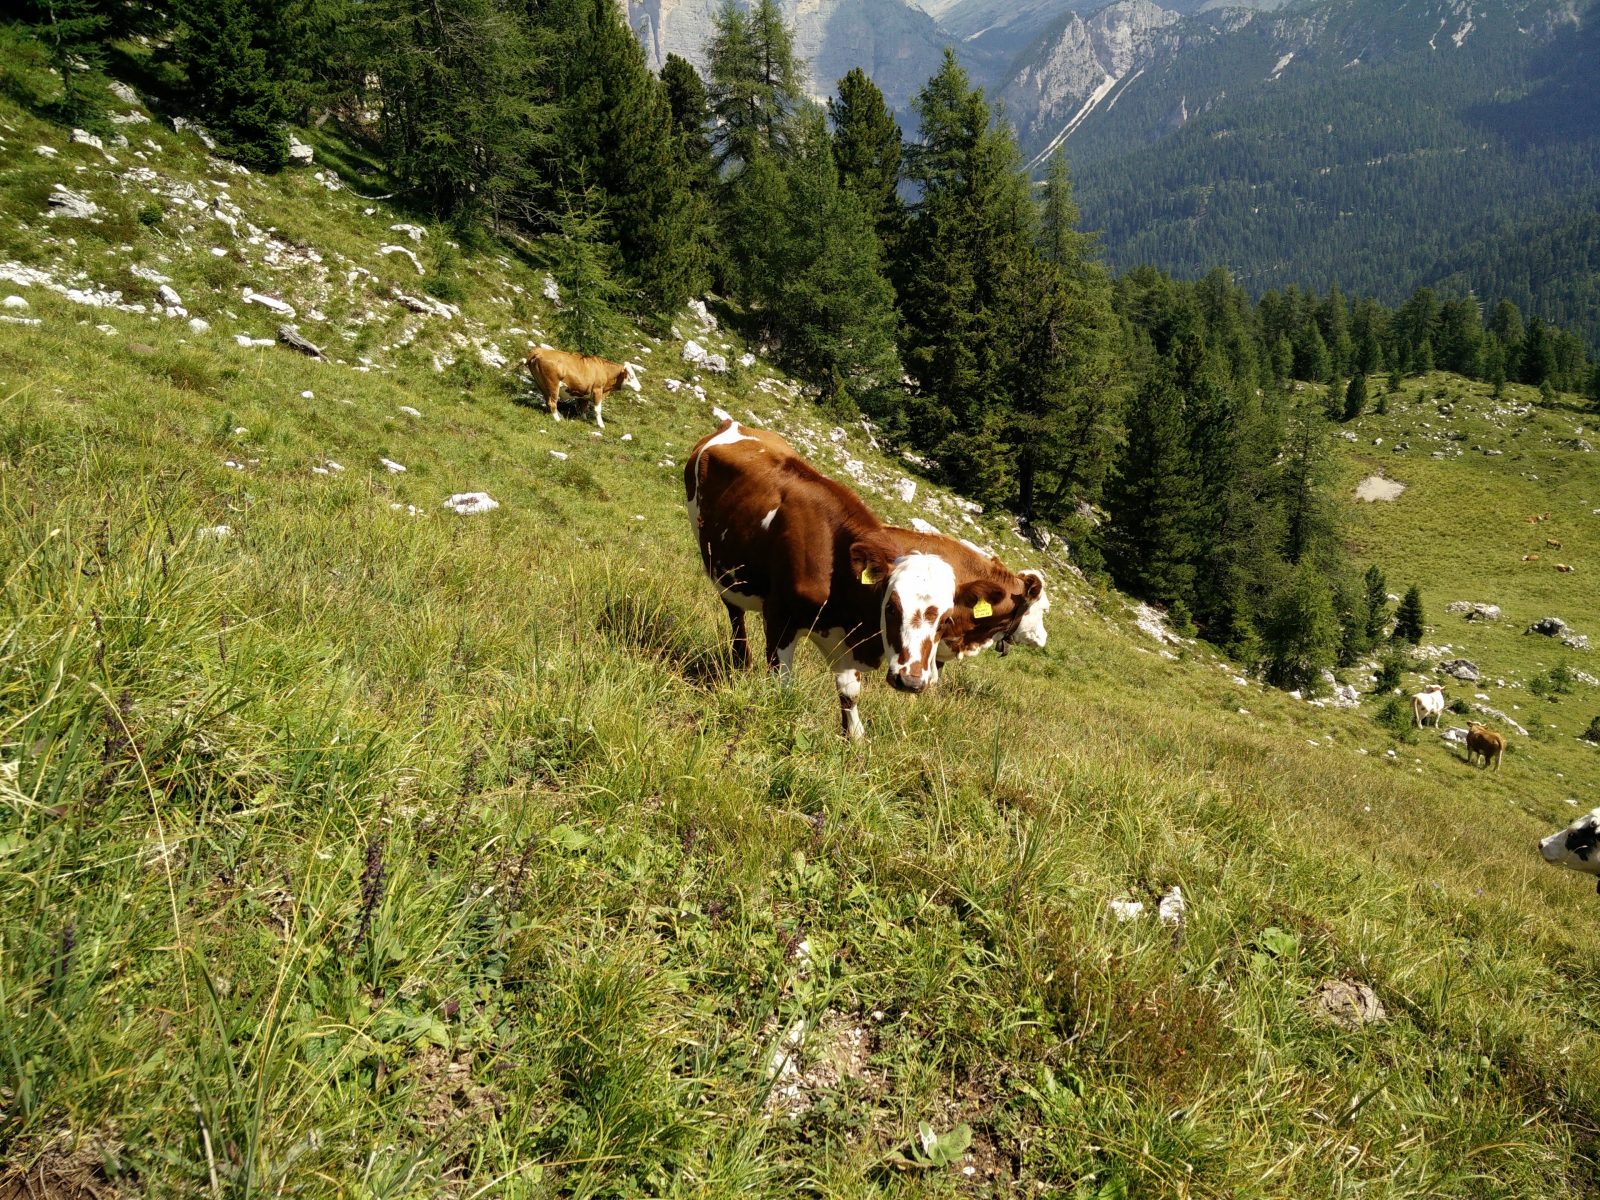
Cima Setsass Trail - Cows on the trail
Cima Setsass Trail - View on Piz dies Centurines
Cima Setsass Trail - View towards south
If you have any questions about this hike, please drop us a line in the comments below.