The Tentsile UNA is a highly innovative hammock tent that delivers exceptional sleeping comfort and spaciousness thanks to its tensioned flat-base design. It combines the comfort advantages of a hammock with the practicality of a tent system, although the setup process and heavier hardware require a bit more commitment than minimalist hammock shelters.
Tentsile UNA Hammock Tent Review
A couple of months ago, we got in touch with the British outdoor company Tentsile. Tentsile specializes in hammocks and hammock tents. They have a huge selection of these products, from minimalistic one-person hammocks to hammock tents that fit no less than six persons. When we were offered to test their one-person UNA hammock tent, I read a bit about the product online and was immediately fascinated.
The Tentsile UNA is slightly different than hammock tents from other brands because it has a tensioned base which basically means that it has a relatively flat bottom when it’s set up. Traditional hammock tents wrap around your body quite tightly and are thus not that roomy, at least not in width. I really liked the idea of the flat bottom because it means more space and a more comfortable sleeping position. Furthermore, the flat bottom also enables you to get in and out of the hammock easier. I was really excited to test the Tentsile UNA to see how it compares to other hammock tents. I received it in May and since then I spent several nights in it, investigating the concept, setup, ease of use, materials and sleeping comfort. Below is what I learned about it.
The Tentsile UNA Hammock Tent is suitable for:
- Backpacking
- Camping
- Hiking
- Mountaineering (below the tree line, duh!)
The concept
When I unwrapped the UNA hammock tent, I was a bit surprised that it comes in so many separate parts. All parts are of course necessary, but I thought they might be attached together in some way as it’s easy to lose such parts on a hike. Nevertheless, the small parts are neatly packed in a bag inside the stuff sack. So, in the stuff sack you will find the hammock tent with an integrated bug net, rainfly and a bag with small parts. This bag contains the pole for the tent, three carabiners, three 4-meter-long nylon straps, a WebLock, a ratchet buckle, three pegs with guylines and instructions.
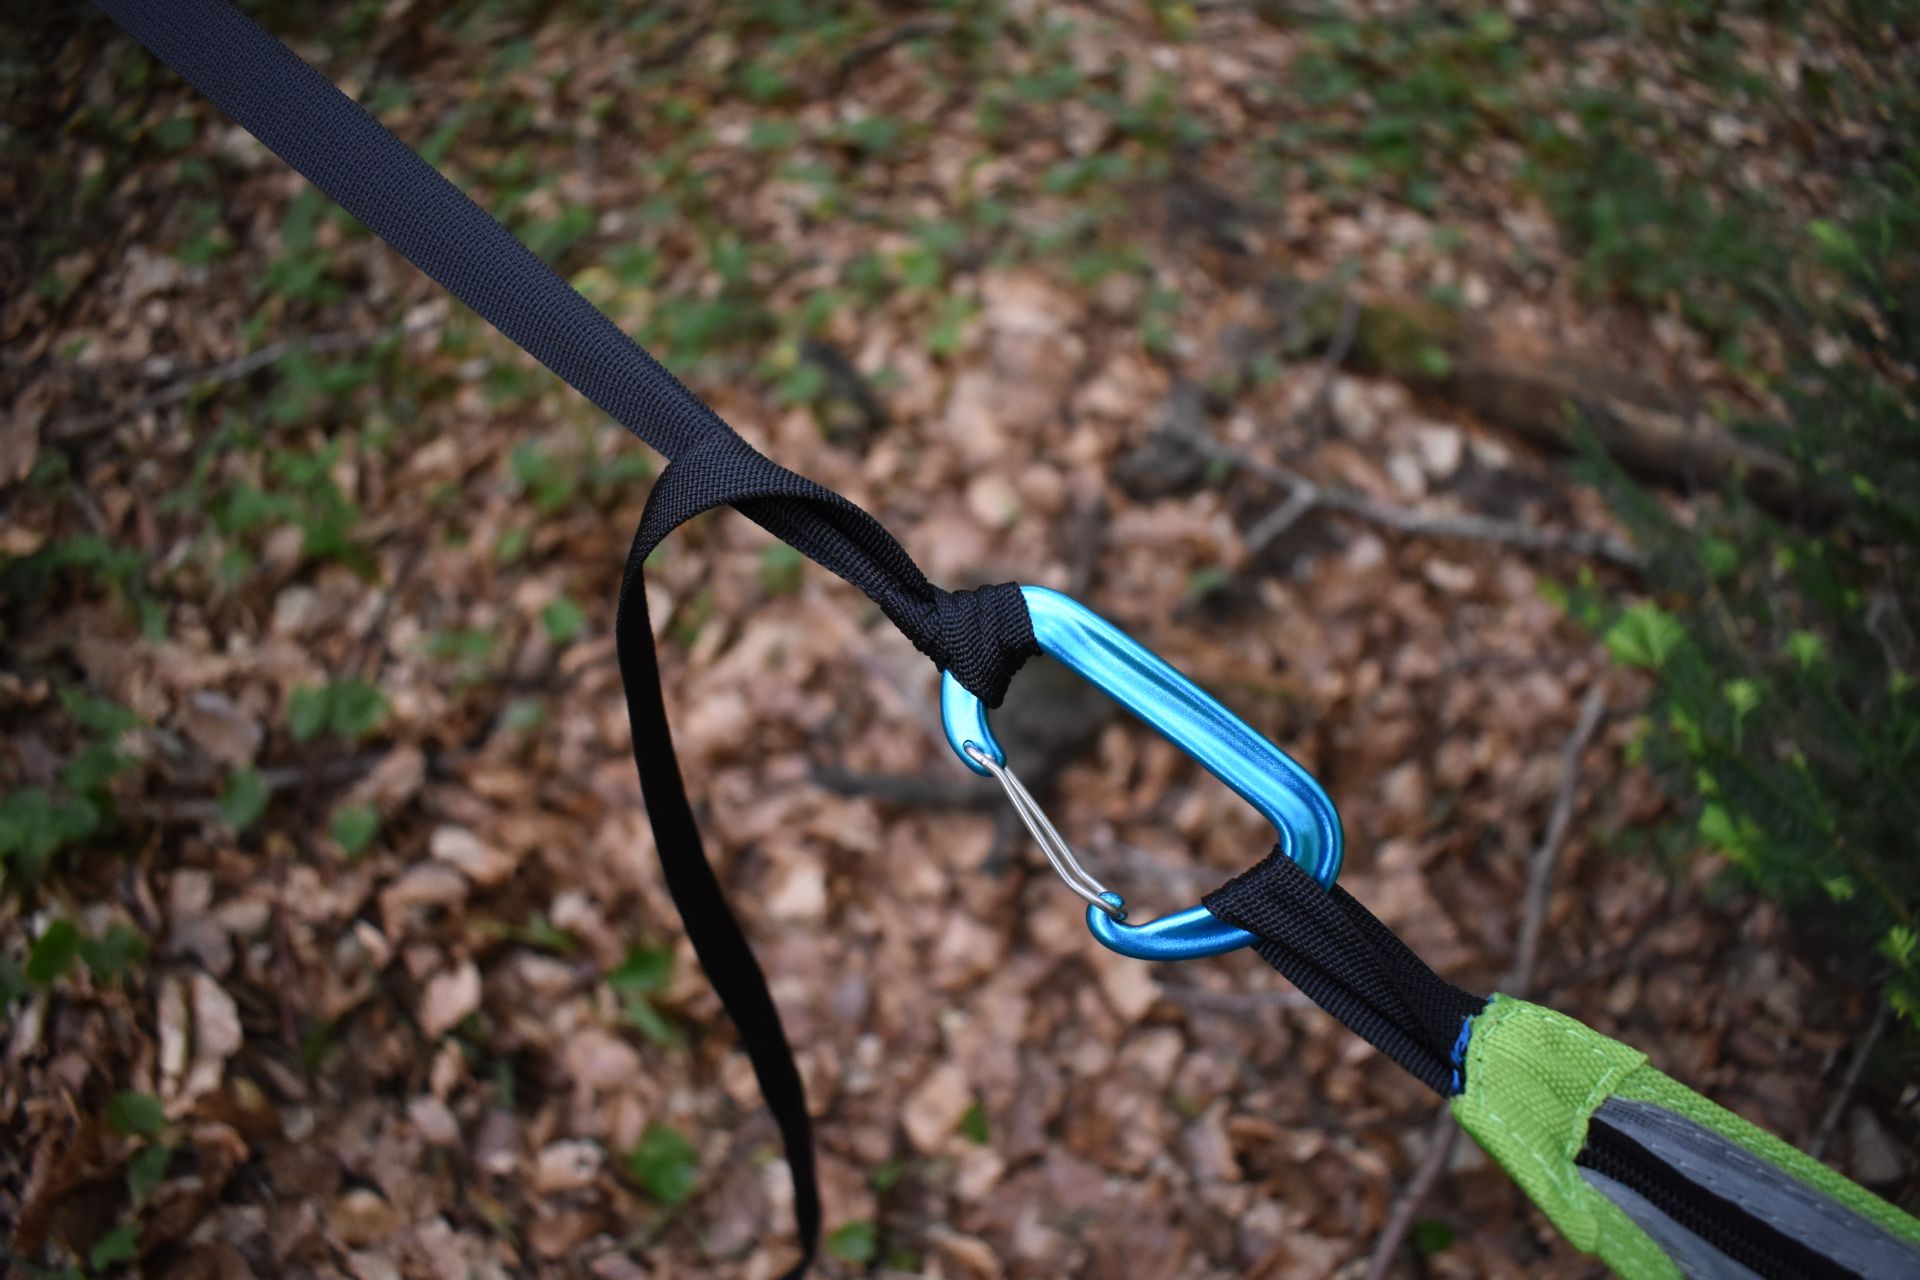
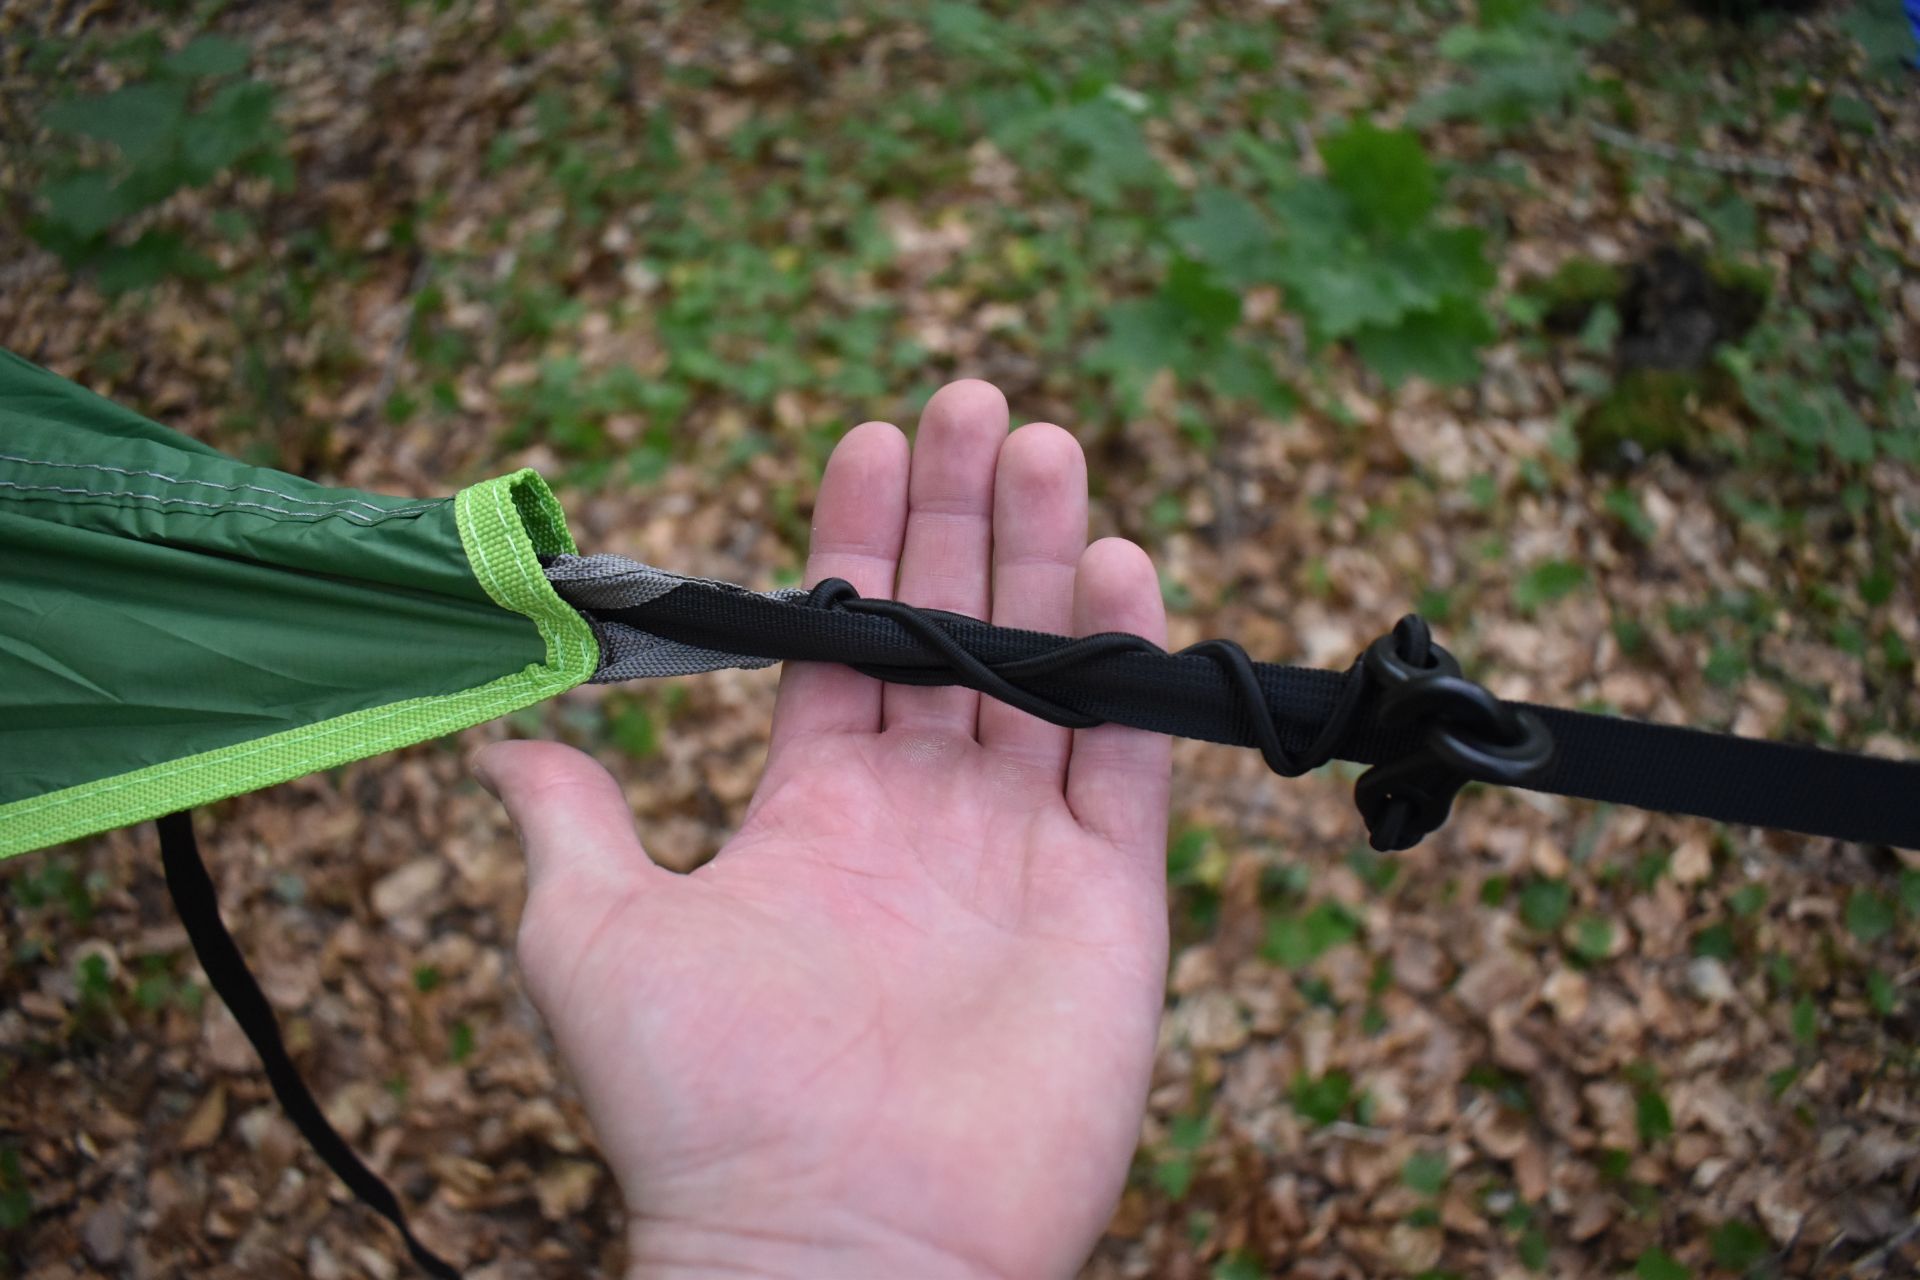
Setting up the UNA hammock tent requires three trees that are between three to eight meters apart and form a triangle. Now, this might sound intricate, but I was positively surprised how easy it is to find such a tree configuration in the forests I hiked in. The nylon straps come around the trees and are attached to the hammock with carabiners. Two attachment points are in the front and one attachment point is at the tail, where your feet are placed once inside in the hammock tent. At the tail you attach the nylon strap to the carabiner with a half-windsor knot, and on the front you attach the nylon strap to the carabiner with WebLock on one side and a ratchet buckle on the other side. The ratchet buckle is what enables you to add tension to the hammock and consequently create a relatively flat bottom. It pulls the strap with higher force than you can with your arms and then locks it. The WebLock also allows you to add tension to the hammock but not as efficiently as the ratchet buckle. It’s basically a gadget that allows the strap to be shortened and then locks it in that position.
I found the concept solid and didn’t have many problems when I was setting up the hammock tent for the first time. Nevertheless, I do recommend a practice run (and watching the set-up video!) before you go backpacking with it. You need to learn one knot and figure out how the ratchet buckle and WebLock work so you can set it up successfully, but more about this in the Set-up Process section below.
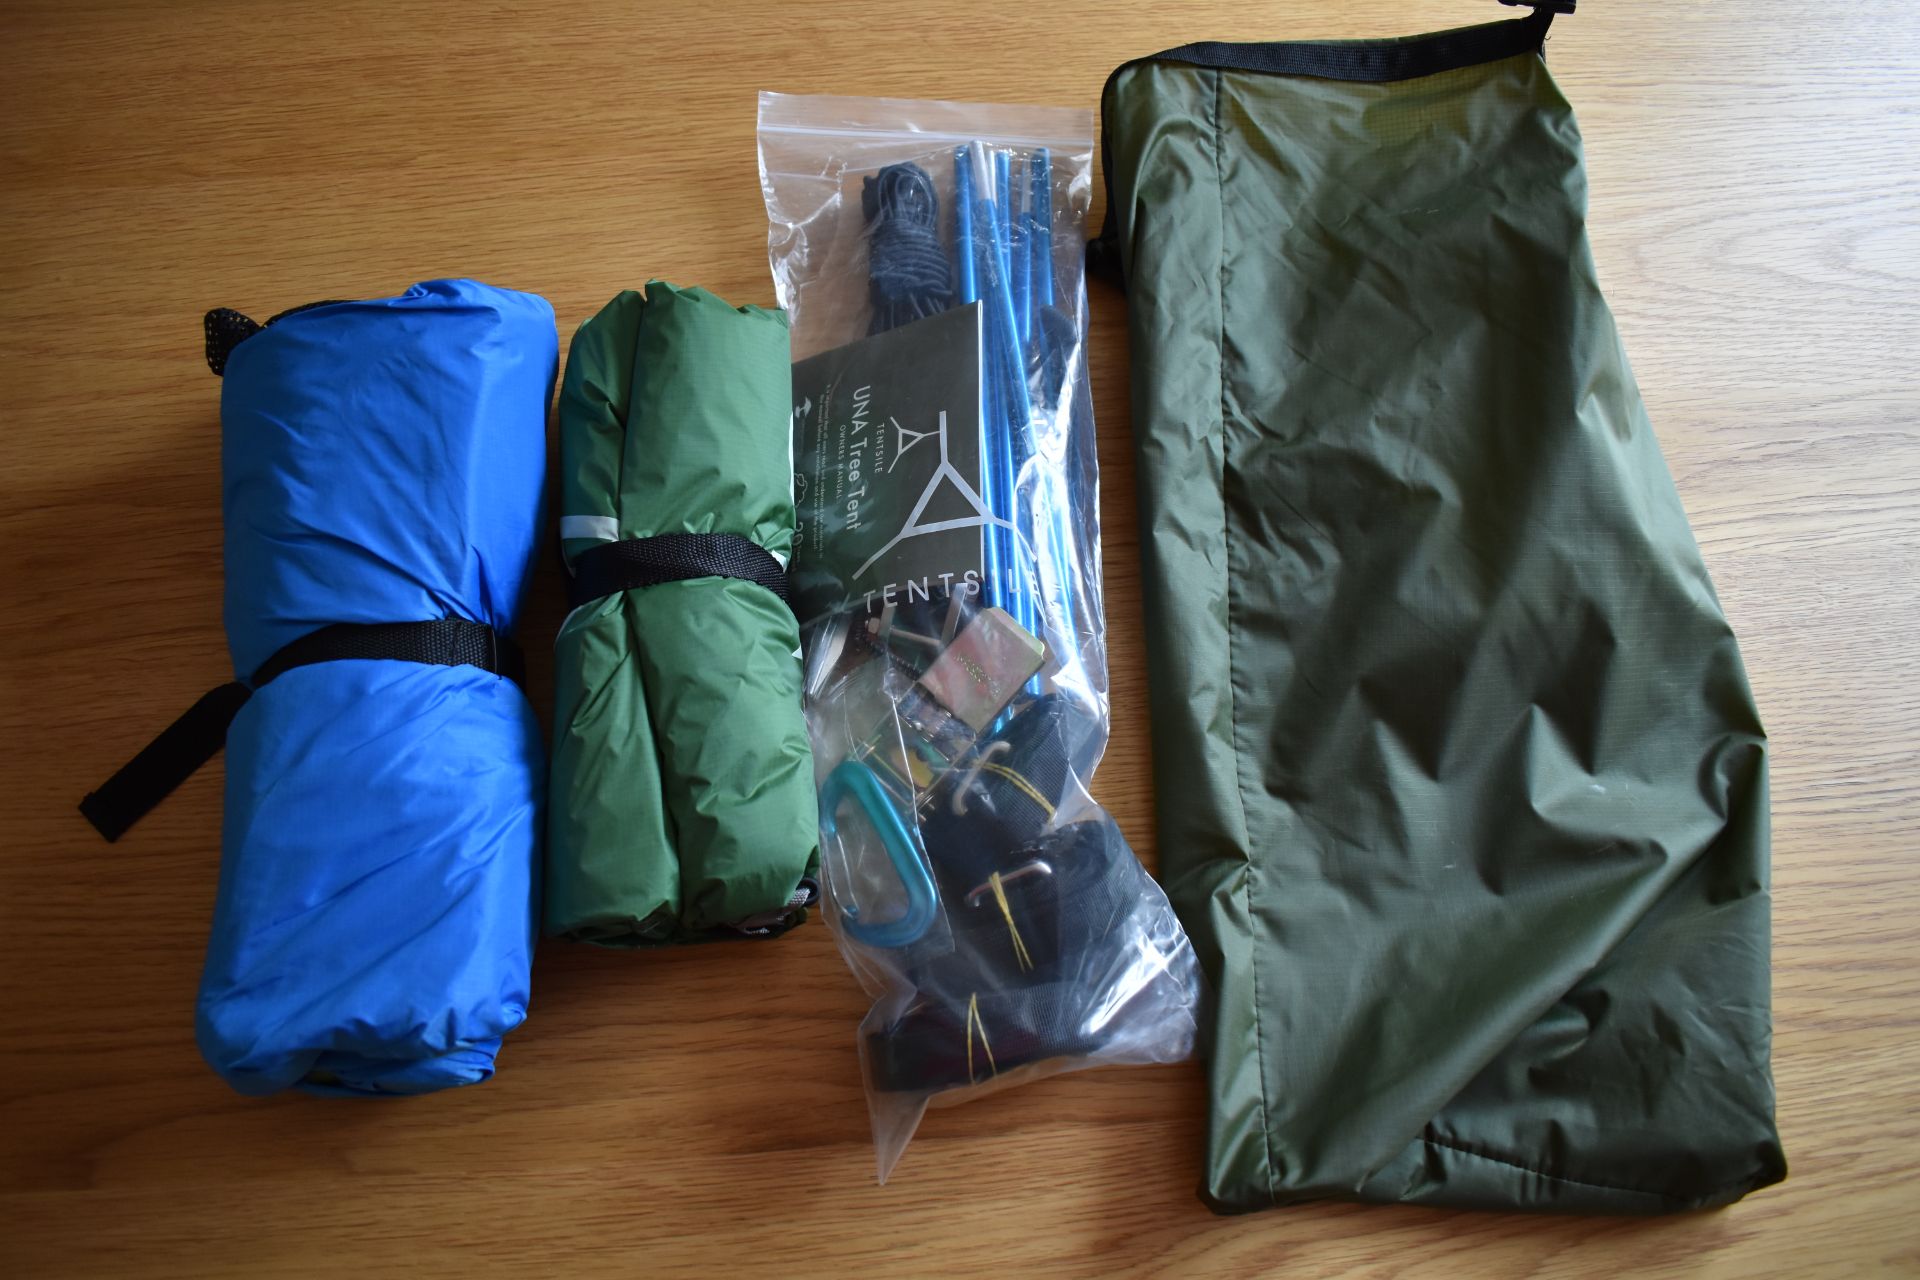
The stuff sack and what’s in it
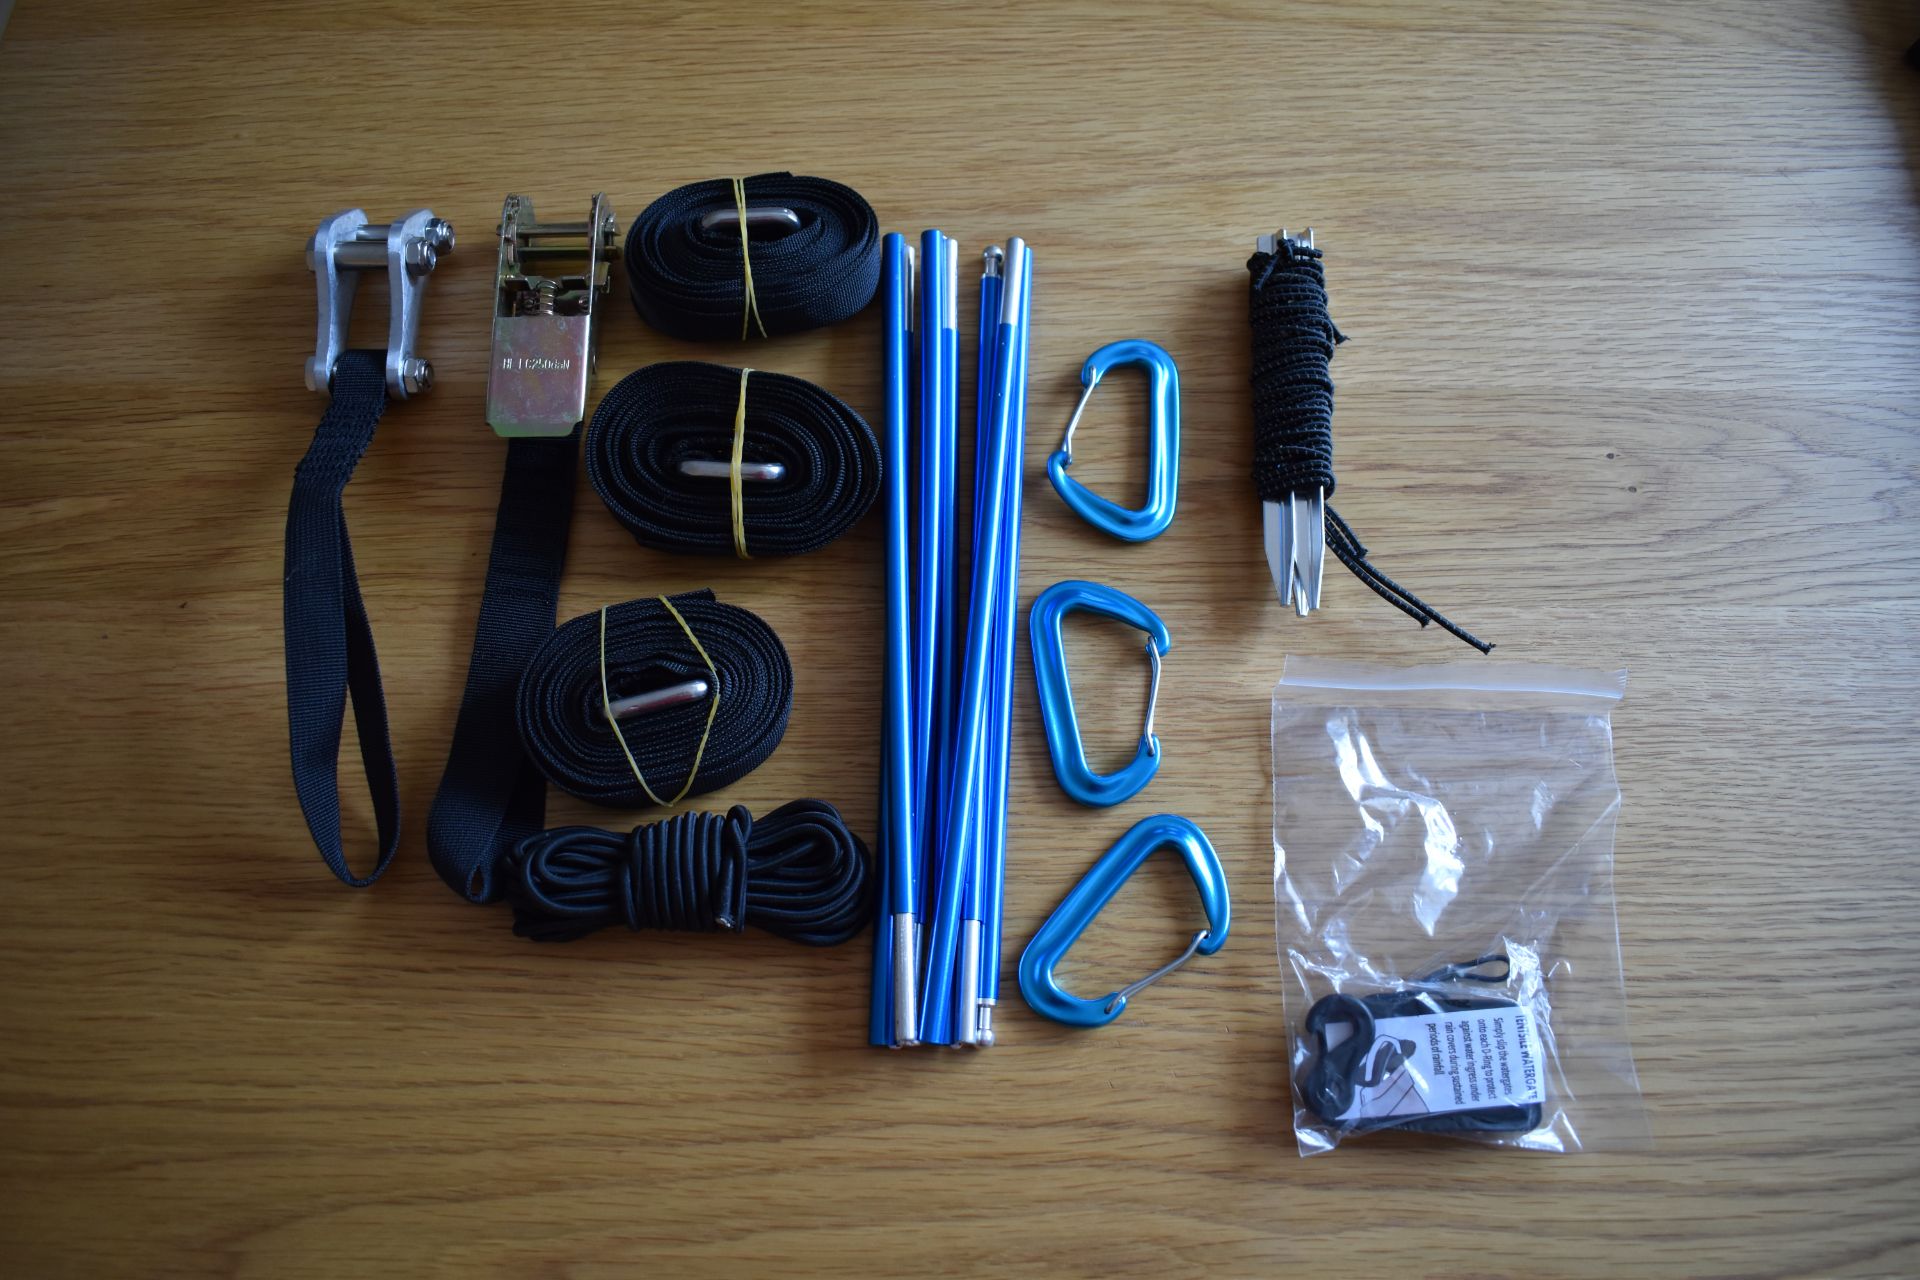
Small parts are packed in a separate bag
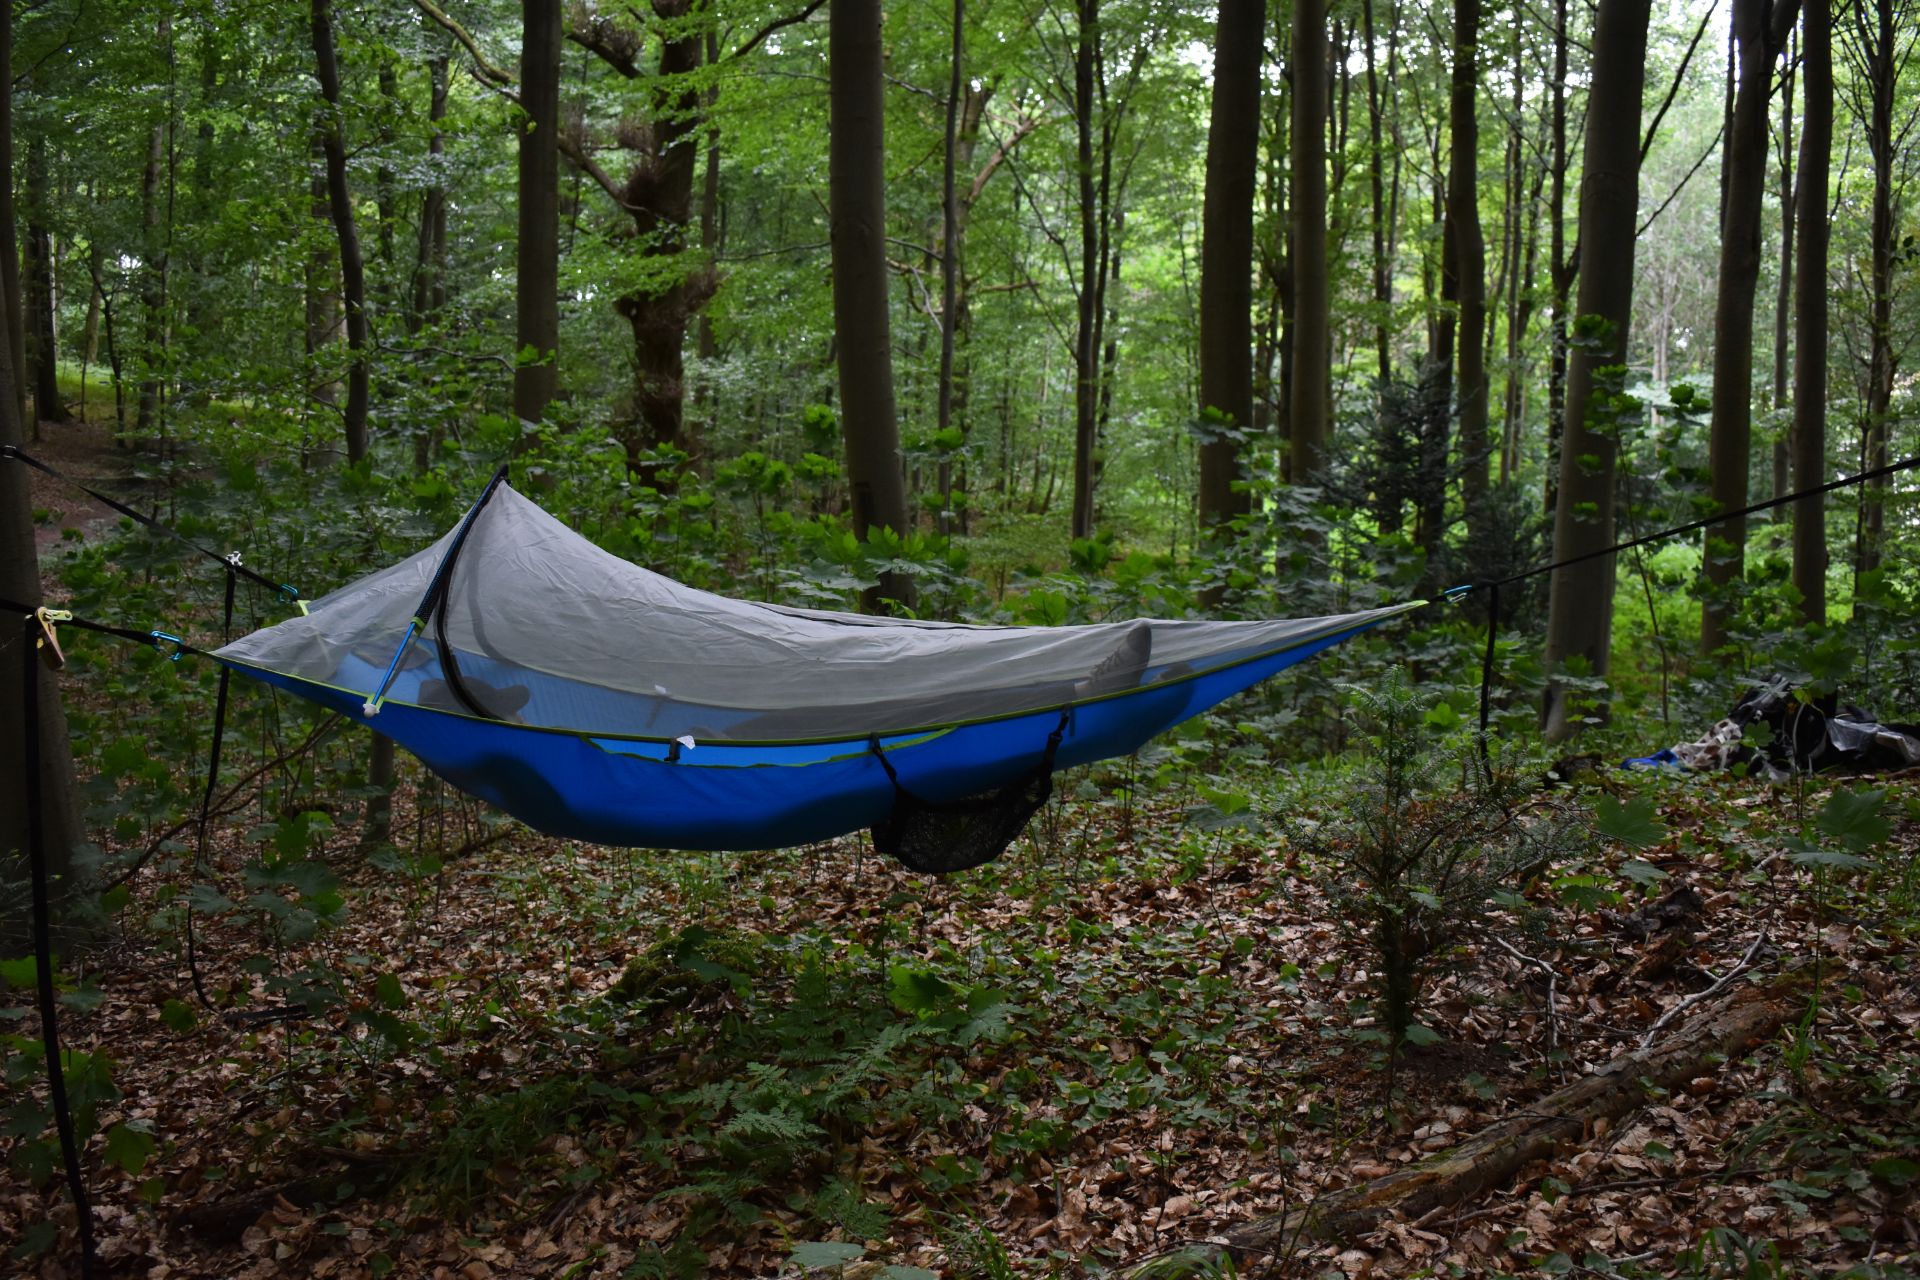
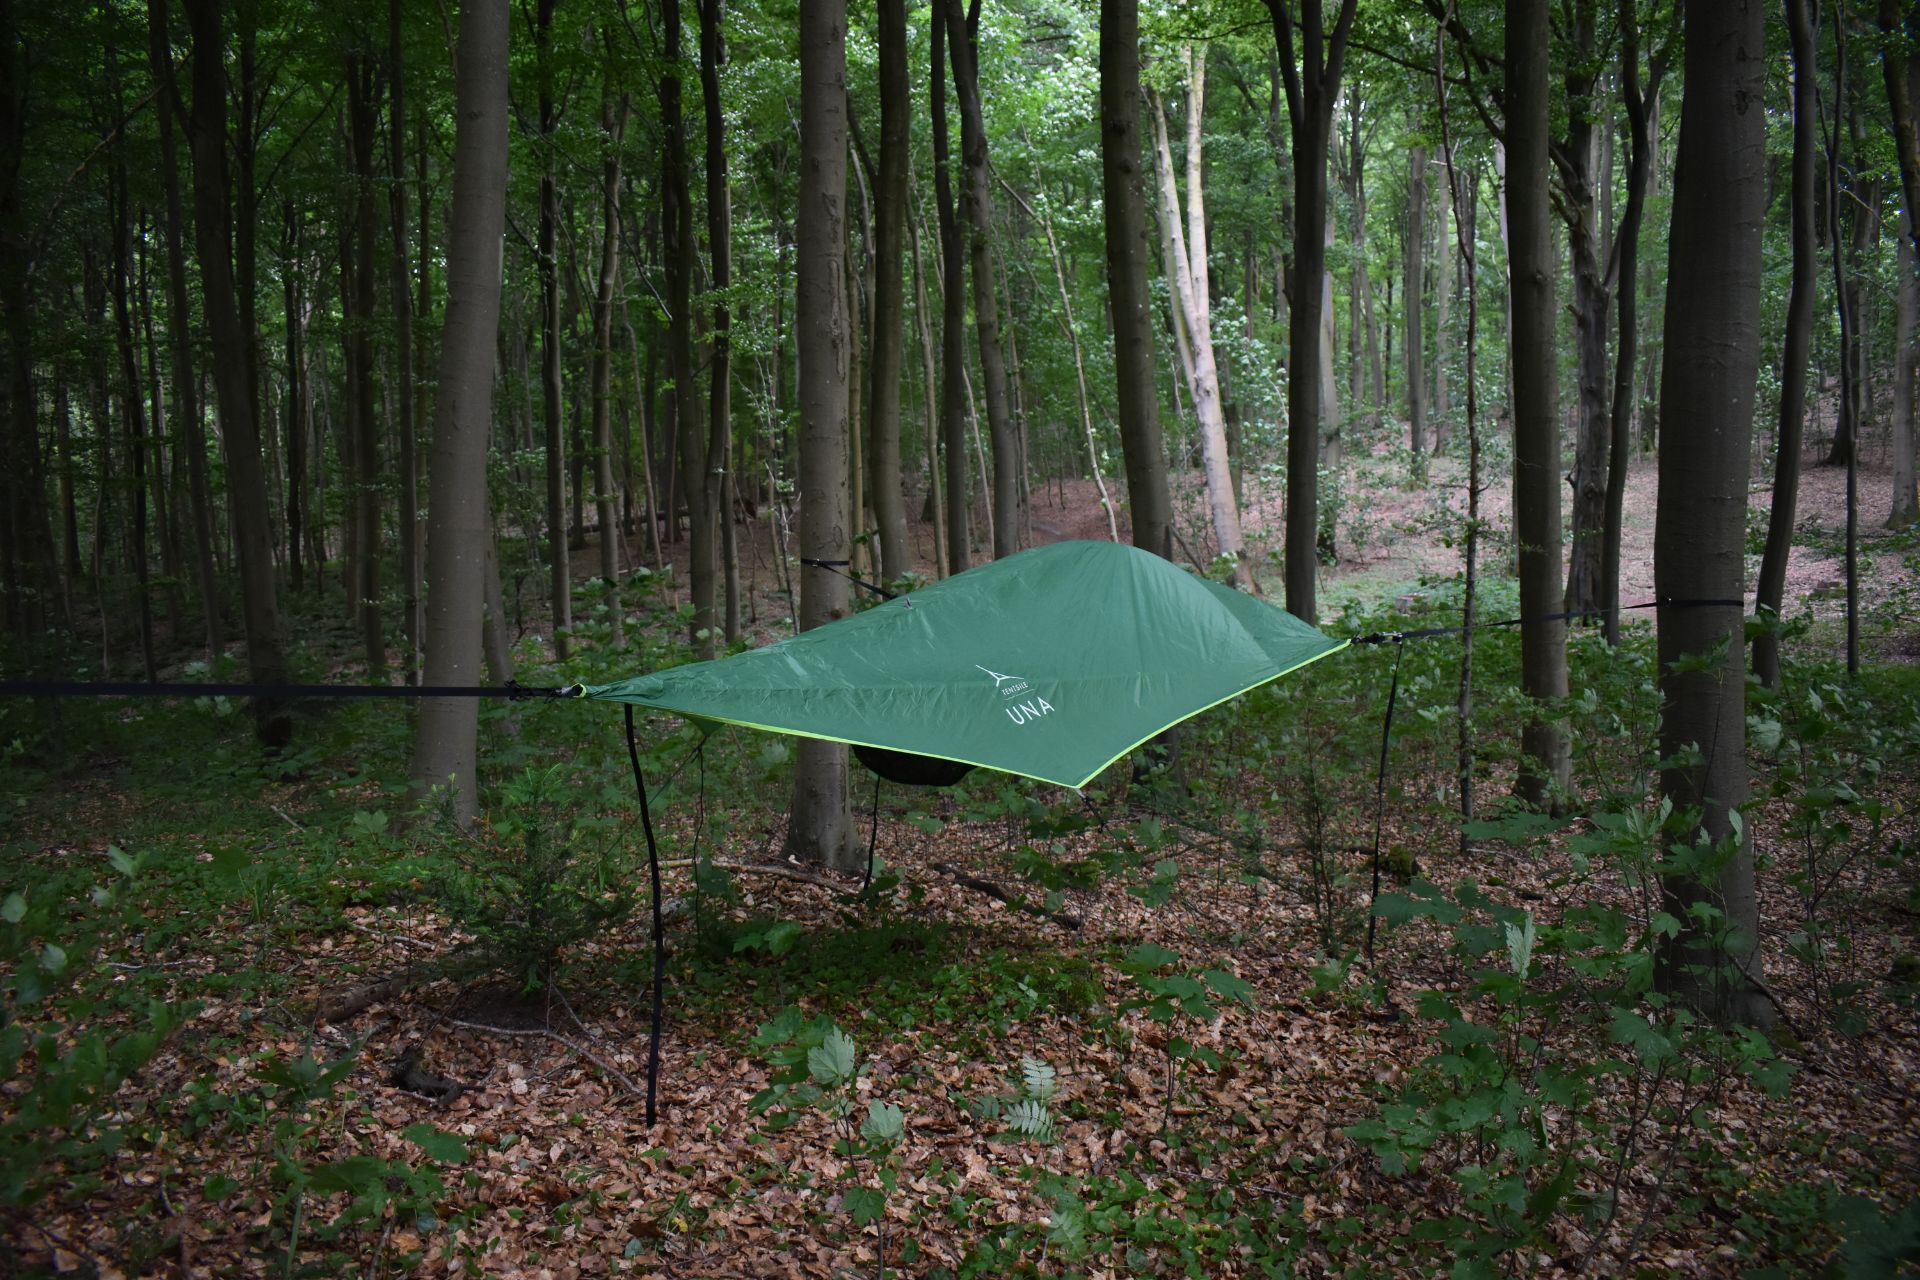
Tentsile UNA without the rainfly
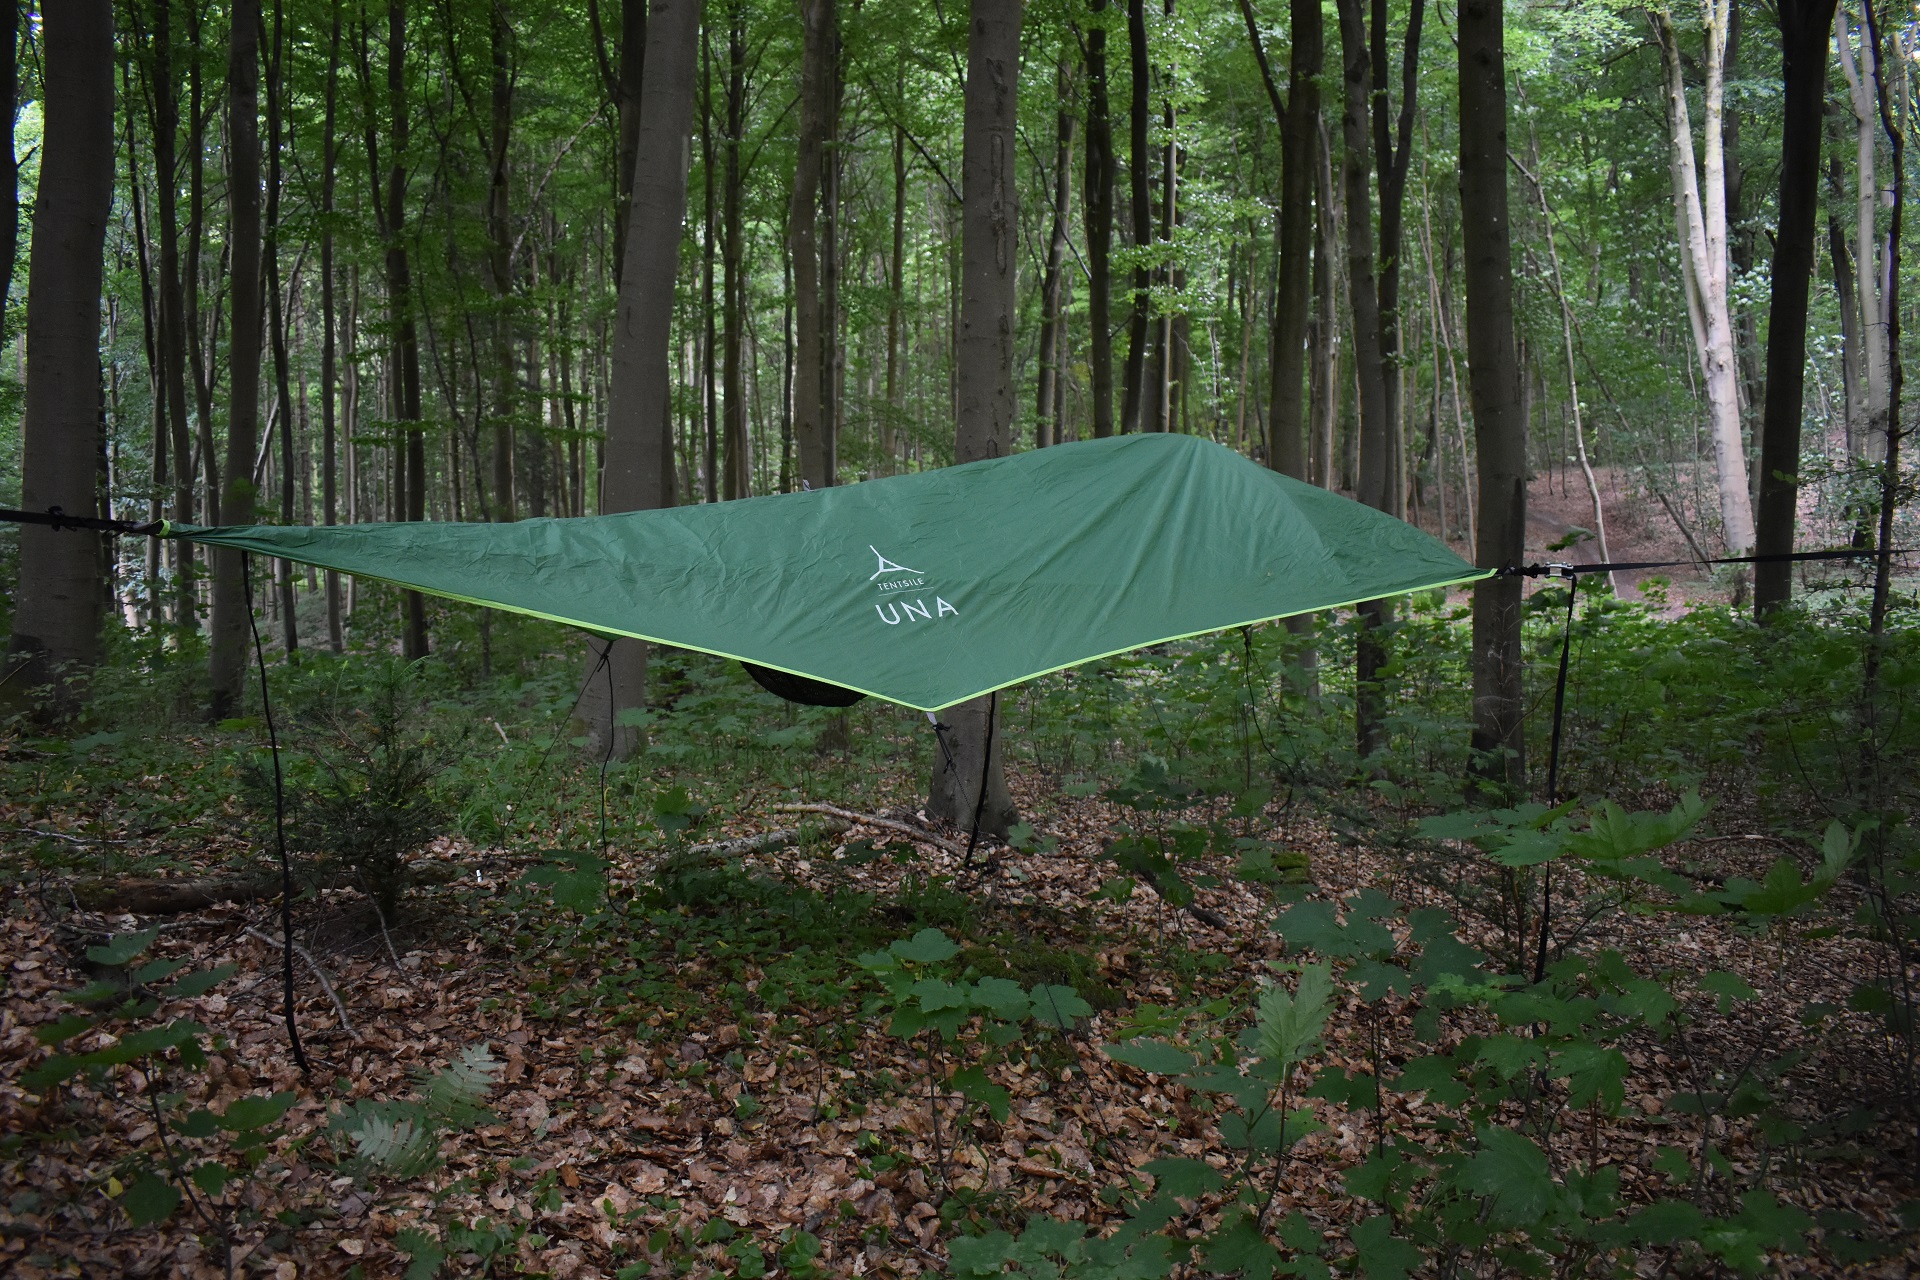
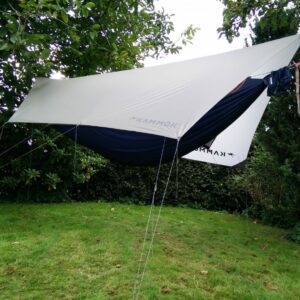
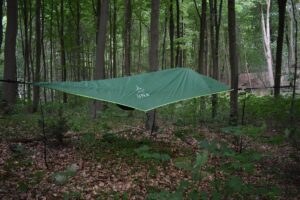
The complete setup
Materials
After I unpacked all the items from the stuff sack on the ground, I thoroughly inspected them. I found them robust, sturdy and high-quality. The only thing that I was a bit worried about is that some of them were quite heavy. The rainfly and the hammock tent itself are super lightweight but the ratchet and the WebLock significantly add to the weight of the whole sleeping setup. Nevertheless, the weight of the whole setup is less than 2 kg (4.4 lbs.) which I find reasonable. Some competitive hammock tents are lighter, but they don’t feature flat bottom and to achieve that, certain heavier parts such as the ratchet and WebLock are required.
The hammock is made of a two-layer 20-denier Nylon fabric which can hold up to 120kg (265 lbs) and the rainfly is made of 20-denier polyurethane coated Nylon to provide good rain resistance. The straps are also made of Nylon and although they are quite thin, I found them to be sturdy and durable. The three carabiners are lightweight and easy to handle and the same goes for the tent pole. The ratchet buckle and WebLock are very robust and quite heavy, but they do work perfectly and make the setup process as simple as it can be. So, all in all I’m very satisfied with the materials and the only thing I wish is that the ratchet buckle and WebLock would be a bit lighter.
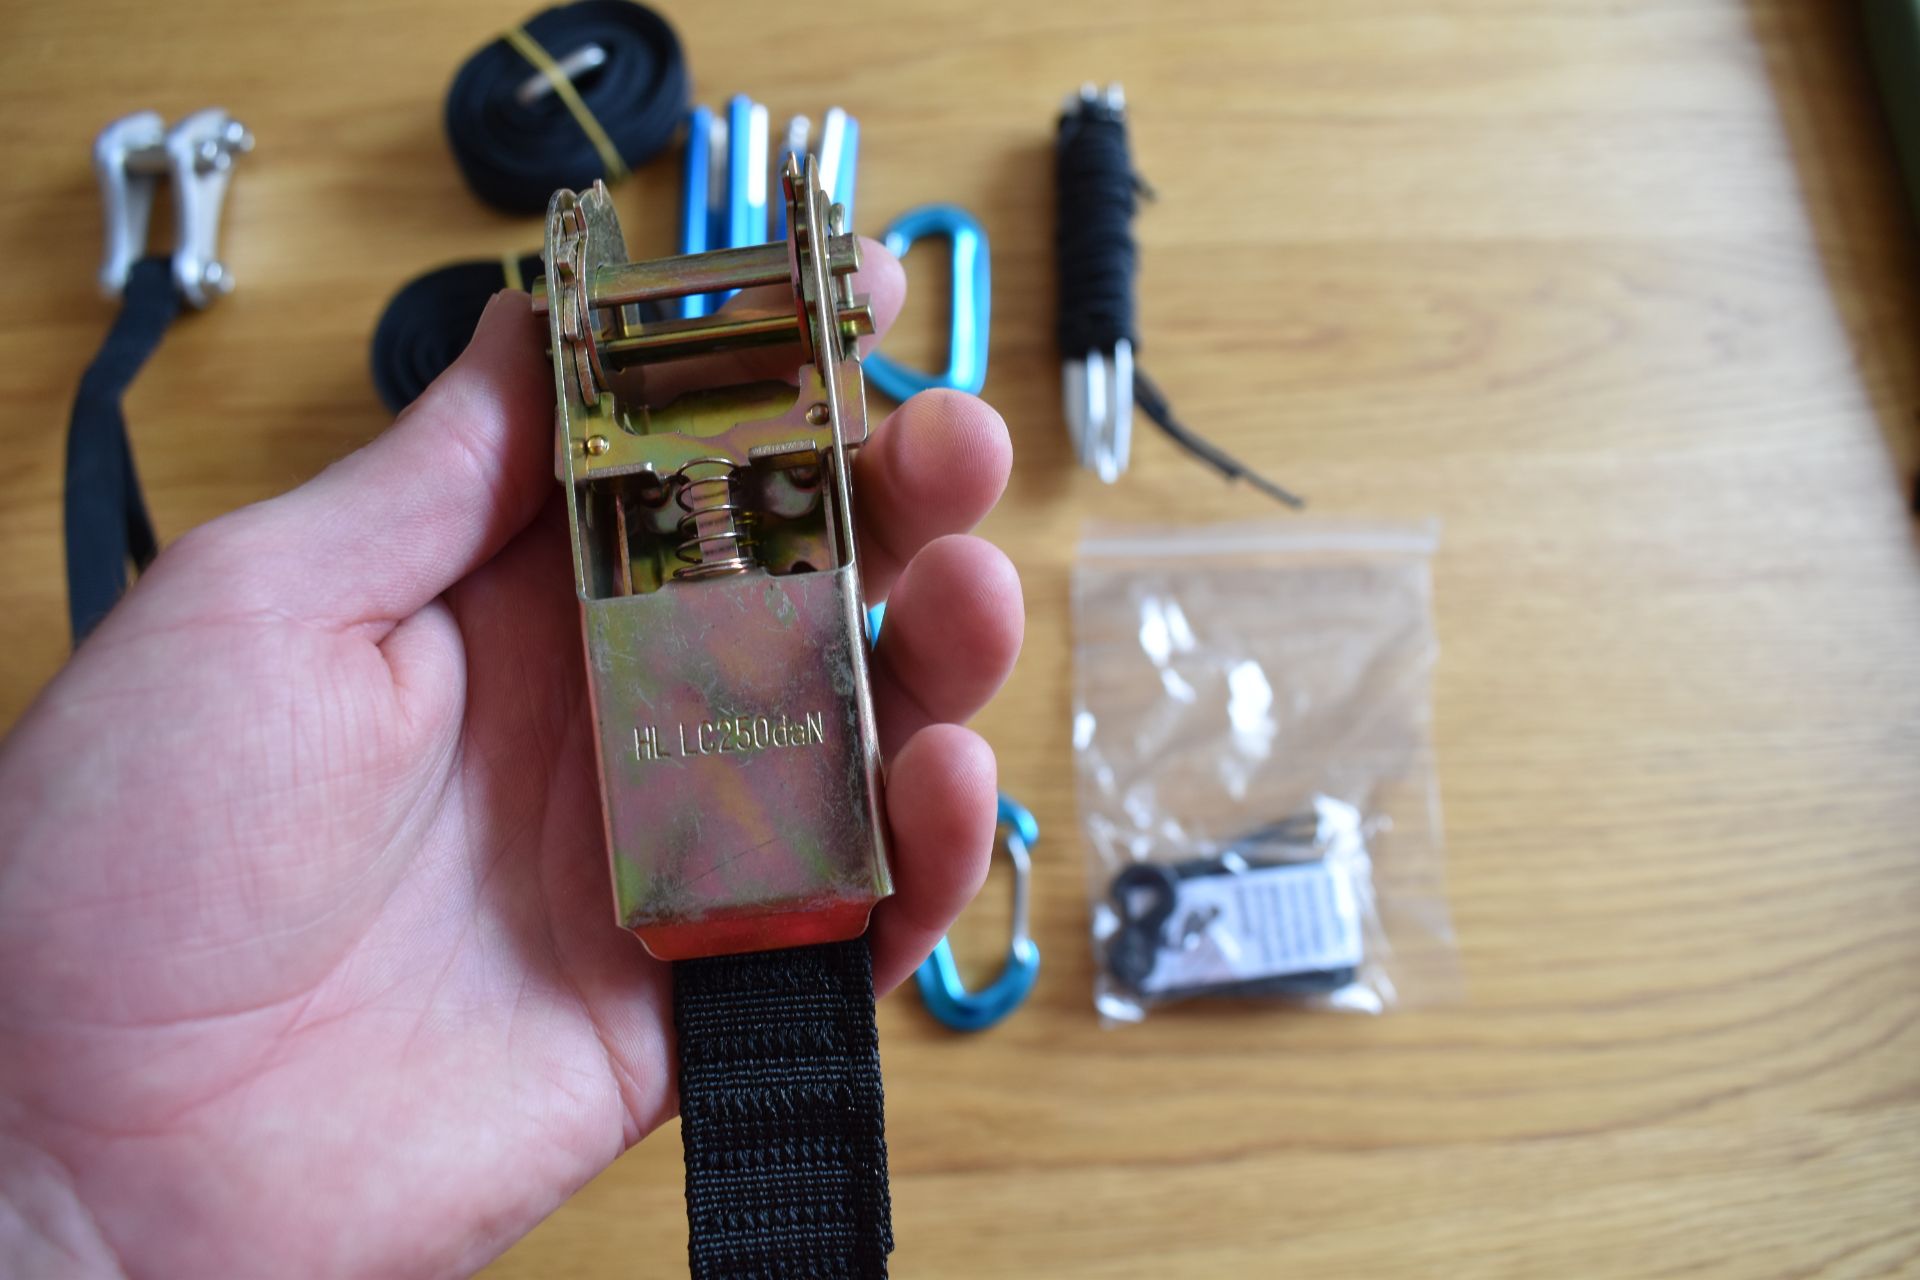
Tentsile UNA Hammock Tent: The ratchet is sturdy but also heavy
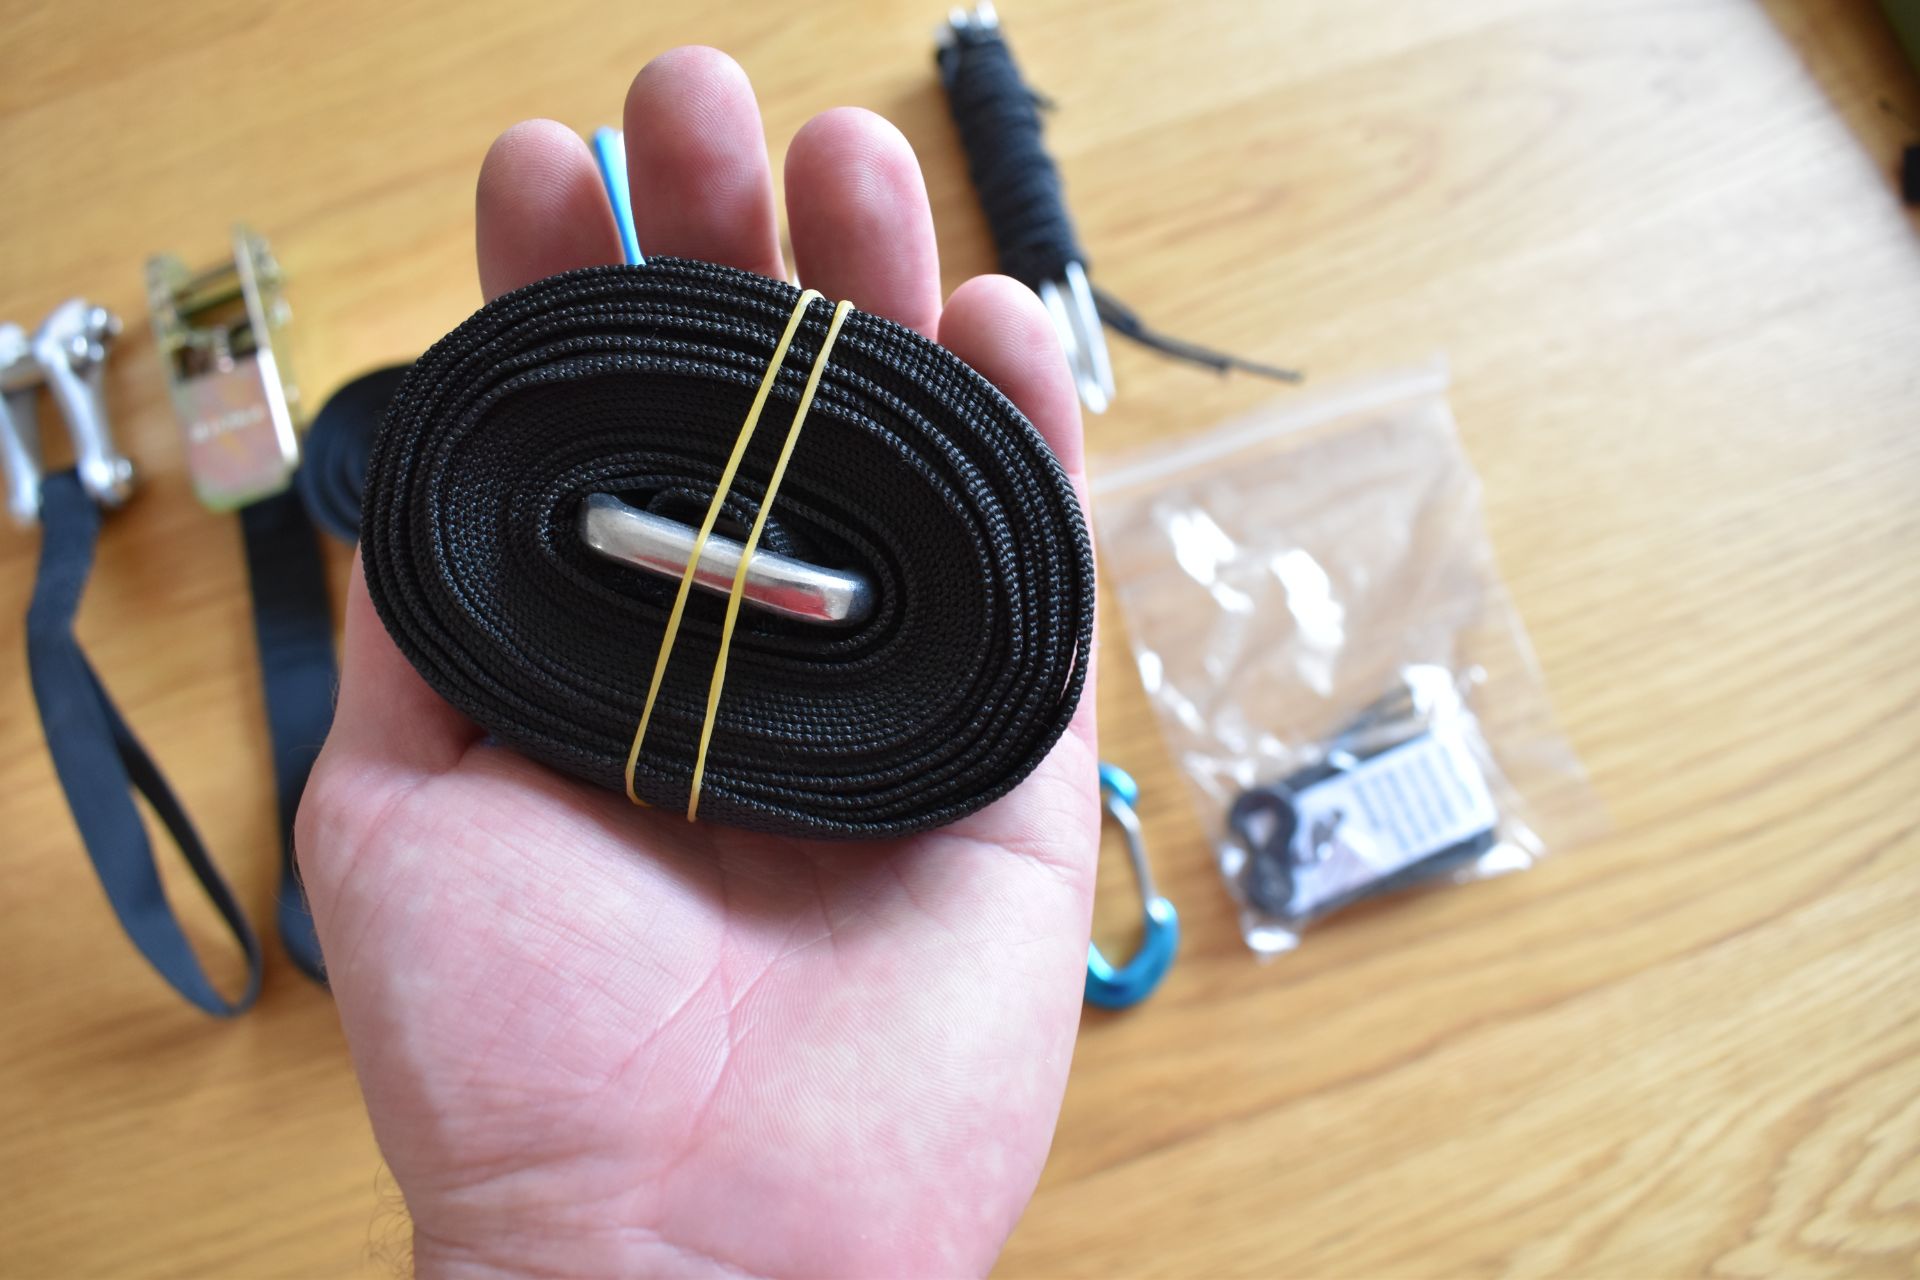
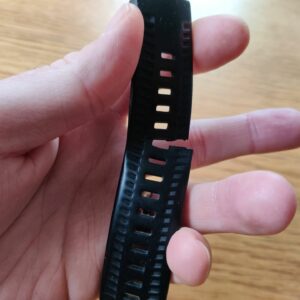
Tentsile UNA Hammock Tent: High-quality nylon straps
The set-up process
Before I set up the hammock for the first time, I watched this video from Tentsile which explains the nitty-gritty of suspending the UNA hammock tent. I highly recommend watching the video before you start the whole set-up proces so you can learn how to use the ratchet buckle, WebLock and how to tie the half-windsor knot at the tail. The set-up process is not complicated but it does require a bit of practicing, so you become comfortable using the buckles and tying the knot. The set-up process is as follows.
Step 1: Hang the hammock
Once you have found three trees that are from three to eight meters apart and form a triangle, you put the nylon straps around them. The straps are equipped with metal D-rings so it’s simple to attach them to trees. They should be attached to trees at approximately the same height so that the hammock tent is in level when it’s raised. Then you roll out the hammock tent and locate the tail (where your feet come in the hammock). You attach a carabiner to the attachment point at the tail and tie the nylon strap to the carabiner with half-windsor knot. How to tie the knot is explained in the instructions, which are in the stuff sack, as well as in the set-up video from Tentsile. Here you should be careful that you shorten the nylon strap enough so that the hammock tent is in front of the two trees on the opposite side. In my experience the distance between the hammock and the two trees should be at least 1.5 meters as you’ll otherwise have problems adding tension to it.
Then you attach the remaining two carabiners to the attachment points at the front (where you head comes in the hammock). On one side you attach the WebLock to the carabiner and on the other side you attach the ratchet buckle to the carabiner. Then you first pull the nylon strap through the WebLock and the hammock tent will raise on one side. On the other side you insert the nylon strap into the ratchet buckle and pull so that the hammock tent is completely raised. Now, you start ratcheting to add tension to it for a flat bottom. Now, all this might sound a bit confusing but do checkout the video from Tentsile as it thoroughly explains how to use the WebLock and the ratchet buckle.
I found the set-up process relatively simple, and I was surprised how easy it is to find three trees that form a triangle in the forest. The trees also don’t have to be in a perfect triangle. You can still pitch it nicely even if the angles between the trees are a bit off.
Step 2: Set up the rainfly
When the hammock tent is set up it’s time to attach the rainfly. The rainfly has three attachment elastics which you simply wrap around the nylon straps that hold the hammock tent. Then you secure and stretch the rainfly with three pegs. Two attachment loops for guylines are on the sides and one is at the back. The rainfly also has an attachment loop at the top (rope not included) which enables you to somewhat raise the rainfly from the hammock tent. I found the rainfly easy to attach but to be honest I think it would be better if the attachment system would be designed so that you attach the rainfly to trees instead of the hammock and could choose to suspend it high or low depending on the weater. With the current design the rainfly comes directly over the hammock tent. I would prefer to have it a bit higher up for a more spacious and airy feeling in nice weather.
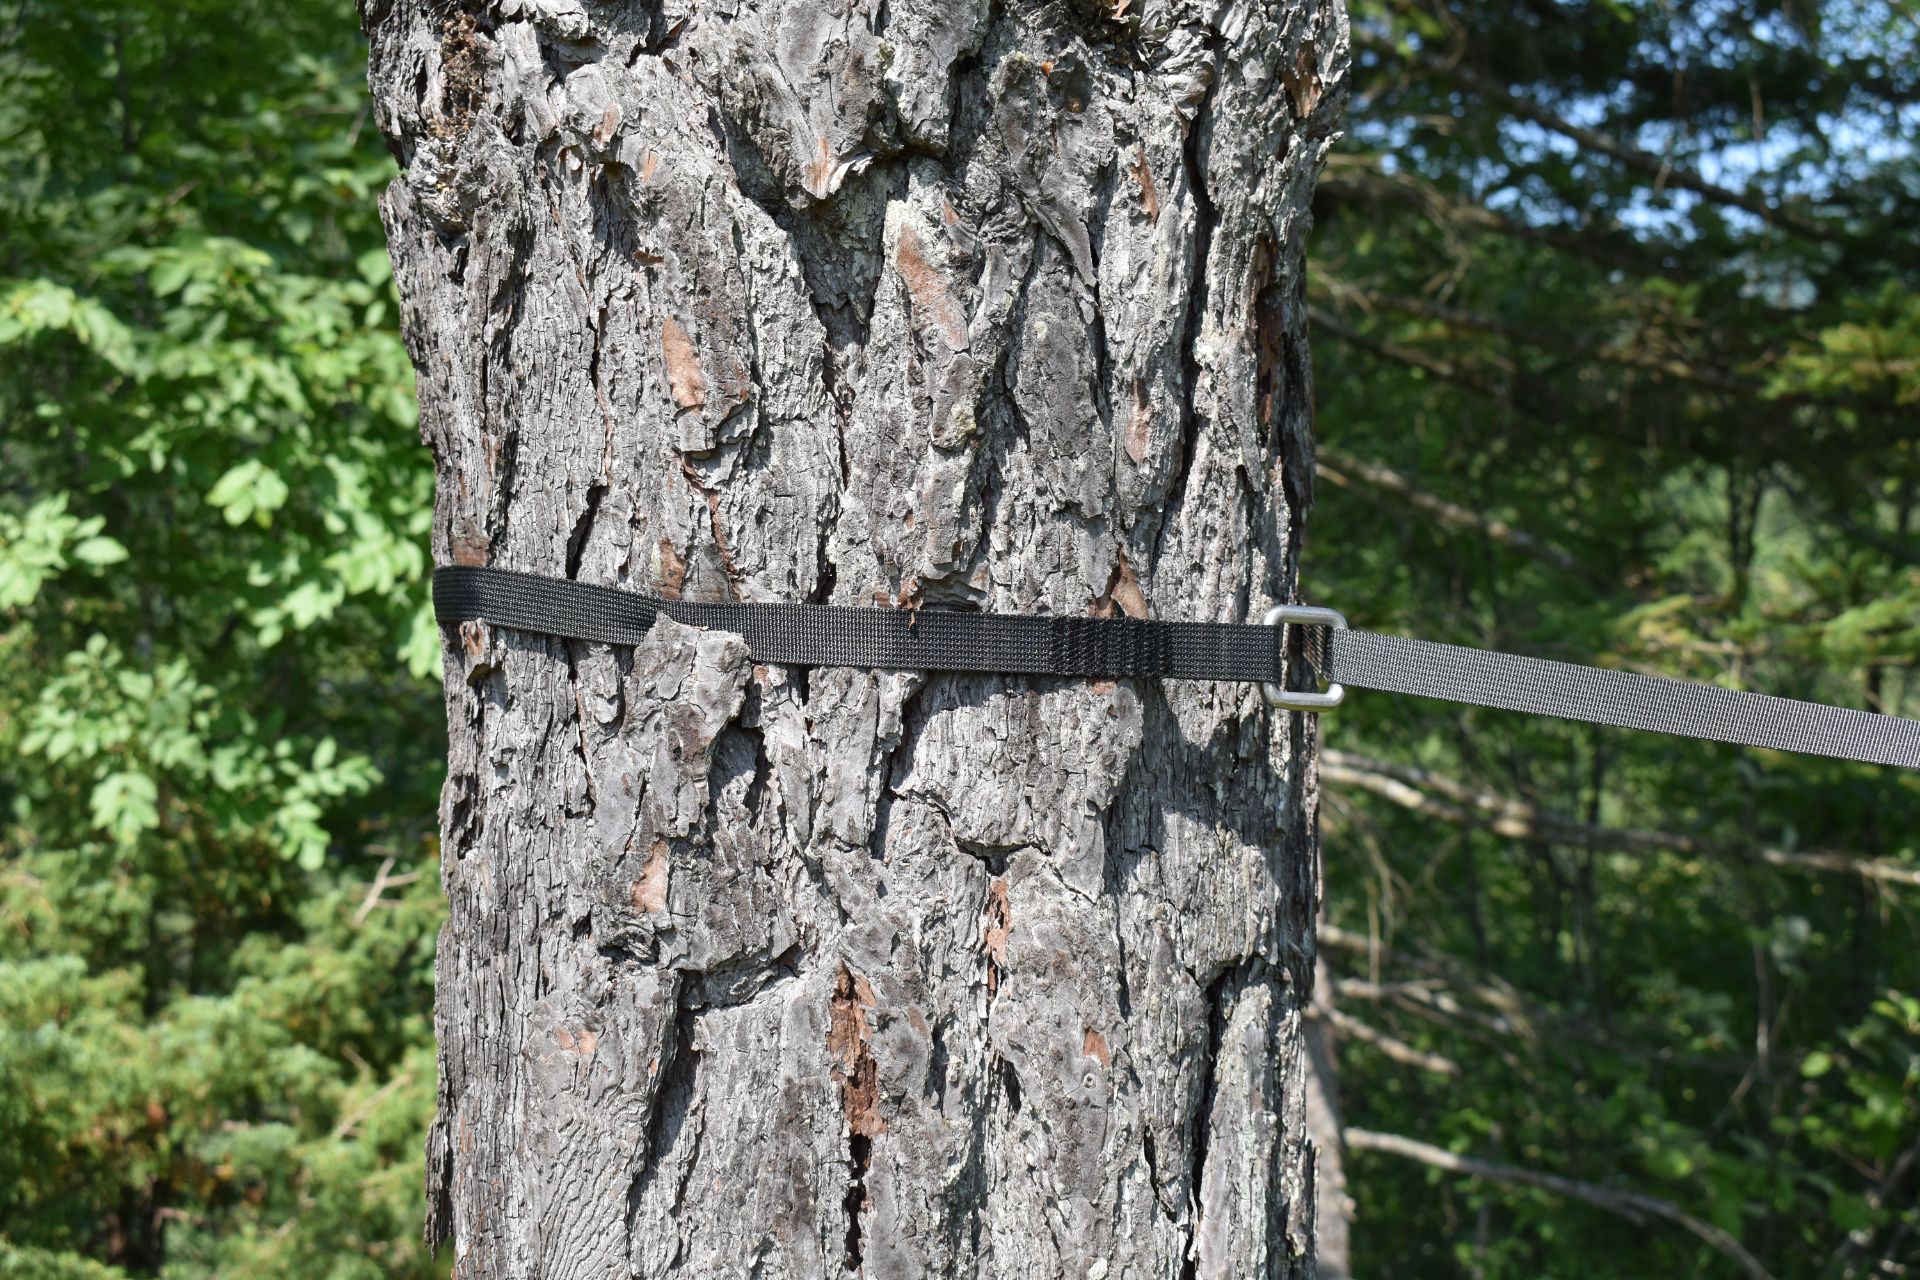
Tentsile UNA Hammock Tent: Nylon straps with D ring are easy to attach to trees
Tentsile UNA Hammock Tent: At the tail you attach the hammock to the carabiner with half windsor knot
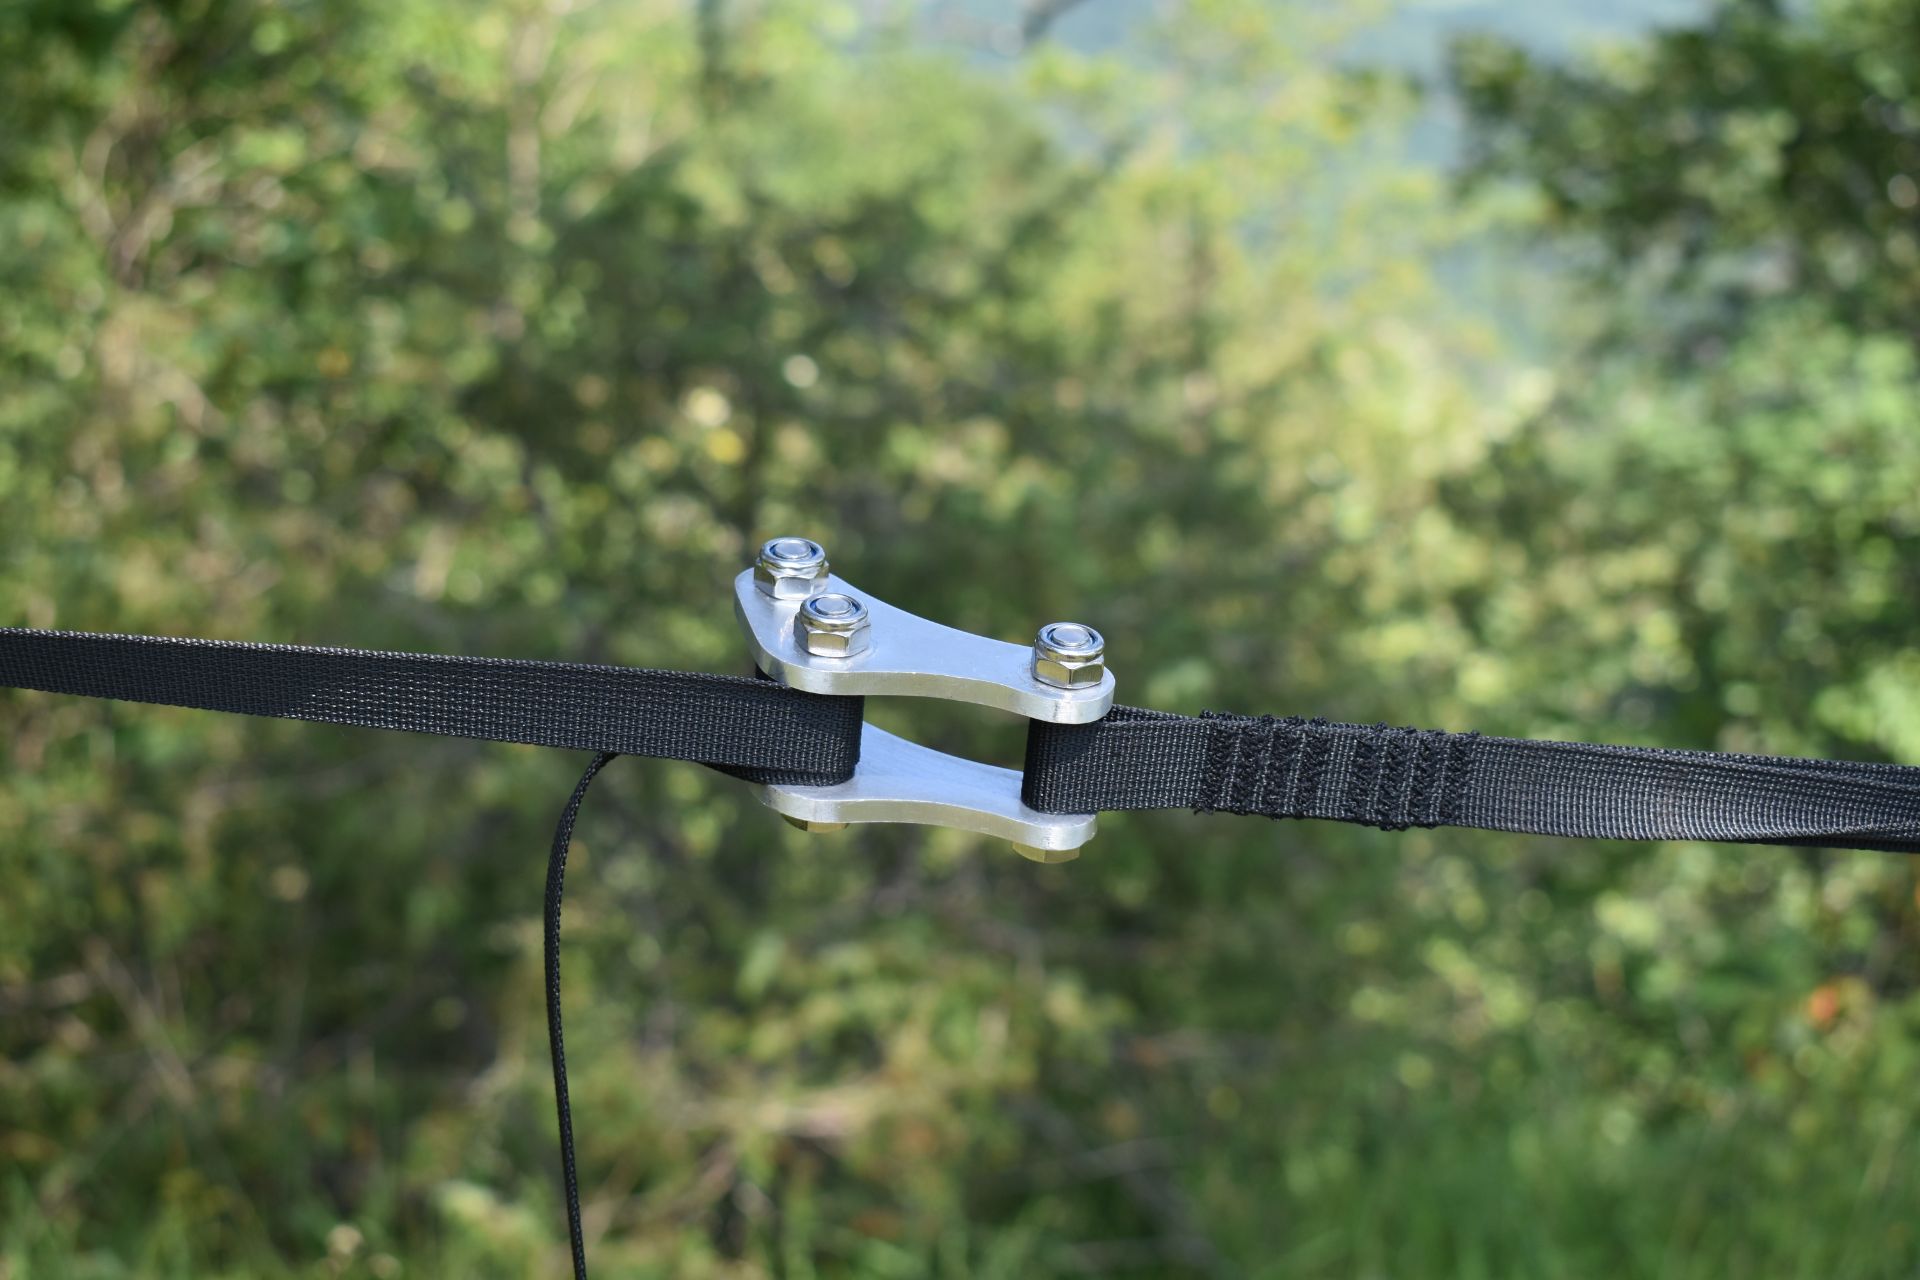
Tentsile UNA Hammock Tent: The WebLock is used to raise the hammock on one of the sides
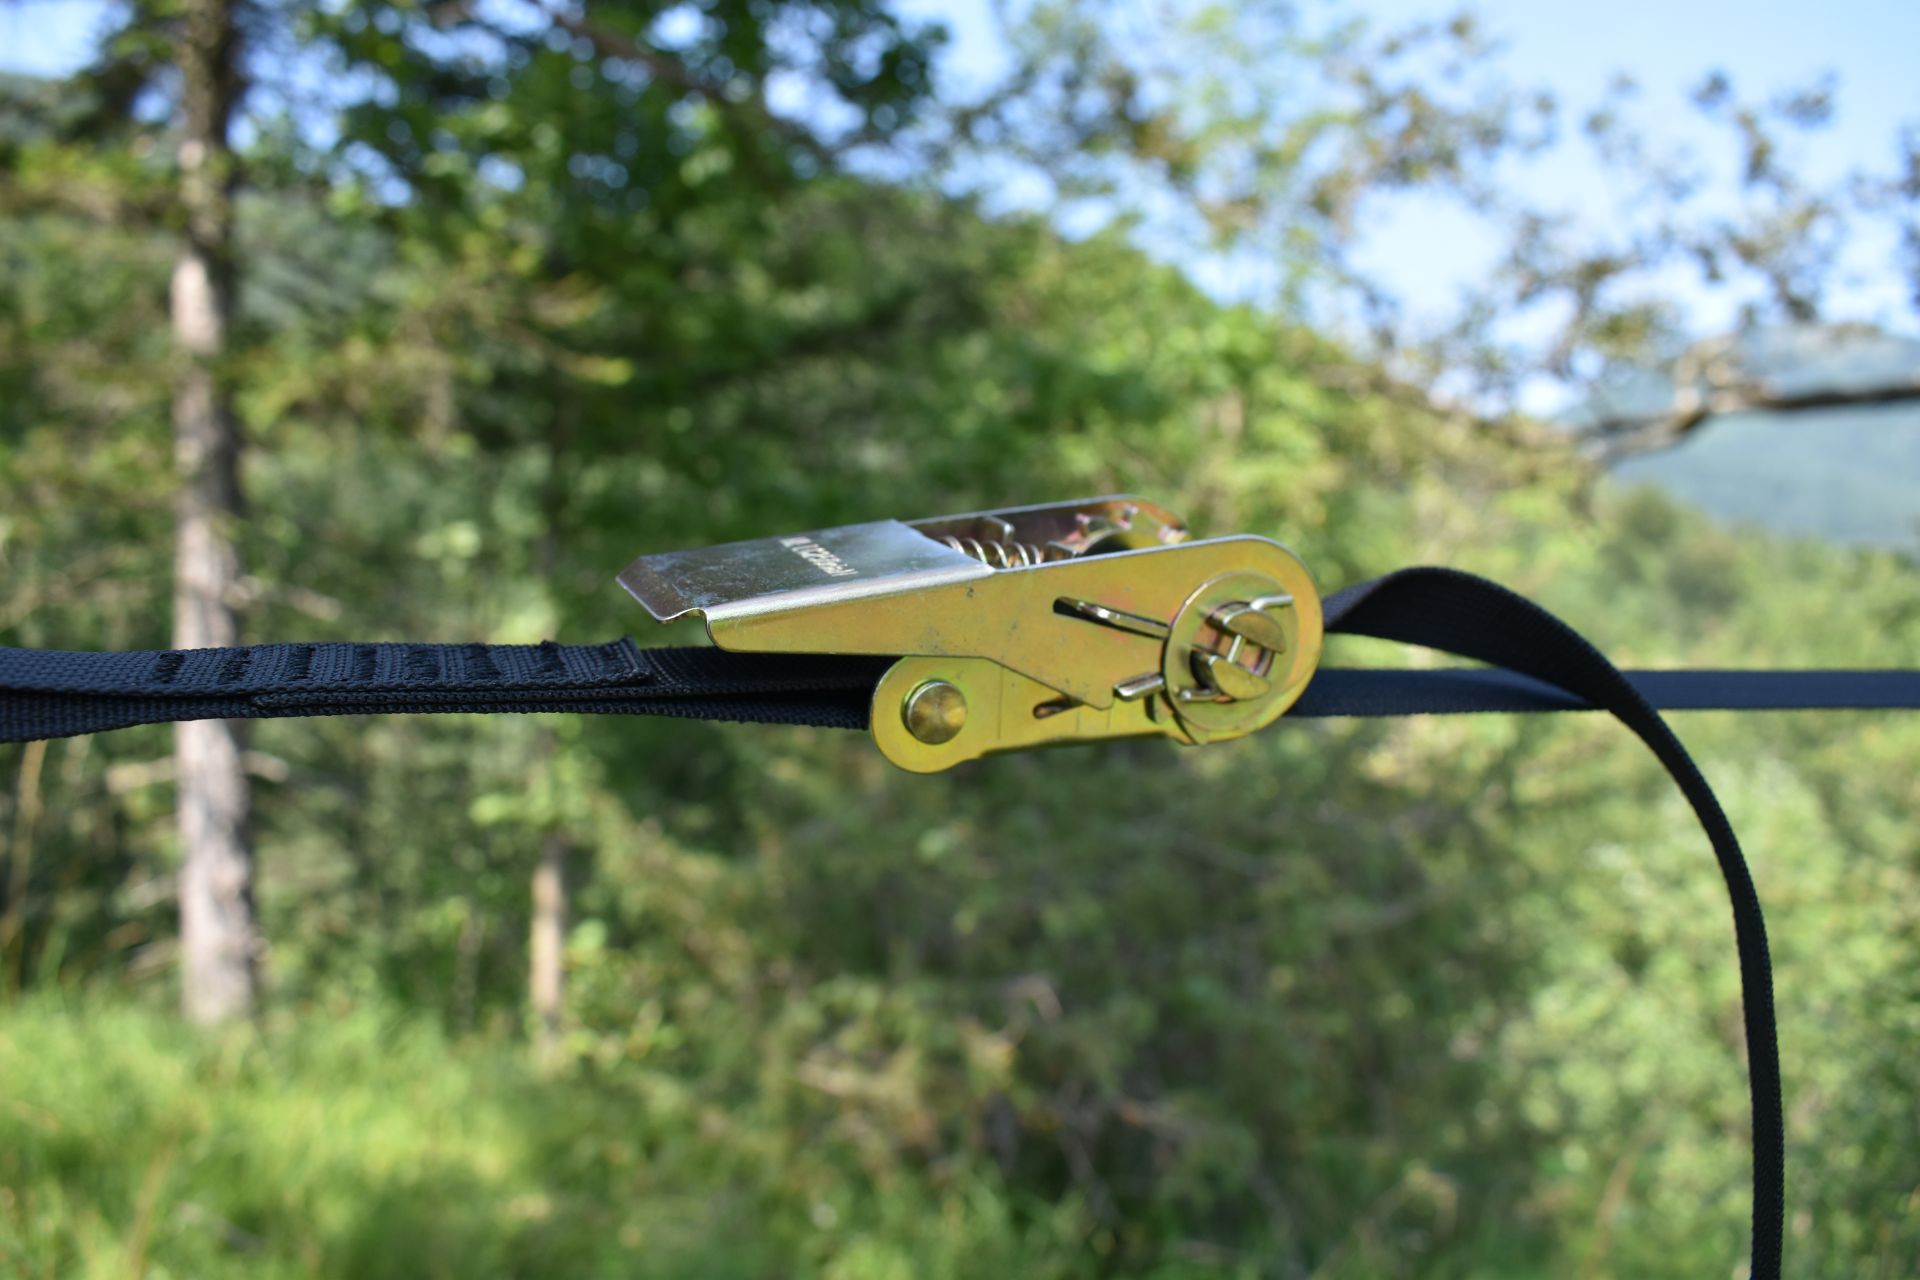
Tentsile UNA Hammock Tent: The ratchet enables you to add tension to the hammock

Tentsile UNA Hammock Tent: Attaching the pole is easy
Tentsile UNA Hammock Tent: Attaching the rainfly to the hammock tent
Sleeping Comfort
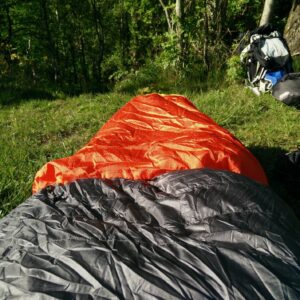
When I hopped into UNA hammock tent for the first time I was impressed. It is incredibly comfortable and surprisingly spacious. Now, the hammock tent has less head height (50 cm) than competitive products, but it offers much more space in width due to flatter bottom. So far, I’ve only slept in it in the summer months and was very satisfied with sleep quality. UNA also doesn’t require an underquilt as it is designed to be used with a sleeping pad. The bottom is made of two layers and has a large opening in the middle where you can insert a sleeping pad for extra warmth. According to Tentsile the UNA tent is suitable for 4-season use. Nevertheless, I still have to try it in lower temperatures.
The hammock tent also has two small pockets, one hanging stash pocket and an integrated bug net. The pockets are easily accessible and I really like that the hammock tent has so many options for storing valuables. Bigger items can be stored in the net under the hammock. All in all, I was impressed with the comfort of this hammock tent.

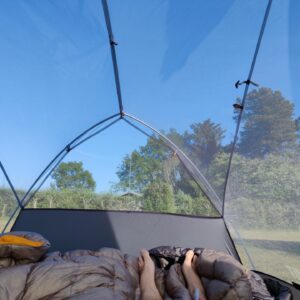
The bug net opens on both sides and in the middle
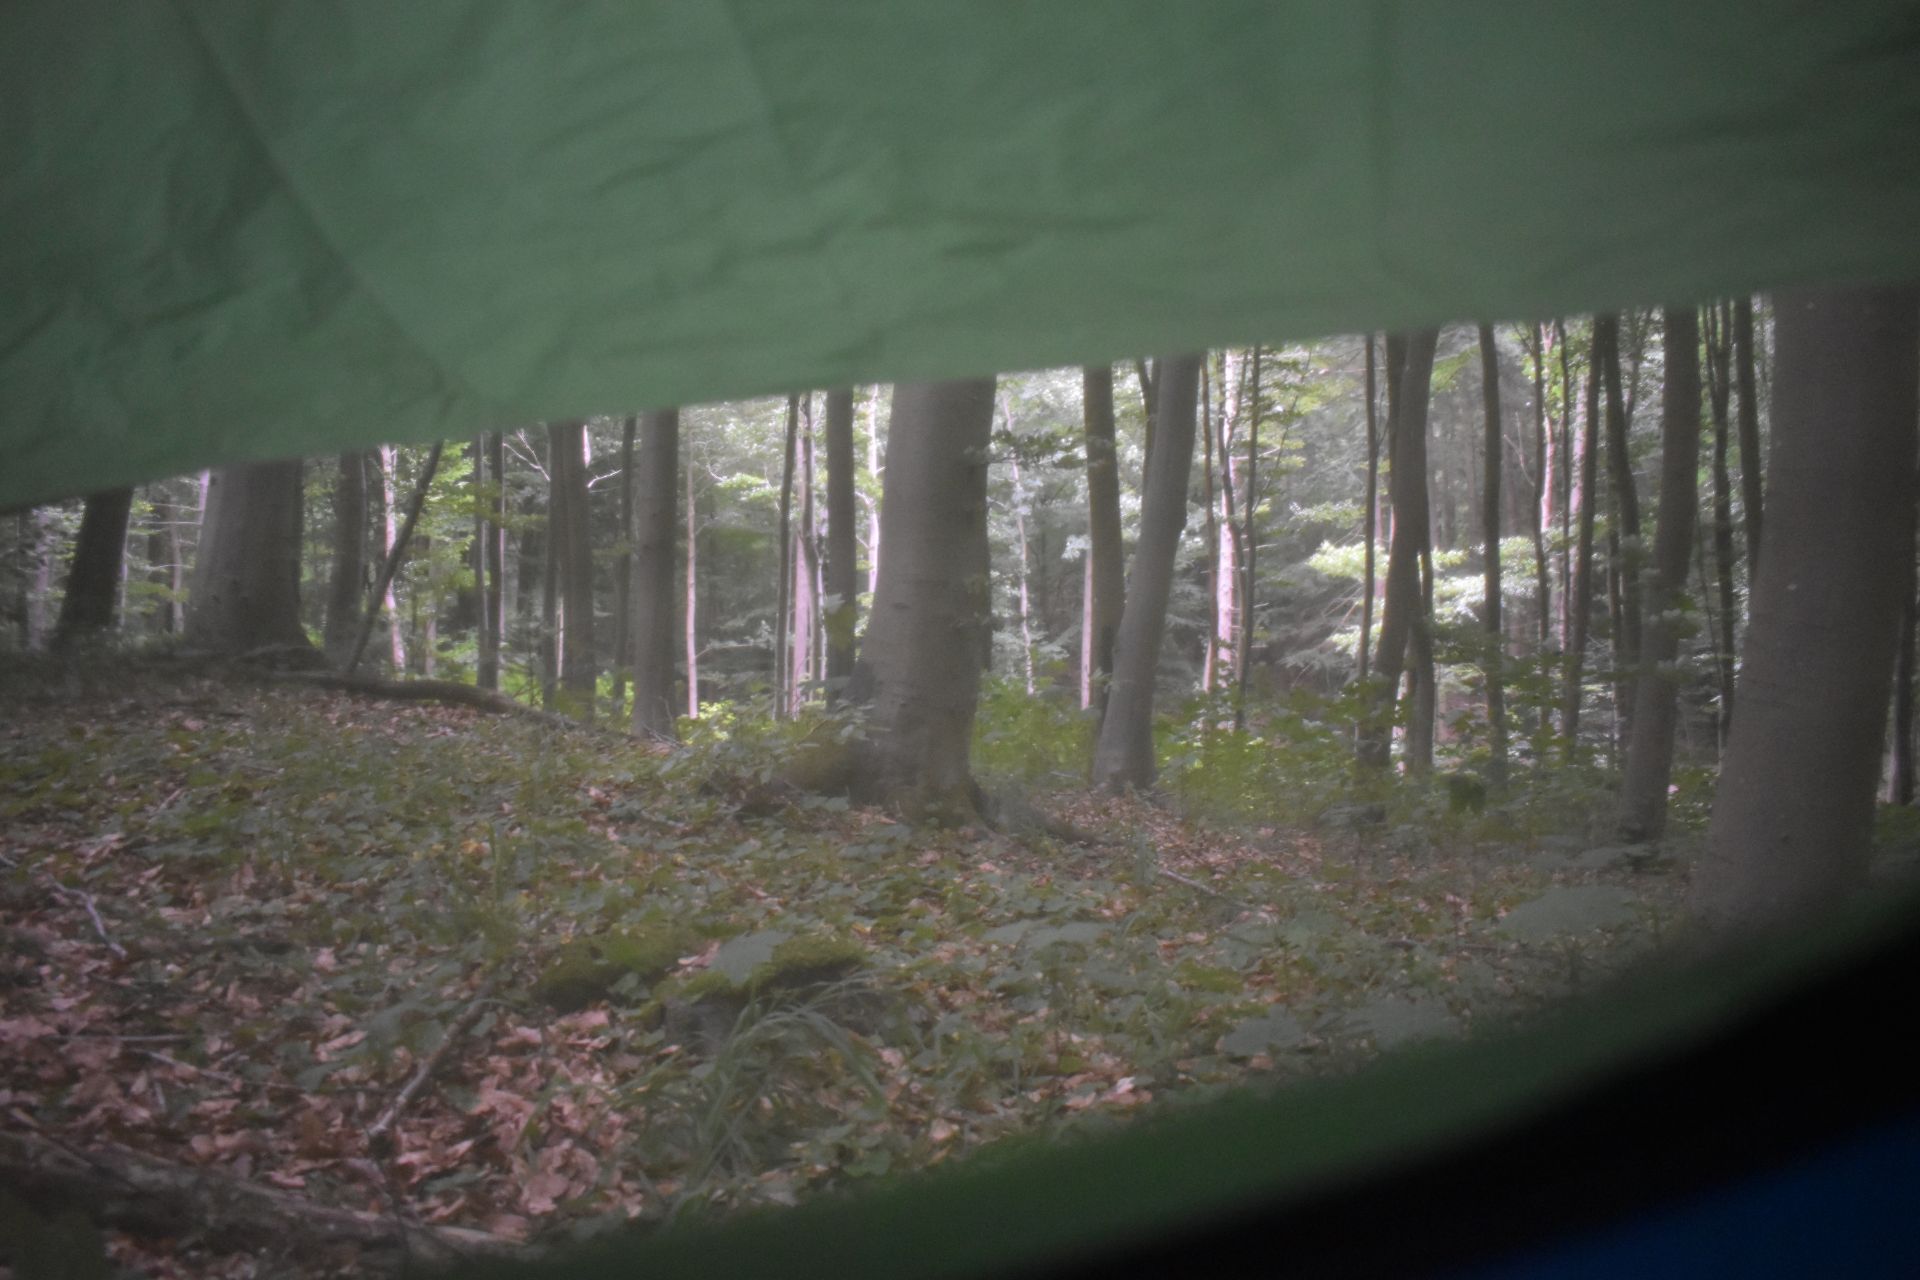
View from the hammock tent
Verdict
The Tentsile UNA hammock tent is a great option for multiday backpacking trips or simply chilling out in nature. I really like the tensioned base as it makes the hammock tent more spacious in width and very comfortable. The sleeping position is almost flat which also enables you to use a sleeping pad instead of underquilt. The set-up process might not be the simplest, but with a bit of practice you can get the hammock tent up in a few minutes. So, if you want to swap your tent for a hammock tent, I do highly recommend the Tentsile UNA.
If you have any questions about this product, drop me a line in the comments below.
Performance Score
The Advantages
- Tensioned base creates a noticeably flatter and more comfortable sleeping position
- Very spacious width compared to traditional hammock shelters
- Compatible with standard sleeping pads instead of requiring an underquilt
- Integrated bug net provides excellent insect protection
- High-quality straps, hardware, and fabrics feel extremely durable
- Rainfly provides solid weather protection in wet conditions
- Large internal storage options improve organization inside the hammock
- Compact packed size works well for backpacking and hiking
- Setup system allows excellent tension adjustment for comfort and stability
- Getting in and out is easier than with many traditional hammock systems
The Considerations
- Ratchet buckle and WebLock add noticeable weight to the setup
- Multiple loose components increase the chance of losing parts on trail
- Setup process requires some practice and familiarity with the hardware
- Requires three properly positioned trees for setup
- Rainfly sits relatively close to the hammock and reduces openness in good weather
Weight
<2 kg / 4.4 lbs
Capacity
1-person hammock tent
Required Setup
3 trees spaced 3-8 meters apart
Fabric
20D nylon hammock body and PU-coated nylon rainfly
Maximum Load
120 kg / 265 lbs
Sleeping System
Designed for use with sleeping pad
Best For
Backpacking, hammock camping, hiking, forest adventures